✨ Star Trails
How to find the celestial pole (Polaris and the south)

Every star trail you have ever admired wheels around a single, almost motionless point in the sky. Learn to find that point — Polaris in the north, a faint patch near the Southern Cross in the south — and the hardest compositional choice in star-trail photography becomes a deliberate one you make before the shutter ever opens.
The night sky appears to turn, but it doesn’t really. Earth spins beneath it at about 15 degrees per hour, and that rotation has an axis — an imaginary line out through the planet’s poles into space. The two points where that line pierces the sky are the celestial poles, and they are the only spots that hold still while everything else wheels past. Find the pole and you control the single most important decision in a star-trail shot: where the center of the circles falls in your frame. Everything here is learnable geometry, not luck.
What the celestial pole actually is
A star’s apparent motion depends on how far it sits from the celestial equator — the projection of Earth’s equator onto the sky. Stars near the equator sweep the full rotation angle each hour; stars near a pole barely budge. The pole itself is the still center the whole sky pivots around. That is why trails always curve around the pole: a star’s arc shrinks the closer it lies to that point. (The geometry behind the arc lengths is covered in the pillar guide on how to shoot star trails — this guide is only about finding the pivot.)
There are two poles, one per hemisphere, and they look nothing alike. The north has a convenient bright star sitting almost exactly on it. The south has no such gift. Know which one you’re hunting before you tilt your head back.
Northern hemisphere: find Polaris
The north celestial pole has a marker — Polaris, the North Star — parked within about 1 degree of it. Polaris is only a moderately bright star, so don’t expect it to leap out. Instead, star-hop to it using the Big Dipper (part of Ursa Major):
- Find the Dipper’s bowl — the four stars forming the cup.
- The two stars on the outer edge of the bowl, farthest from the handle, are the pointer stars.
- Draw a line through them, out of the open top of the bowl, and extend it by roughly five times the gap between the two pointers.
- You land on Polaris — a lone, modestly bright star in an otherwise sparse patch.
The pointers sit only a few degrees apart, so projecting that line out five times its length carries your eye across a wide stretch of sky before it settles on Polaris. Treat the rule as a direction-finder, not a tape measure — it gets you to the right lonely star, not to a precise angle.
There’s a second, powerful relationship worth memorizing. The altitude of Polaris above your horizon equals your latitude. Stand at 50 degrees north and Polaris sits about 50 degrees up — more than halfway to overhead. Stand near the equator and it hugs the horizon, almost unusable. Travel toward the pole and it climbs nearly overhead. That single rule tells you, before you even arrive, how high the center of your circles will sit and therefore how much sky versus foreground you can build the composition around.
Southern hemisphere: there is no south star
South of the equator the trick fails — there is no bright pole star. The south celestial pole falls in a dim, star-poor stretch of sky with nothing obvious to anchor on. You locate it by extension instead:
- Find the Southern Cross (Crux) — a compact, kite-shaped group of four main stars. Be careful not to grab the larger, dimmer "False Cross" nearby.
- Identify the long axis of the Cross — the line running from the star at the top down through the star at the foot.
- Extend that long axis about four and a half times its own length, continuing past the foot of the Cross.
- You arrive in the empty region that holds the south celestial pole. There’s no star to confirm it, so trust the geometry.
As in the north, the pole’s altitude equals your latitude — at 35 degrees south the pole sits about 35 degrees above the southern horizon.
Composition: the single biggest choice
Here’s the payoff, and it’s worth treating deliberately. Where you aim relative to the pole decides the entire character of the trails.
| Where you point | What the stars do |
|---|---|
| At the pole | Concentric circles — the classic bullseye, every arc centered on one point |
| Away, toward east or west | Long, near-straight sweeping streaks rising or setting at an angle |
| Halfway between | Gentle, curving arcs — a compromise that suits many foregrounds |
Point your camera straight at the pole and you get the full circular bullseye, ideal over a strong central foreground element. Aim 90 degrees away — toward the eastern or western horizon — and the stars draw long, nearly straight diagonal streaks instead, because you’re seeing their arcs almost edge-on. Neither extreme is "correct"; they’re different photographs. Where the pole sits in your frame — or whether it’s in the frame at all — is the compositional decision, and it’s far easier to make in advance than to discover after a two-hour sequence.
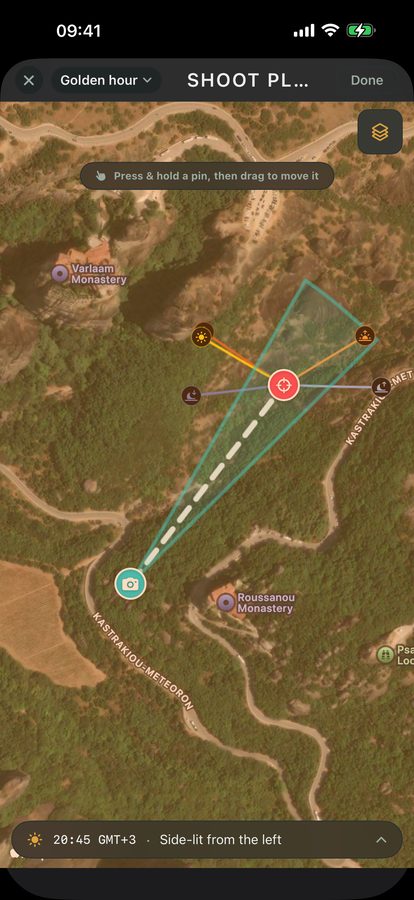
That’s exactly where planning on location pays off. Standing at the spot in daylight, an augmented-reality tool can overlay where the pole — and the arcs that will wheel around it — fall against your actual foreground, hours before dark. The AR scout shows the pivot and the sweep pinned to the real landscape through your phone, so you frame the foreground knowing precisely where the bullseye lands. No guesswork, no wasted clear night.
Quick-start checklist
- Know your hemisphere first — Polaris in the north, a star-poor patch near the Southern Cross in the south.
- North: extend the Big Dipper’s two pointer stars by about five times their gap to land on Polaris.
- South: extend the Southern Cross’s long axis by about four and a half times to reach the empty south pole.
- Estimate the pole’s height — its altitude above the horizon roughly equals your latitude.
- Decide your aim — at the pole for concentric circles, 90 degrees away for long straight streaks.
- Preview it on site in daylight with an AR overlay so the pole lands where your foreground wants it.