🌕 The Moon
How to photograph a full moon rising
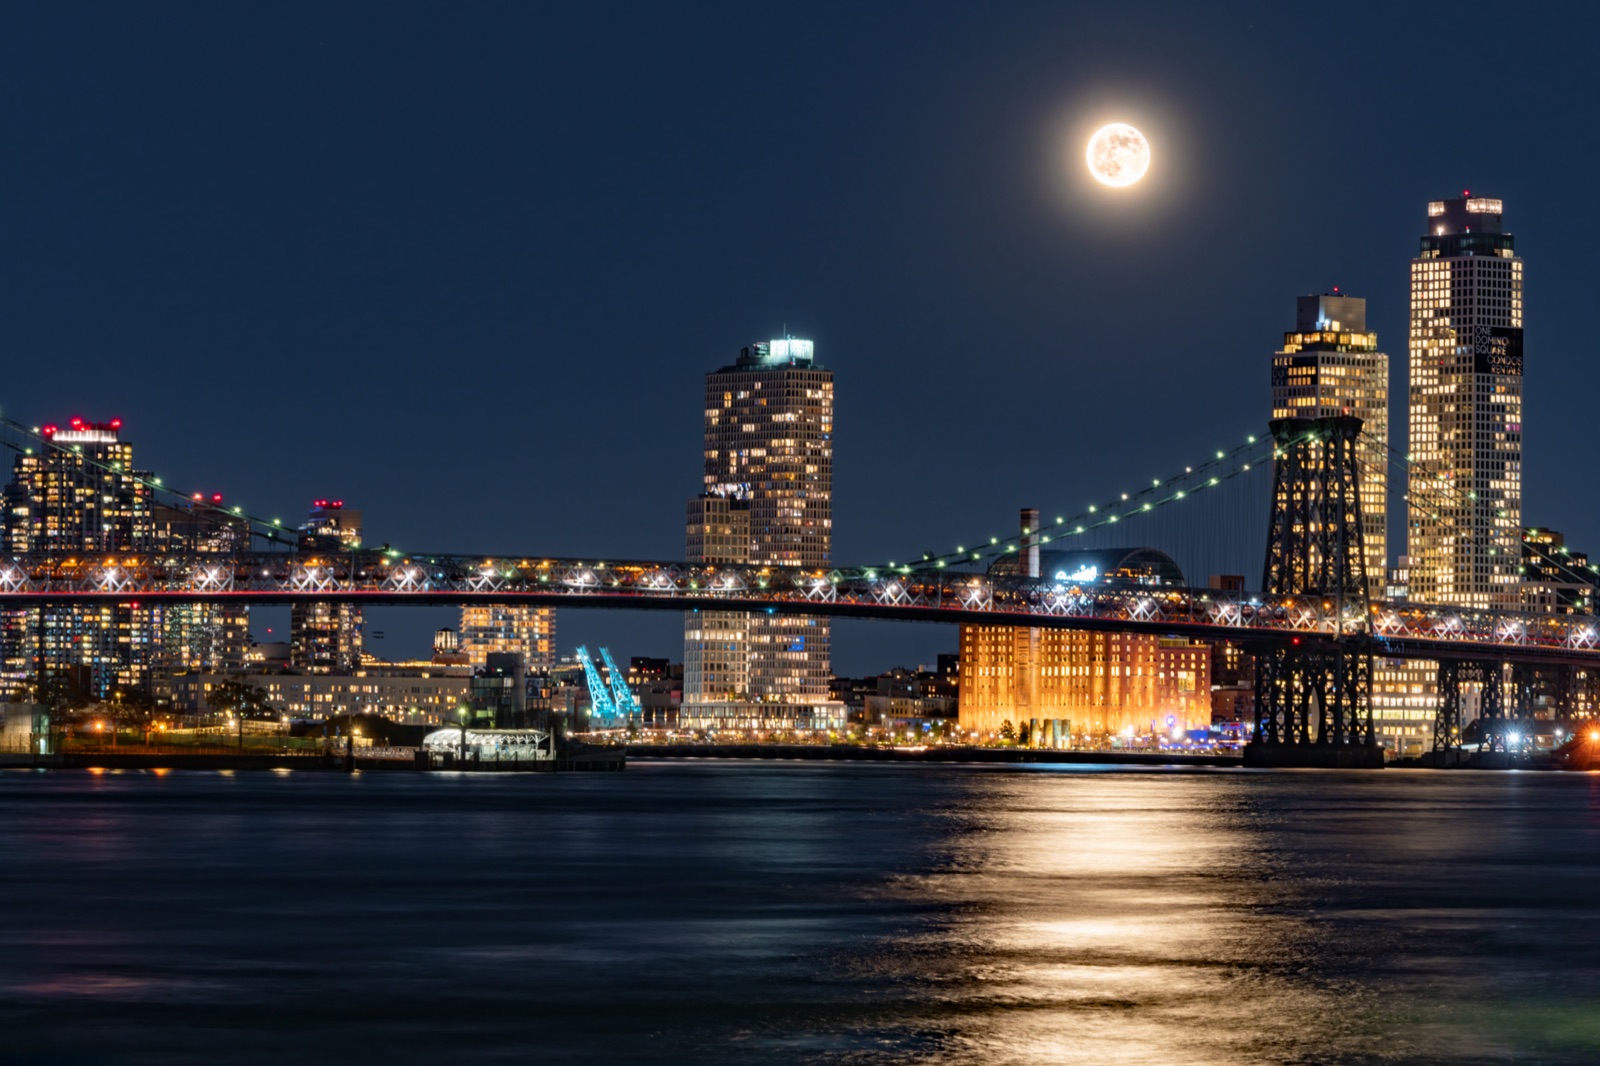
A full moon rising large behind a landmark is one of the most predictable shots in landscape photography — not luck. The moon is bound to the sun by simple geometry, so you can plan exactly where and when it will clear the horizon weeks ahead, and the hard part becomes just standing in the right place at the right minute.
A detailed moon hanging large behind a ridgeline, with the foreground still glowing — that frame looks like luck. It isn’t. The full-moon-rise shot is one of the most predictable images in landscape photography, because the moon’s position is governed by clockwork astronomy and the exposure is set by ordinary daylight. Learn the timing, the light window, and the focal length, and you can plan the whole thing from your kitchen table.
Why a full moon rises at sunset
A moon is “full” only when it sits on the opposite side of the sky from the sun — the sun lights its entire face from behind you. That opposition is the whole trick. Because the moon is roughly 180° from the sun, it must rise as the sun sets and set as the sun rises. While the western sky drops into twilight, the full moon climbs out of the east. The two events are locked together.
This matters because of one fleeting overlap. For a window of maybe 20 to 40 minutes after it clears the horizon, the moon is low, large-looking, and bright — while the sky behind it is still blue hour, that even, saturated twilight when the sun sits a few degrees below the horizon. In that window the dynamic range of the scene — the gap between the brightest and darkest tones your sensor can hold at once — is small enough to capture a textured moon and a readable, colourful landscape in a single frame.
Wait too long and the gift evaporates. Once the moon is high against a near-black midnight sky, the brightness gap is brutal: the sunlit disc is many stops brighter than the dark land below it. You’re then forced to choose — a blown-white featureless circle with a visible foreground, or a crisp moon over a pure-black void. Neither is the shot. The deeper physics of this trade-off is covered in our guide to photographing the moon and full-moon rises; for the moonrise specifically, the rule is simply: shoot it low, shoot it early.
Picking the right day
There’s a second timing layer most people miss. The moon rises roughly 50 minutes later each day, drifting steadily against the sun. So the quality of your sunset-and-moonrise overlap depends heavily on which day you pick:
- On the exact day of the full moon, moonrise lands very close to sunset — often the best overlap.
- The day before the full moon, the moon rises a little before sunset, so it’s already up and catching warm light as the sun goes down — frequently the sweet spot.
- The day after, the moon rises noticeably after sunset, so by the time it clears the horizon the sky may already be dark — a harder frame.
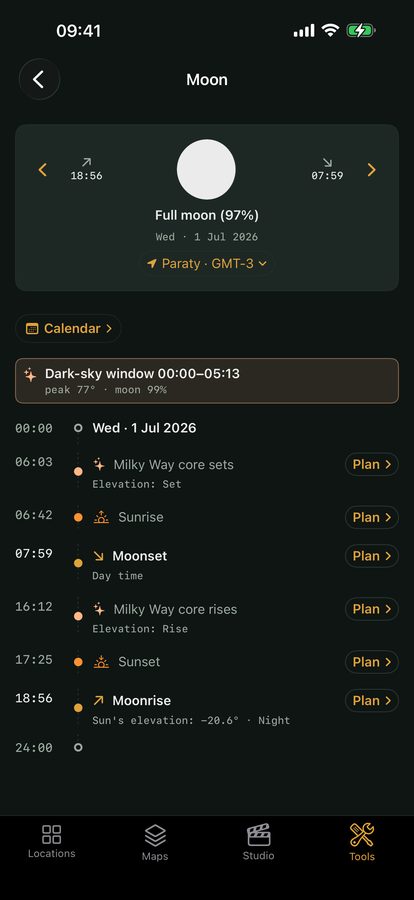
So don’t just chase “the full moon.” Check the moonrise time and azimuth for the two or three candidate evenings and pick the one where moonrise falls a few minutes either side of sunset. The Sun, Moon & Milky Way almanac gives you both numbers for your exact location and date. Azimuth — the compass bearing where the moon clears the horizon — is what lets you stand in the one spot where it rises directly behind your chosen peak, tower, or tree.
A note on supermoons: a full moon near its closest approach (perigee) is only about 14% wider and 30% brighter than at its farthest — a real but modest difference. It’s a nice bonus, not the reason the shot works. Don’t skip an otherwise perfect alignment just because it’s not a “super” month.
Exposing the moon
Here’s the fact that surprises beginners: the moon is a daylit rock. It’s lit by the same sun lighting the Earth at noon, so you meter it like a sunny daytime scene, not like a night sky. The starting point is the Looney 11 rule — the lunar cousin of Sunny 16:
At f/11, set shutter speed to about 1/ISO (ISO 100 → ~1/100 s).
That’s your baseline for a moon high in a dark sky. It’s a starting exposure, not gospel — check your histogram and adjust so the disc’s craters aren’t clipped off the right edge.
During a low blue-hour moonrise you get some slack. Because the surrounding sky is still bright, the overall contrast is lower, so you can lift exposure a stop or more above Looney 11 to bring up the land without instantly blowing the moon. That latitude is exactly why the low-and-early window is so forgiving — the very reason this shot is achievable in one frame.
| Situation | Starting point |
|---|---|
| Moon high, black sky | Looney 11 — f/11, ~1/ISO |
| Low moonrise in blue hour | +1 to +2 stops over Looney 11 |
| Disc clipping white | Drop exposure, recheck histogram |
Making the moon loom large
A moon shot lives or dies on apparent size, and size comes from focal length plus distance. Use a long telephoto — think 300mm and well beyond — and stand far back from your foreground subject. This is perspective compression: a narrow angle of view stacks the distant moon and the nearer landmark onto similar scale, so the moon looms enormous behind a building or peak. The farther you stand (and the longer the lens), the bigger the moon relative to the subject — a wide lens up close does the opposite, shrinking the moon to a dot.
Two cautions at long focal lengths:
- Motion blur. The moon moves about its own width across the sky every two minutes, and a long lens magnifies every tremor and every gust on your tripod. Keep shutter speeds reasonably brisk and use a remote release or self-timer.
- Framing precision. At 600mm a small location error throws the moon clean off your subject. Scout the exact standing point in advance using the predicted azimuth.
Quick-start checklist
- Pick the day where moonrise falls within a few minutes of sunset — often the full-moon day or the day before.
- Look up moonrise time and azimuth in the almanac and walk to the spot where the moon rises behind your subject.
- Arrive early and be set up before moonrise — the best window is the first 20-40 minutes, while the sky is still in blue hour.
- Start at Looney 11 (f/11, ~1/ISO), then lift a stop or more for a low moon, watching the histogram for a clipped disc.
- Go long and stand back — a 300mm-plus lens from a distance compresses the moon large behind your landmark.
- Lock it down — sturdy tripod, remote release, and a brisk shutter to beat the moon’s drift and lens-magnified shake.