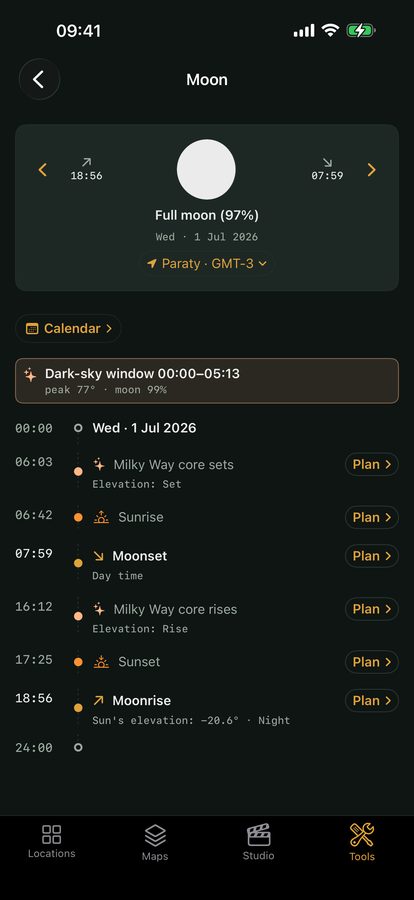
🌕 The Moon
How to photograph the moon
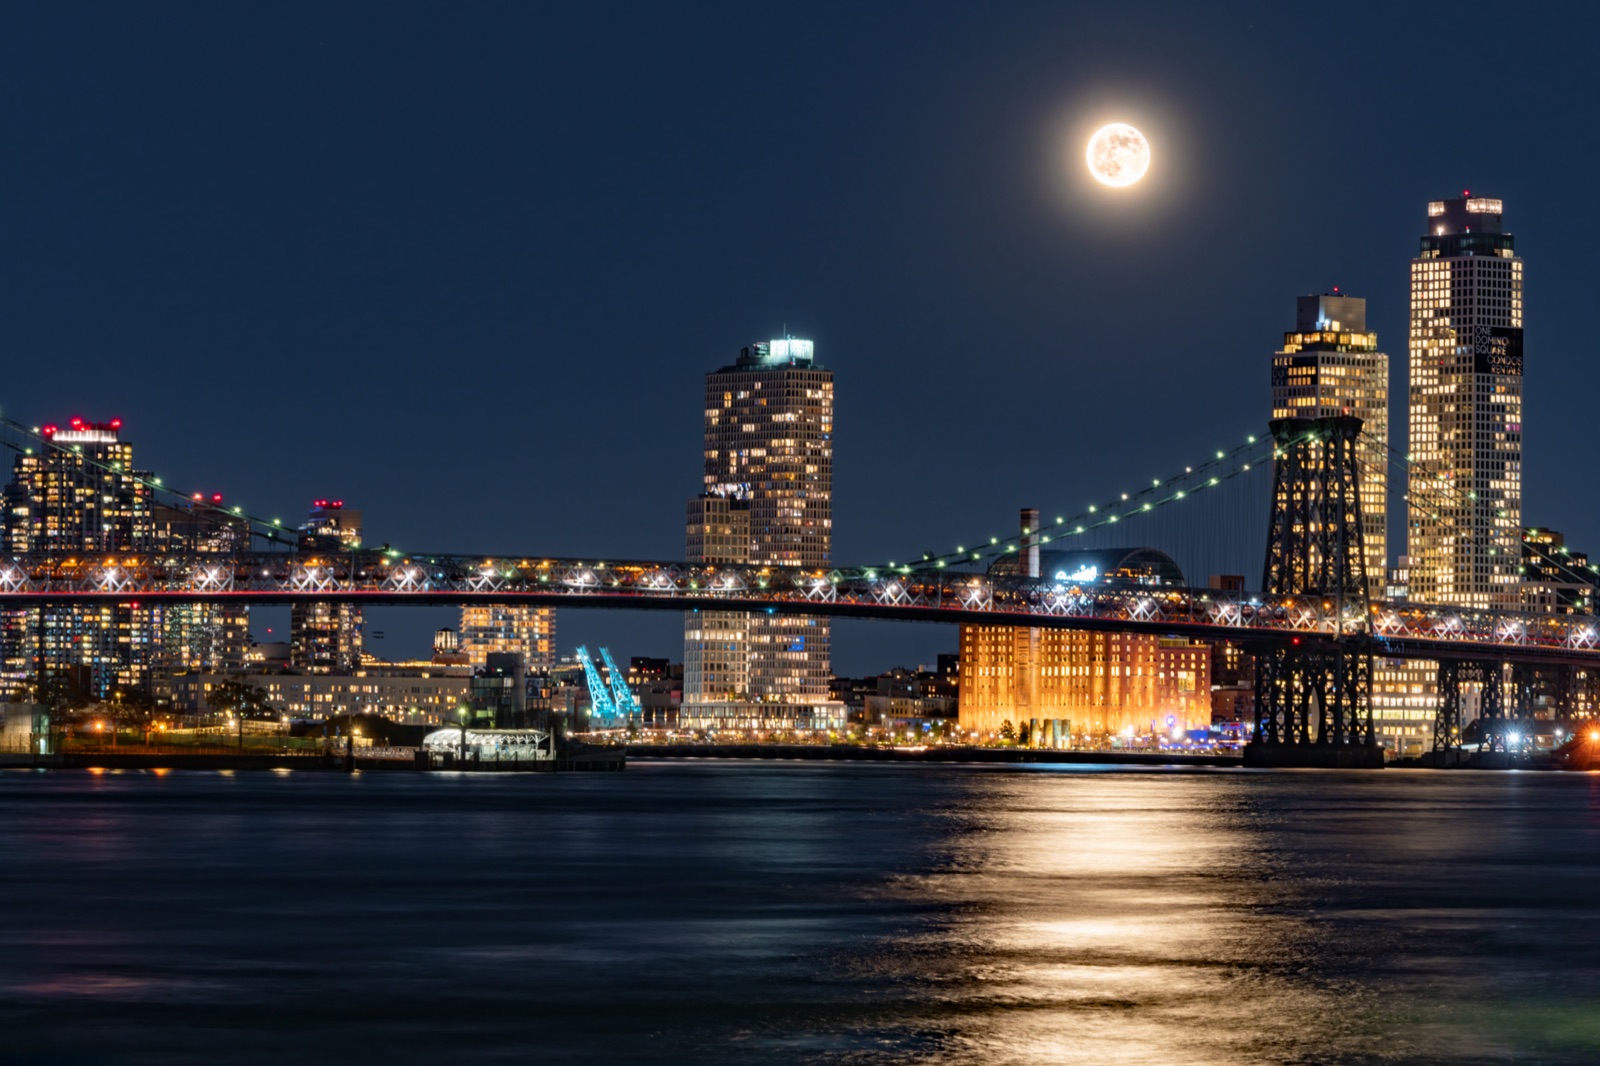
A sharp, detailed moon and a glowing full-moon rise behind a landmark look like luck, but they are almost pure planning. Once you know the moon is sunlit, that it rises on a clock you can predict, and where on the horizon it will appear, the rest is exposure and a long lens.
The moon is the one celestial subject you can shoot from a city balcony with nothing more exotic than a telephoto lens and a tripod. But two things trip up almost everyone: they expose it like a night scene and blow it to a featureless white disc, or they show up at the wrong moment and the moon is a tiny dot in a black sky. Both are timing-and-exposure problems, and both are solvable before you leave the house.
Phases, and what each one is for
The moon runs through its cycle of phases over roughly 29.5 days — the time it takes to return to the same position relative to the sun. What changes is the lit fraction you see and, crucially, when the moon is in the sky.
- New moon is unlit and rises and sets with the sun, so it is effectively absent from the night sky. Useless as a subject, but it is the best window for the Milky Way and faint stars.
- The crescent and quarter phases show partial lighting and ride the evening or pre-dawn sky. A waxing crescent low in the dusk is a lovely, delicate subject in itself.
- The full moon is fully lit, rises at sunset and sets at sunrise, and is up all night. This is the phase behind the dramatic moon-and-landmark photographs — but its brightness also washes out the stars, so it is the enemy of astro work.
A detail that catches people out: the terminator — the line dividing lit from unlit — is where shadows are longest and crater detail pops. A gibbous or quarter moon often shows more visible texture than a flat, head-on full moon. So best phase depends on whether you want the dramatic rising disc (full) or maximum surface detail (around the quarters).

Why blue-hour moonrises photograph best
The single most useful fact for moon photography is that a full moon rises at sunset. That timing is a gift: it puts the rising moon in the sky during blue hour — the window when the sun sits roughly 4° to 6° below the horizon and the sky glows an even, saturated twilight rather than going black.
The reason this matters is dynamic range — the spread between the brightest and darkest tones a single frame can hold. The moon is lit by full sunlight, so it is genuinely bright. Against a black midnight sky, the gap between that brilliant disc and the empty surroundings is enormous: expose for the moon and the landscape is a silhouette; expose for the land and the moon is a blown white blob. During blue hour, the twilight sky and foreground are still bright enough that the whole scene sits within a range your camera can capture in one shot. You get a detailed moon and a readable landscape, with the colour that makes the image. Use the Sun, Moon & Milky Way almanac to find the dates when the full moon clears the horizon while the sky is still holding that twilight glow — that overlap is the sweet spot. For the full-moon-rise shot in depth — picking the right day and working the twilight window — see how to photograph a full moon rising.
Exposing the moon: the Looney 11 rule
Here is the mental shift that fixes blown highlights: the moon is a sunlit rock. It is daylight up there. So you expose it roughly the way you would expose a grey object in full sun, not the way you expose the night.
The starting point is the Looney 11 rule — a moon cousin of the old sunny 16 guideline. Set the aperture to f/11 and the shutter speed to roughly 1 over your ISO:
- At ISO 100, f/11, about 1/100 s.
- At ISO 200, f/11, about 1/200 s.
That is a far faster shutter than beginners expect, and it is exactly why so many moon shots come out as white discs — people meter for the dark sky, the camera tries to brighten that darkness, and the small bright disc is hammered into clipped white. Treat Looney 11 as a starting point, not gospel: a low moon reddened by atmosphere needs more exposure than one high overhead, and your meter is unreliable when a tiny bright object floats in a large dark frame. Shoot in manual and watch the histogram — if the right edge is piled against the wall, you have clipped the disc and lost the craters for good. Pull exposure down until the highlights just sit inside the graph.
For a blue-hour moonrise the balance is gentler — the sky is brighter and the contrast lower — so you can often lift exposure a stop or more and still hold the moon. That is the whole advantage of shooting at twilight rather than in full dark.
Long lenses, distance, and making the moon look huge
The moon is about half a degree wide in the sky — roughly half the width of your little fingernail held at arm’s length. That is small. To render it as a large, detailed disc you need focal length, and plenty of it: 300 mm is a sensible minimum, and 500 mm or more turns the moon into a clear, crater-textured subject. On a crop-sensor body the smaller sensor works in your favour, framing the moon like a longer lens would on full frame.
The truly dramatic shots — a giant moon behind a lighthouse, a peak, a person on a ridge — rely on a second trick: compression. The longer the lens and the further back you stand from your foreground subject, the larger the moon appears relative to it. Distant things shrink slowly with distance; the moon, effectively infinitely far away, does not shrink at all. So if you photograph a building from across town with a long lens, the moon behind it stays huge while the building stays at the same scale — the two appear stacked together. The recipe is counter-intuitive but reliable: a long lens, a faraway foreground subject, and you positioned far from it. The photography calculators can work out how far back to stand to frame a subject of a known height at a given focal length, which is exactly the geometry these alignment shots depend on.
Timing and aligning a full-moon rise
Lining the moon up behind a landmark is an azimuth problem — azimuth being the compass bearing along the horizon where the moon appears. The moon rises in a slightly different spot, and roughly 50 minutes later, each day, so a given alignment happens only on specific dates, often for just a minute or two as the moon climbs.
This is where planning replaces luck. The alignment planner lets you stand a subject on the map, set your shooting position, and find the date and time the rising full moon will sit directly behind it — accounting for the moon’s bearing and elevation as it clears the horizon. Combine that with the subject-distance maths above and you can plan the whole frame before you arrive: where to stand, when, and how big the moon will be.
A note on supermoons — a full moon near perigee, the moon’s closest point to Earth. A supermoon is about 14% larger and 30% brighter than a full moon at its farthest. That is real but modest; do not expect a sky-filling spectacle. It makes a good reason to plan a shoot, but your lens and composition matter far more than the few extra percent of size.
Common mistakes to avoid
- The blown white disc. Caused by metering off the dark sky. Shoot manual, start at Looney 11, watch the histogram.
- The tiny moon. No telephoto, or a foreground subject too close to you. Go longer and stand further back.
- Motion blur at long focal lengths. A 500 mm lens magnifies every vibration. Use a tripod, a remote or 2-second timer, and a fast enough shutter — the moon itself moves visibly through a long lens within a second or two.
- Shooting the full moon in full dark. You fight maximum contrast for no reason. Catch it during the blue-hour rise instead.
- Forgetting to focus. Autofocus hunts on a small bright object in the dark; switch to manual focus, magnify in live view, and nail the crater edges.
Quick-start checklist
- Plan the date with the almanac — find a full moon rising near sunset so it clears the horizon during blue hour.
- Use the alignment planner to place the moon behind your chosen landmark, and note the exact time and bearing.
- Bring a long lens (300 mm minimum, more is better) and a sturdy tripod.
- Start at Looney 11: f/11, shutter ≈ 1/ISO, in manual mode — then refine off the histogram.
- Stand well back from a distant foreground subject to let compression make the moon look huge.
- Focus manually in magnified live view, and use a remote or timer to kill vibration.
- Check the histogram every few frames — if the right edge clips, pull exposure down before you lose the craters.