🌕 The Moon
How to photograph a supermoon
A supermoon is one of the most predictable spectacles in the sky — a full moon caught at its closest approach to Earth. The catch is that the "super" part is smaller than the headlines suggest, and the drama you're after comes almost entirely from craft. Plan the geometry and the few extra percent stop being the point.
A supermoon sounds like a special object. It isn’t — it’s an ordinary full moon caught at a favourable moment in its orbit, and that moment is on the calendar months ahead. Everything about shooting one well comes down to two decisions you make before you leave the house: when, and from where. Get those right and the rest is the same lunar technique you’d use on any full moon.
What a supermoon actually is
The moon doesn’t circle Earth in a perfect ring. Its orbit is a slightly squashed ellipse, so its distance from us changes across each month. The closest point is perigee — roughly 356,500 km away. The farthest is apogee — roughly 406,700 km. That’s about a 50,000 km swing between the two.
A supermoon is simply a full moon that lands close to perigee, so the full phase and the closest approach roughly coincide. Because it’s nearer, it looks a little bigger and a little brighter:
- Apparent size: about 14% larger in diameter than a full moon at apogee (a “micromoon”).
- Brightness: about 30% brighter than that same apogee full moon.
Those numbers are real, but read them honestly. The 14% is a comparison against the smallest possible full moon, not against a typical one — so against an average full moon the difference is smaller still, and to your eye in the moment it’s barely there. A supermoon does not fill the sky or loom like a planet. Anyone promised a giant orb hanging overhead will be let down by the plain facts of the geometry.
The drama, then, has to come from somewhere other than the few extra percent. It comes from craft.

Why it looks huge low on the horizon
Here’s the lever that does the heavy lifting: shoot the moon when it’s low, near the horizon. Two things make it feel enormous there, and only one of them is real.
The unreal one is the moon illusion — a quirk of human perception, not optics. When the moon sits next to trees, hills, or buildings, your brain has reference objects to scale it against and reads it as far larger than the same disc riding high in an empty sky. Photograph both and measure: the disc is the same size. But the feeling of size is what sells a picture, and the illusion is strongest at the horizon.
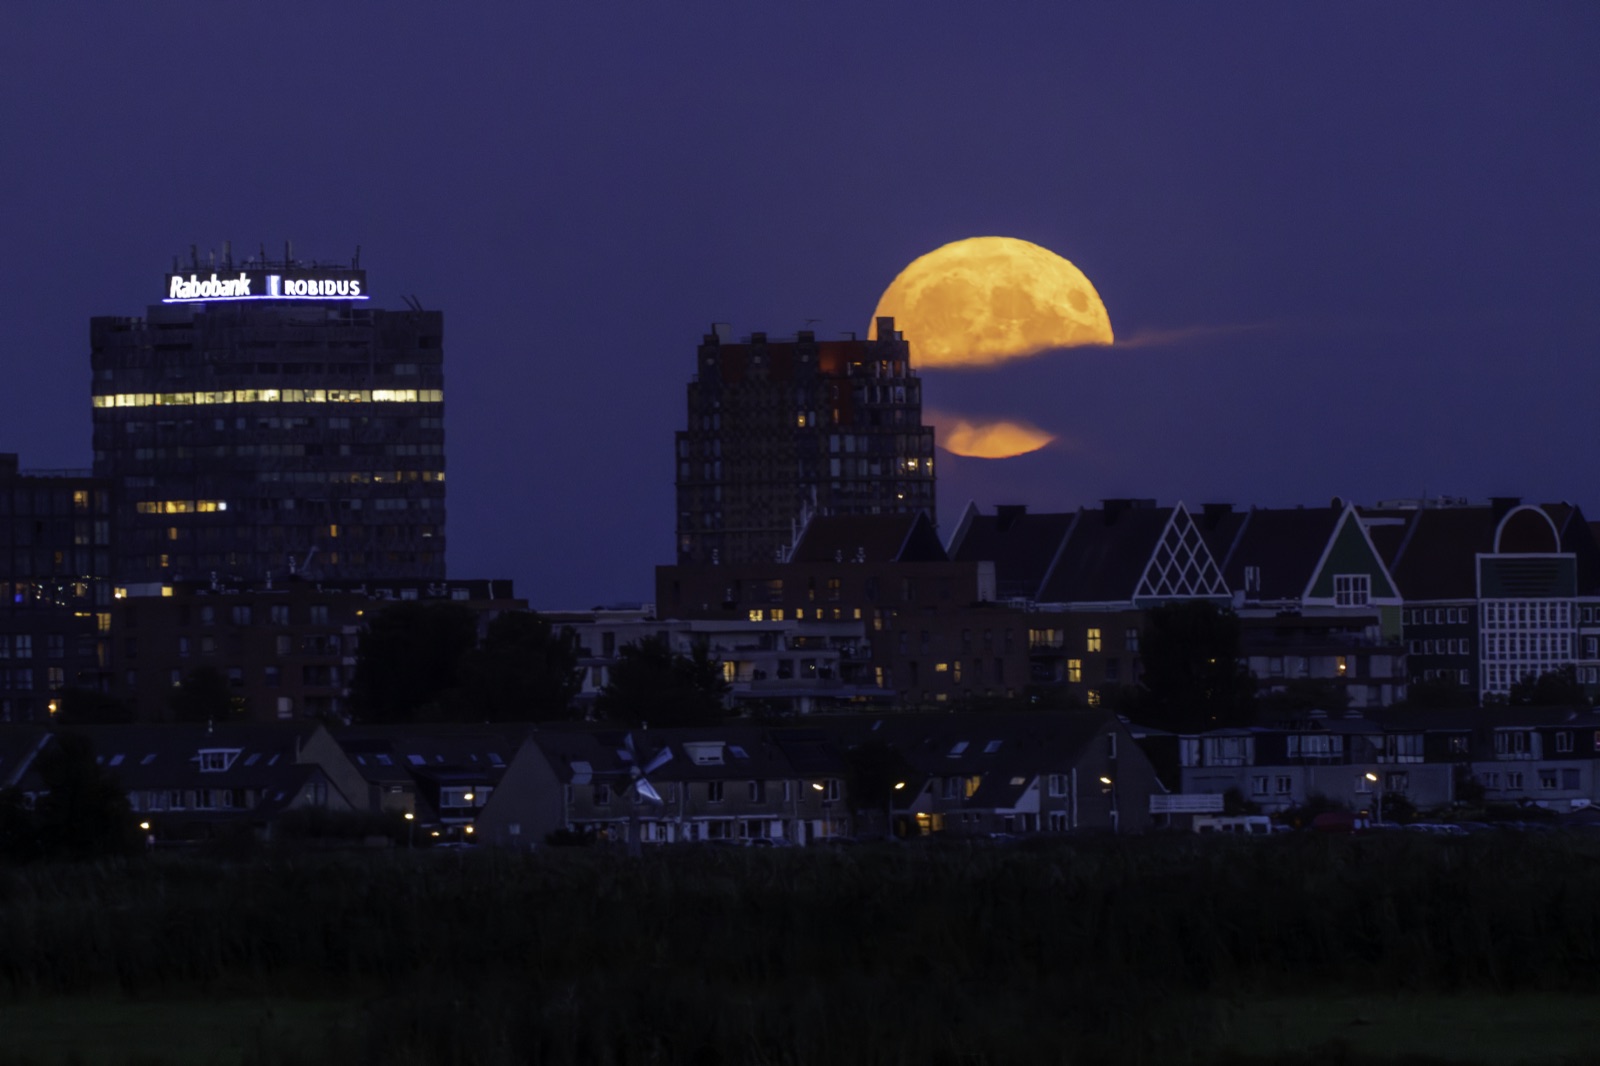
The real one is compression. Shoot from far back with a long lens and the moon — effectively at infinite distance — stays the same size in frame while your foreground subject shrinks into the plane behind it. Stand close with a wide lens and the moon is a pinhead. Stand a kilometre back with a 400 mm lens aimed at the same landmark and the moon renders as a giant disc looming directly behind it. That apparent scaling is perspective compression, and it’s the single most important technique in the whole genre.
So the recipe for a moon that looks super is: low on the horizon, behind a recognisable landmark, shot from a long way back with a long lens. None of that depends on perigee — it works on any full moon. The supermoon just gives you a slightly larger, brighter canvas and a reason to be out there. The broader mechanics of catching the moon as it clears the horizon are covered in how to photograph a full moon rising.
Timing: perigee, full phase, and the twilight window
Three clocks have to line up.
| What to align | Why it matters |
|---|---|
| Full phase near perigee | This is what makes it a supermoon at all — the almanac flags the dates. |
| Moonrise near sunset | Puts the moon low and large during usable twilight light. |
| The right rise azimuth | So the moon comes up behind your chosen landmark, not off to one side. |
A full moon always rises around sunset and sets around sunrise — that’s what “full” means geometrically. So a supermoon naturally clears the horizon as the sun goes down, which is exactly the window you want: the sky still holds colour, the landscape is still faintly lit, and the moon is at its lowest and most illusion-charged. Wait an hour and it’s a bright disc in a black sky with no foreground — technically fine, far less interesting.
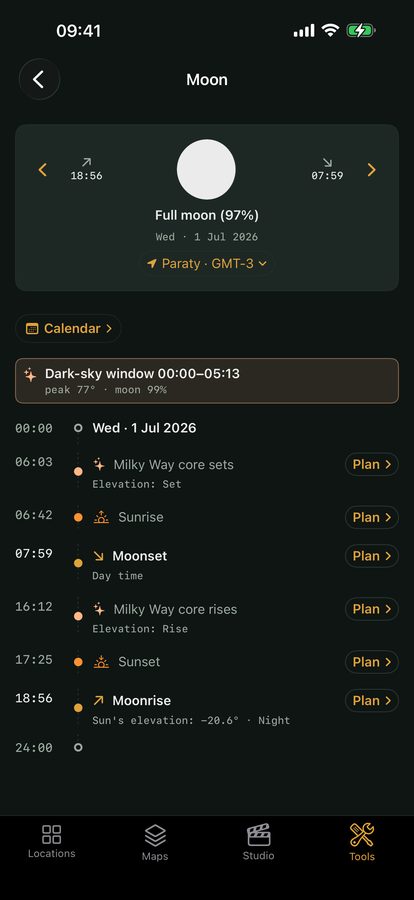
The piece people miss is azimuth — the compass bearing where the moon will rise. It changes night to night and place to place, so “the moon rises in the east” is too vague to plan a landmark alignment. You need the exact bearing for your spot and your date, then a shooting position far enough back that the moon’s rise path passes right behind your subject. That’s a planning problem, and it’s precisely what Viewpoint’s moon tools solve on-device: pick the date, see where and when the moon clears the horizon, and find the standpoint that lines it up. The deeper background on phases, rise times, and the moon as both subject and light source lives in the guide on photographing the moon and full-moon rises.
One more timing reality: the moon rises about 50 minutes later each day, so the night when moonrise best matches sunset may fall a day before or after the exact supermoon peak. A slightly smaller moon in great light beats a marginally larger one in a dark sky every time.
Exposing the disc itself
This trips up beginners every time: a full moon is sunlit. It’s a rock in full daylight, just very far away — so you expose it like a daytime subject, not like a night scene. Meter for the night sky and you’ll blow the moon to a featureless white blob.
The starting point is Looney 11, the lunar cousin of the “sunny 16” rule: at f/11, set your shutter speed to roughly 1/ISO (so ISO 100 → about 1/100s, ISO 200 → 1/200s). That’s a first guess, not gospel — check your histogram and the highlights. The lunar surface holds detail right up to the edge; your job is to keep the bright limb from clipping so the craters and maria (the dark “seas”) stay visible.
Two practical wrinkles:
- The disc and the foreground want different exposures. A twilight foreground often needs far more light than the bright moon. The clean fix is to blend two frames — one exposed for the moon, one for the landscape — taken seconds apart from a tripod, rather than chasing a single compromise that ruins both.
- A long lens magnifies shake and any motion blur. The moon drifts about its own diameter every two minutes, so very long exposures smear it. Keep shutter speeds short, use a solid tripod, and trigger with a remote or the self-timer.
Quick-start checklist
- Confirm the date — find a full moon near perigee on the almanac, and check moonrise lands close to sunset.
- Plan the alignment — get the moon’s rise azimuth and pick a standpoint far back so it rises behind your landmark.
- Go long and go back — use the longest lens you have, from distance, to compress the disc against your subject.
- Shoot it low — work the first minutes after moonrise while the moon illusion and twilight light are both in play.
- Expose for sunlight — start at Looney 11 (f/11, shutter ≈ 1/ISO), watch the highlights, don’t clip the disc.
- Blend if needed — bracket one frame for the moon and one for the foreground on a steady tripod, then merge.