🌊 Long Exposure & ND
How to blur clouds and motion in a long exposure
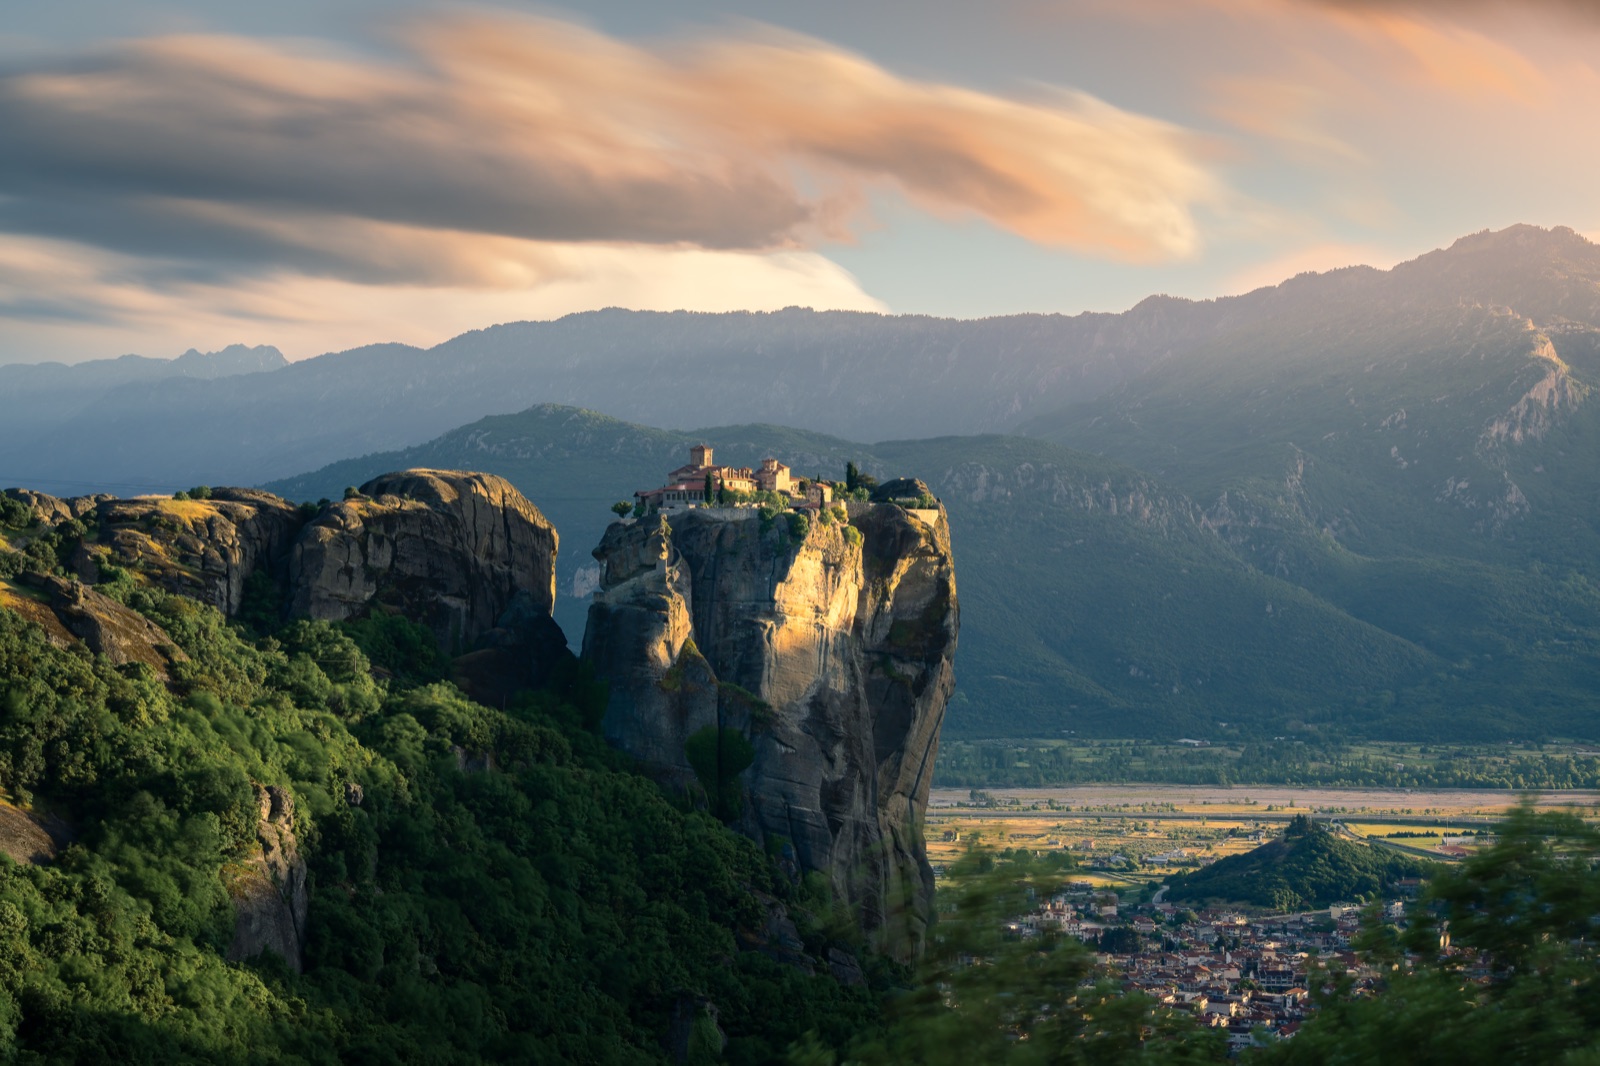
Clouds drift slowly, so streaking them into long, painterly trails is mostly a question of holding the shutter open long enough. Master the timing, the filters, and the one rock-solid anchor a moving scene needs, and you turn a flat sky into the most dramatic part of the frame.
A long exposure records what stays still sharply and what moves as a smear. Point that idea at the sky and you get streaked clouds; point it at a busy plaza and the crowd evaporates. The skill is matching the length of your exposure to the speed of the thing you want to blur, and giving all that motion something solid to push against. This is the natural next step after the broader long exposure and ND filters overview.
Why clouds need long exposures
Water over rocks blurs in a second or two. Clouds are different: they cross the sky slowly, often only a few degrees per minute, so a one-second frame won’t register their movement at all. To turn a cloud into a streak, a stretched, brushstroke shape that shows which way the wind is blowing, you have to keep the shutter open long enough for the cloud to physically travel across part of your frame. In practice that means 30 seconds to several minutes.
Two things control how dramatic the streaks look:
- Wind speed. Faster wind moves clouds further during the exposure, so the streaks stretch longer. A gusty day after a front passes is ideal; dead-calm air gives soft, barely-there smudges.
- Exposure length. The longer the shutter stays open, the further any cloud travels and the more it smears. A 30-second frame hints at motion; a four-minute frame can pull the whole sky into long radial lines.
There’s a directional trick worth knowing. Clouds moving across your frame streak sideways. But clouds moving toward or away from you streak radially: they appear to rush outward from, or pour into, a single vanishing point in the distance, the way railway tracks converge on the horizon. That radial pattern is the strongest version of the effect, so notice the wind direction relative to your lens. A wide lens pointed up-wind, clouds flowing straight at the camera, gives those exploding-sky shots.

Getting to minutes in daylight: ND filters
At night or deep into blue hour, a 30-second-plus exposure happens naturally: the scene is dark, so the shutter has to stay open. The hard case is daylight. Even at your lowest ISO and a small aperture, a bright sky forces a fast shutter, and you can’t reach minutes without massively overexposing.
The fix is a neutral density (ND) filter: dark glass that cuts light evenly across all colours, so you can lengthen the shutter without a colour cast. NDs are rated in stops, where each stop halves the light and therefore doubles the exposure time you can use. The stop count, not the “ND number” on the box, drives the maths: a 3-stop is an ND8, a 6-stop an ND64, a 10-stop an ND1000.
| Filter | Stops | Roughly what it buys you |
|---|---|---|
| ND8 (3-stop) | 3 | Mild; waterfalls and texture in shade |
| ND64 (6-stop) | 6 | Cloud and water smoothing in daylight |
| ND1000 (10-stop) | 10 | 30 seconds to a minute-plus in bright light |
| Stacked (15+) | 15-20 | Minutes-long frames under full sun |
The timing follows a simple rule: new time = base x 2^stops. Meter the scene without the filter to find your base shutter, then multiply. A base of 1/15 s with a 10-stop ND gives roughly (1/15) x 2^10, about 68 seconds. Need longer, in brighter light? Stack two NDs: a 10-stop plus a 6-stop adds up to 16 stops, deep into multi-minute territory. The same filters and maths drive the silky-water look in how to photograph silky water; clouds just need the longer end of the range.
One workflow note: a 10-stop is too dark to focus or meter through, so compose and focus first, then fit the filter, and switch to manual focus so the lens doesn’t hunt in the dark.
Beyond clouds: crowds, foliage, and light trails
The same physics blurs anything in motion, which opens up several deliberate effects:
- Vanishing crowds. In a multi-minute exposure, people walking through a scene don’t stay in any one spot long enough to register; they fade to faint ghosts or disappear entirely. This is the classic trick for clearing tourists from a landmark without waiting for an empty moment that never comes.
- Wind-blown plants. Grasses, wildflowers, and leafy branches soften into impressionistic washes of colour. Used carefully, this sets off a sharp, static subject; used carelessly, it just looks out of focus, so let it be a choice, not an accident.
- Light trails at blue hour. Once the sky darkens, car headlights and taillights draw continuous ribbons of white and red light along the road. Blue hour is the sweet spot: dark enough for the trails to glow, but with enough colour left in the sky to keep the scene from going black.
The setup that makes it work
A few practical points separate a clean multi-minute frame from a frustrating one:
- Bulb mode and a remote. Most cameras max out at a 30-second timed shutter. Anything longer needs bulb mode, where the shutter stays open as long as the release is held. Use a remote release or intervalometer with a built-in timer to dial in, say, exactly 3 minutes without touching (and shaking) the camera.
- Tame the noise. Multi-minute exposures warm the sensor, and a warm sensor produces thermal noise: random speckles that build up the longer the shutter is open. Long-exposure noise reduction has the camera shoot a matching dark frame and subtract that speckle pattern automatically. It roughly doubles your time per shot, but the cleaner result is usually worth it.
- Anchor the chaos. Streaking clouds and ghosting crowds are only striking against something rock-solid. A lighthouse, a building, a pier, or a lone tree gives the eye a sharp anchor and makes all that movement read as movement rather than mush. Compose around that static subject first, then let the motion happen around it.
- Lock it down. A sturdy tripod is non-negotiable; at these shutter speeds the faintest vibration smears your sharp elements too. Trigger remotely and, on a DSLR, cover the viewfinder to stop stray light leaking in.
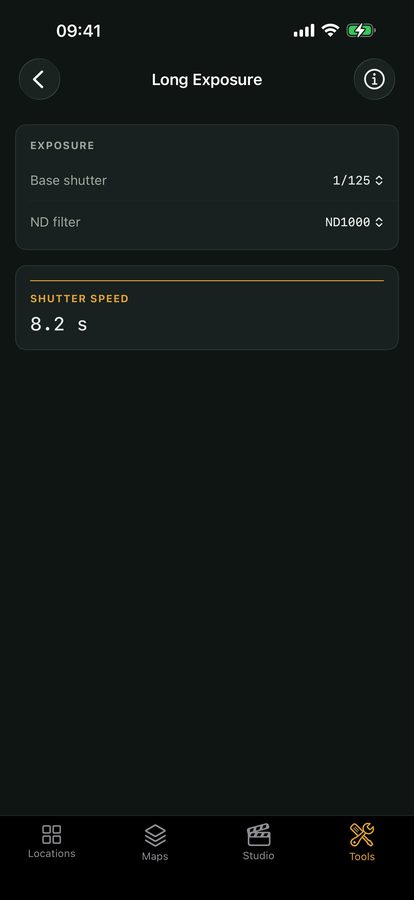
Working out the exact shutter for a given ND stack at your metered light is fiddly in your head. The long-exposure calculator in Viewpoint, one of the photography calculators, takes your base reading and filter strength and returns the timed exposure to set, straight into the minutes.
Quick-start checklist
- Pick a windy day and a strong static subject (lighthouse, tree, building) to anchor the frame.
- Compose and focus first, then fit a 10-stop (or stacked) ND; switch to manual focus.
- Meter without the filter, then use new time = base x 2^stops, or the in-app calculator, for your shutter.
- Set bulb mode with a remote or intervalometer timer for anything past 30 seconds.
- Turn on long-exposure noise reduction to subtract thermal noise on multi-minute frames.
- For radial streaks, point up-wind so clouds flow toward a vanishing point.