🌊 Long Exposure & ND
Long exposure photography
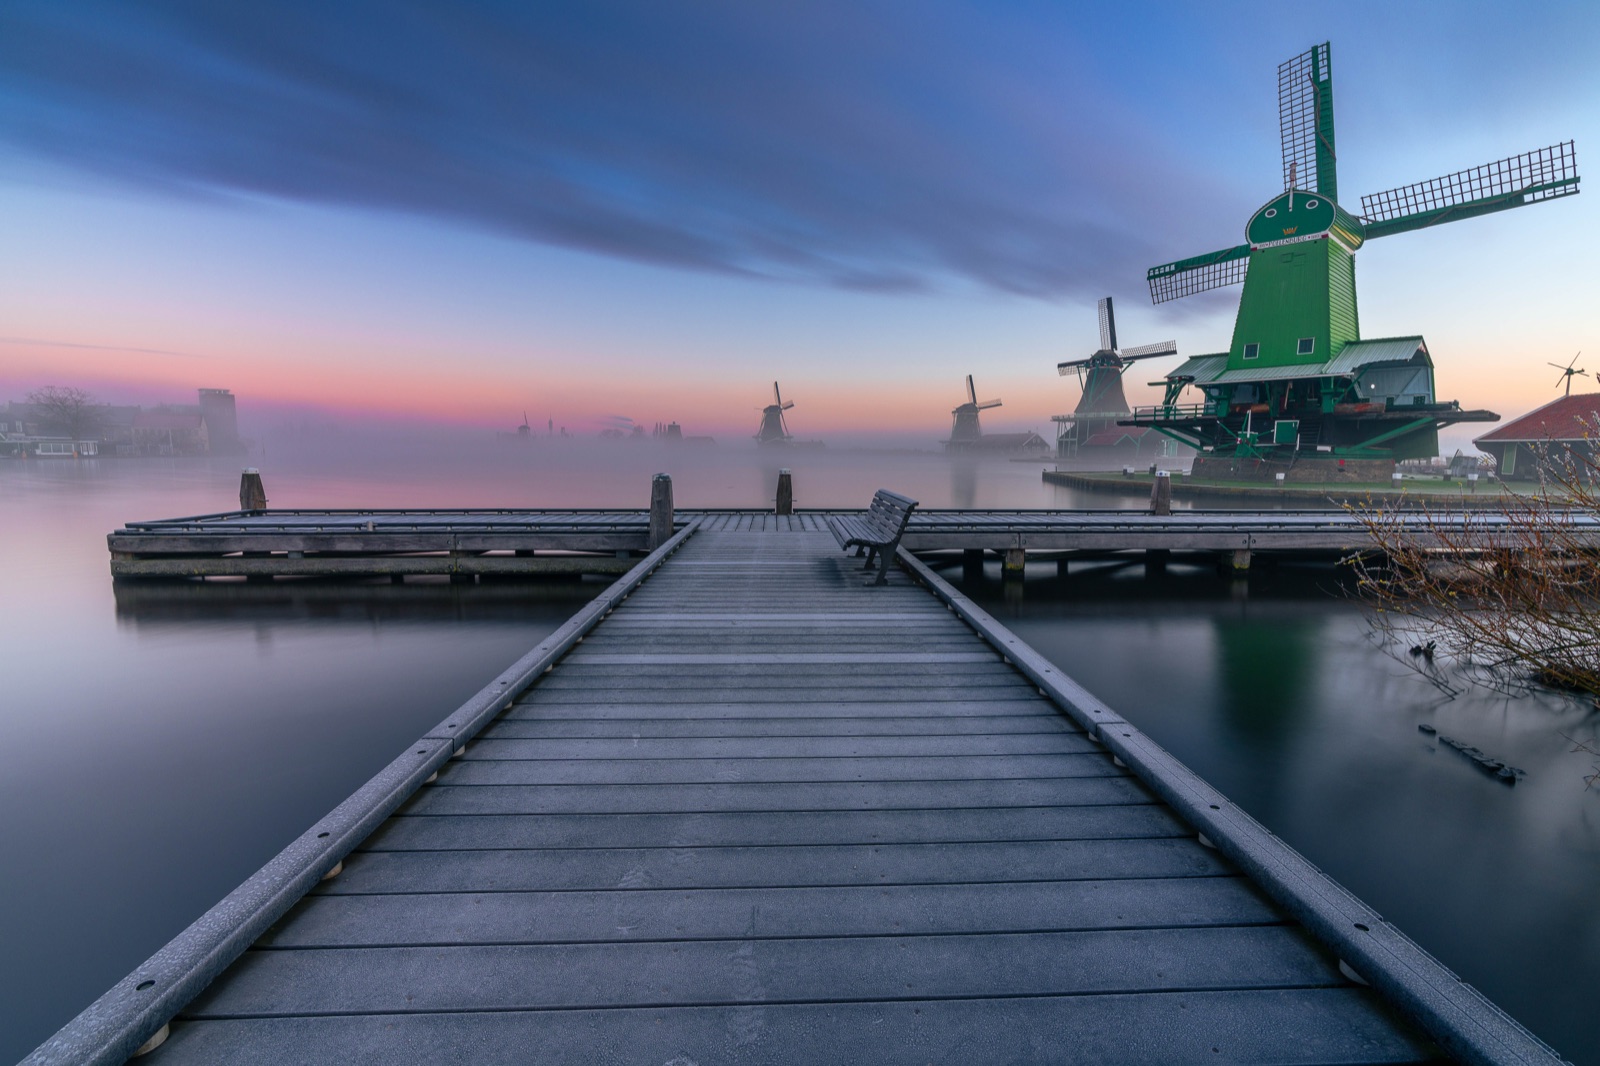
Silky waterfalls and streaking clouds aren't accidents of light or expensive luck — they're the predictable result of one decision: leaving the shutter open. Once you understand what a "stop" of neutral density buys you and how to do the simple doubling math, you can plan any long exposure before you set foot on location.
A long exposure is just a photograph where the shutter stays open long enough for anything moving to smear into motion while everything static stays razor-sharp. That contrast — sharp rock against silk water, crisp pier against streaked sky — is the entire creative payoff. The technique looks like magic in the final frame, but it runs on arithmetic you can do in your head.
What a long shutter actually does
When the sensor collects light over seconds instead of a fraction of one, moving subjects spread their position across the whole exposure and blur, while still objects keep recording the same pixels and stay sharp. That single fact gives you three reliable looks:
- Silky water. A waterfall or surf turns to mist; a choppy lake flattens to glass. Roughly 0.5–2 seconds keeps some texture and direction in moving water; 30 seconds or more wipes it smooth.
- Streaking cloud. Wind becomes visible as the sky stretches into directional streaks. This needs real time — 30 seconds to several minutes depending on how fast the clouds move.
- Ghosting out crowds. People walking through a busy plaza blur into faint ghosts or vanish entirely, leaving the architecture clean. At night, car headlights draw continuous light trails.
The catch is shutter speed. To smooth water at midday you might need a 30-second exposure — but in daylight, even at base ISO and a small aperture, 30 seconds floods the sensor and blows the frame to pure white. You need a way to throw away light without throwing away image quality. That’s the filter’s job.
Neutral-density filters and stops
A neutral-density (ND) filter is a piece of dark glass that cuts light evenly across all colours. “Neutral” is the important word: it dims the scene without adding a colour cast, so a long-exposure frame looks like the same scene, just darker — which lets you slow the shutter to compensate.
ND filters are rated in stops. A stop is the universal currency of exposure: each stop halves the light, so each stop of ND lets you double the shutter time to keep the same brightness. (If stops are new to you, the Field Guide: the exposure triangle explains how shutter, aperture, and ISO all trade in this same unit.)
Three strengths cover almost everything:
- 3-stop (ND8). Mild. Enough to smooth a waterfall in open shade, or to nudge a shutter from 1/60 to about 1/8.
- 6-stop (ND64). The daylight workhorse for water and cloud smoothing without going to extremes.
- 10-stop (ND1000, the “big stopper”). The one that gets you to 30-second-plus exposures in bright daylight. It’s so dark it’s nearly opaque — you can’t see through it by eye.
Stronger stacks (15–20 stops) exist for minutes-long frames under full sun, but a 6-stop and a 10-stop handle the vast majority of landscape work.

The ND math, worked
Here’s the whole formula:
new shutter = base shutter × 2^(stops)
The base shutter is the correct exposure you’d use without any filter — you meter the scene normally to find it. The stops is your filter’s strength. Because each stop doubles the time, the multiplier is two raised to the number of stops: a 6-stop multiplies your base time by 2⁶ = 64; a 10-stop multiplies it by 2¹⁰ = 1024.
A worked example. Say you meter a coastal scene at 1/15 second, f/11, ISO 100 — a clean unfiltered exposure. You want glassy water, so you screw on a 10-stop ND:
- new shutter = (1/15) × 2¹⁰
- = (1/15) × 1024
- ≈ 68 seconds
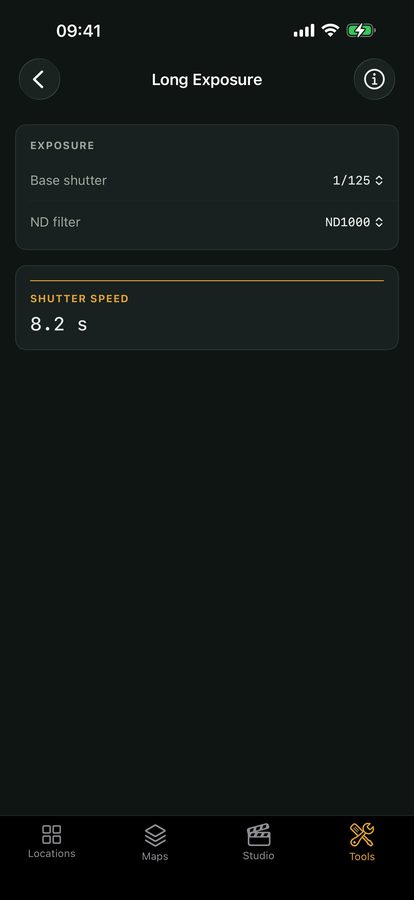
So your roughly one-fifteenth-of-a-second snapshot becomes a 68-second exposure that turns the sea to fog. The doubling table is worth memorising: each stop you add doubles the result. A 6-stop on that same base would give (1/15) × 64 ≈ 4 seconds; going to a 10-stop adds four more stops, and four more stops is another 2⁴ = 16× — so that 4 seconds becomes about a minute. This is exactly the kind of arithmetic the photography calculators handle for you in the field — punch in your base shutter and filter strength and read off the time — but knowing the mechanism means the number never surprises you.
Gear and the meter-first workflow
Long exposure is unforgiving of camera movement: any shake during a 60-second frame smears the whole image, not just the moving parts. So the gear list is short but non-negotiable:
- A sturdy tripod. This is the foundation — a flimsy one ruins everything downstream.
- A remote release or the 2-second self-timer, so pressing the shutter doesn’t jog the camera. For exposures longer than 30 seconds you’ll need a remote anyway (more on that below).
- Electronic front-curtain shutter (EFCS) or mirror lock-up if your camera has it, to kill the tiny vibration the mechanical shutter or DSLR mirror makes when it fires.
The workflow matters as much as the kit, because a 10-stop filter is nearly opaque — your camera can’t focus or meter through it:
- Compose the shot first, with no filter fitted.
- Focus while you can still see clearly, then switch to manual focus so the lens can’t hunt and refocus in the dark once the filter is on.
- Meter the scene to find your base shutter — again, with no filter.
- Now fit the ND, switch to manual or bulb, and dial in the calculated time. Touching nothing else.
Skip step 3 and you’ll try to meter through the dark glass and get nonsense. Meter clean, then fit, then compute — that order is the whole game.
Bulb mode and the limits that actually bite
Most cameras top out at a 30-second shutter in their normal modes. Anything longer needs bulb mode, where the shutter stays open for exactly as long as you hold the release — which is why a remote (ideally one with a timer) becomes essential past 30 seconds. Set your computed time, lock the release, and let it run.
One myth to put to rest: reciprocity failure is not your problem on digital. On film, exposures past roughly a second need extra time beyond what the math says, because the emulsion responds non-linearly — and the amount varies by film stock. Digital sensors don’t behave that way; a stop is a stop however long the shutter is open, so the base × 2^(stops) formula holds cleanly straight through a multi-minute frame. What does bite on very long digital exposures is thermal noise — the sensor warms up and adds speckle, which in-camera “long exposure noise reduction” (a dark-frame subtraction) cleans up — and plain battery drain. Neither is a reason to fudge the exposure math; both are just things to plan for.
Quick-start checklist
- Pick the look and the rough time: ~1 second for textured water, 30 seconds-plus for glass or streaking cloud.
- Lock the camera on a sturdy tripod; enable EFCS or mirror lock-up.
- Compose, focus, then switch to manual focus before any filter goes on.
- Meter without the filter to get your base shutter — never meter through a strong ND.
- Fit the ND and compute base × 2^(stops) (a 10-stop multiplies by 1024).
- For anything over 30 seconds, use bulb mode with a remote release.
- Trust the math on digital — ignore film reciprocity, but watch thermal noise and battery on the long ones.