🌊 Long Exposure & ND
How to photograph silky water: seascapes, waterfalls and rivers
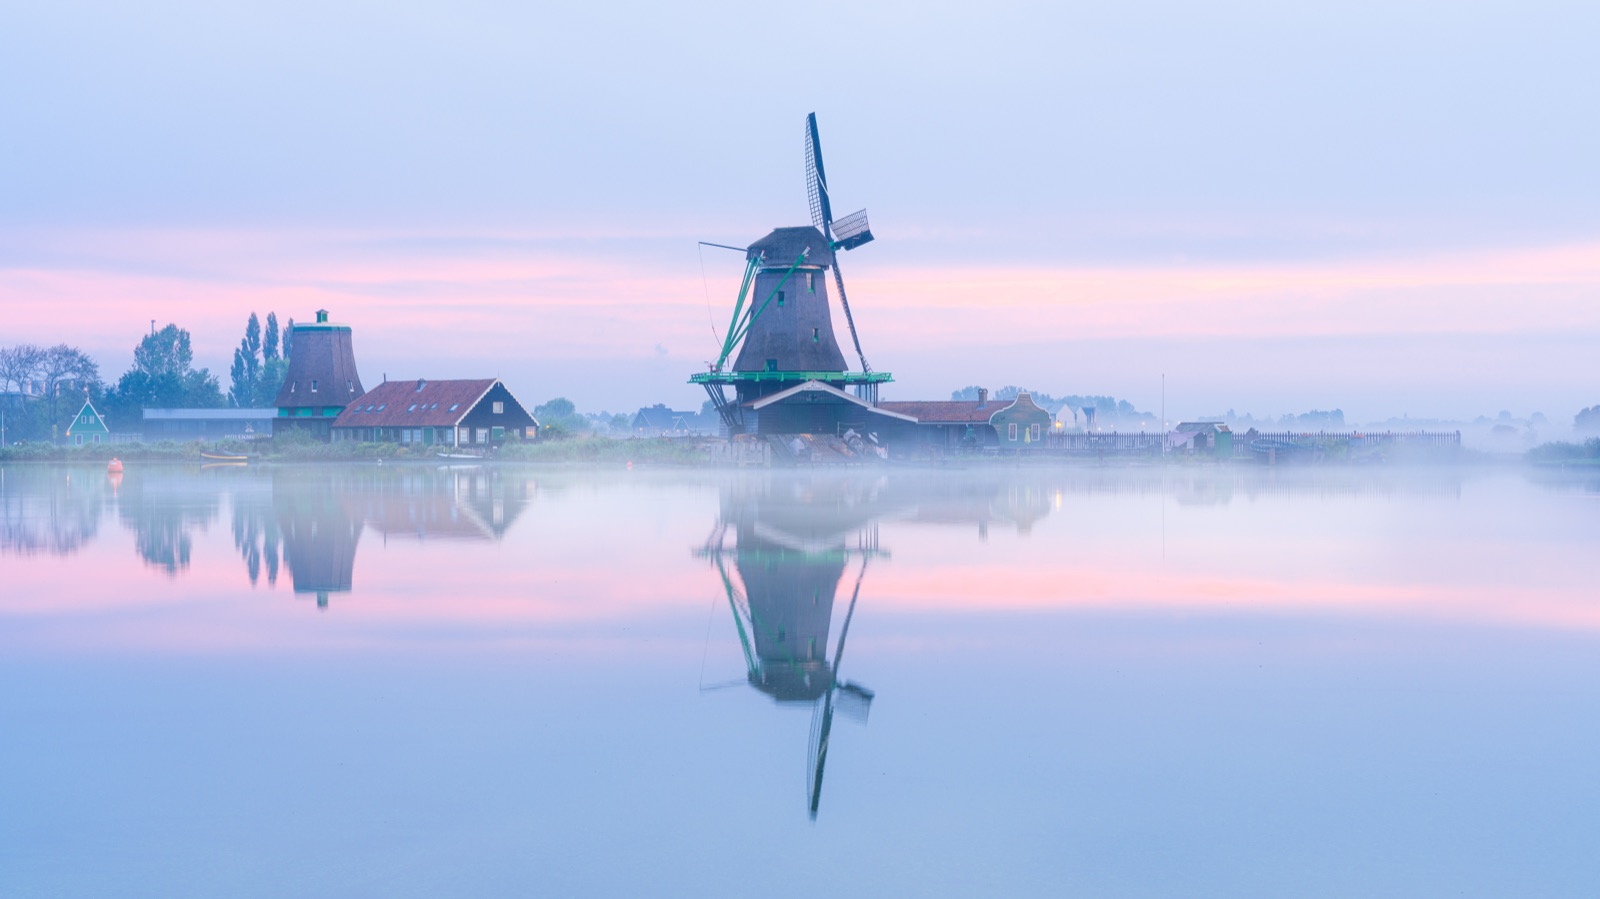
Silky water isn't a filter you slap on in editing — it's a shutter decision you make in the field. Once you understand that the look is set entirely by how long your shutter stays open relative to how fast the water moves, you can dial in anything from crisp, textured flow to a soft, foggy sea. This guide shows you the times, the gear, and the order of operations.
Moving water is the most popular long-exposure subject for a simple reason: it transforms in a way you can see and control. A river that looks chaotic to your eye becomes a ribbon of mist on the sensor. The trick isn’t magic and it isn’t editing — it’s the shutter speed, the length of time your camera’s shutter stays open and lets the water paint across the frame.
The one idea that controls the look
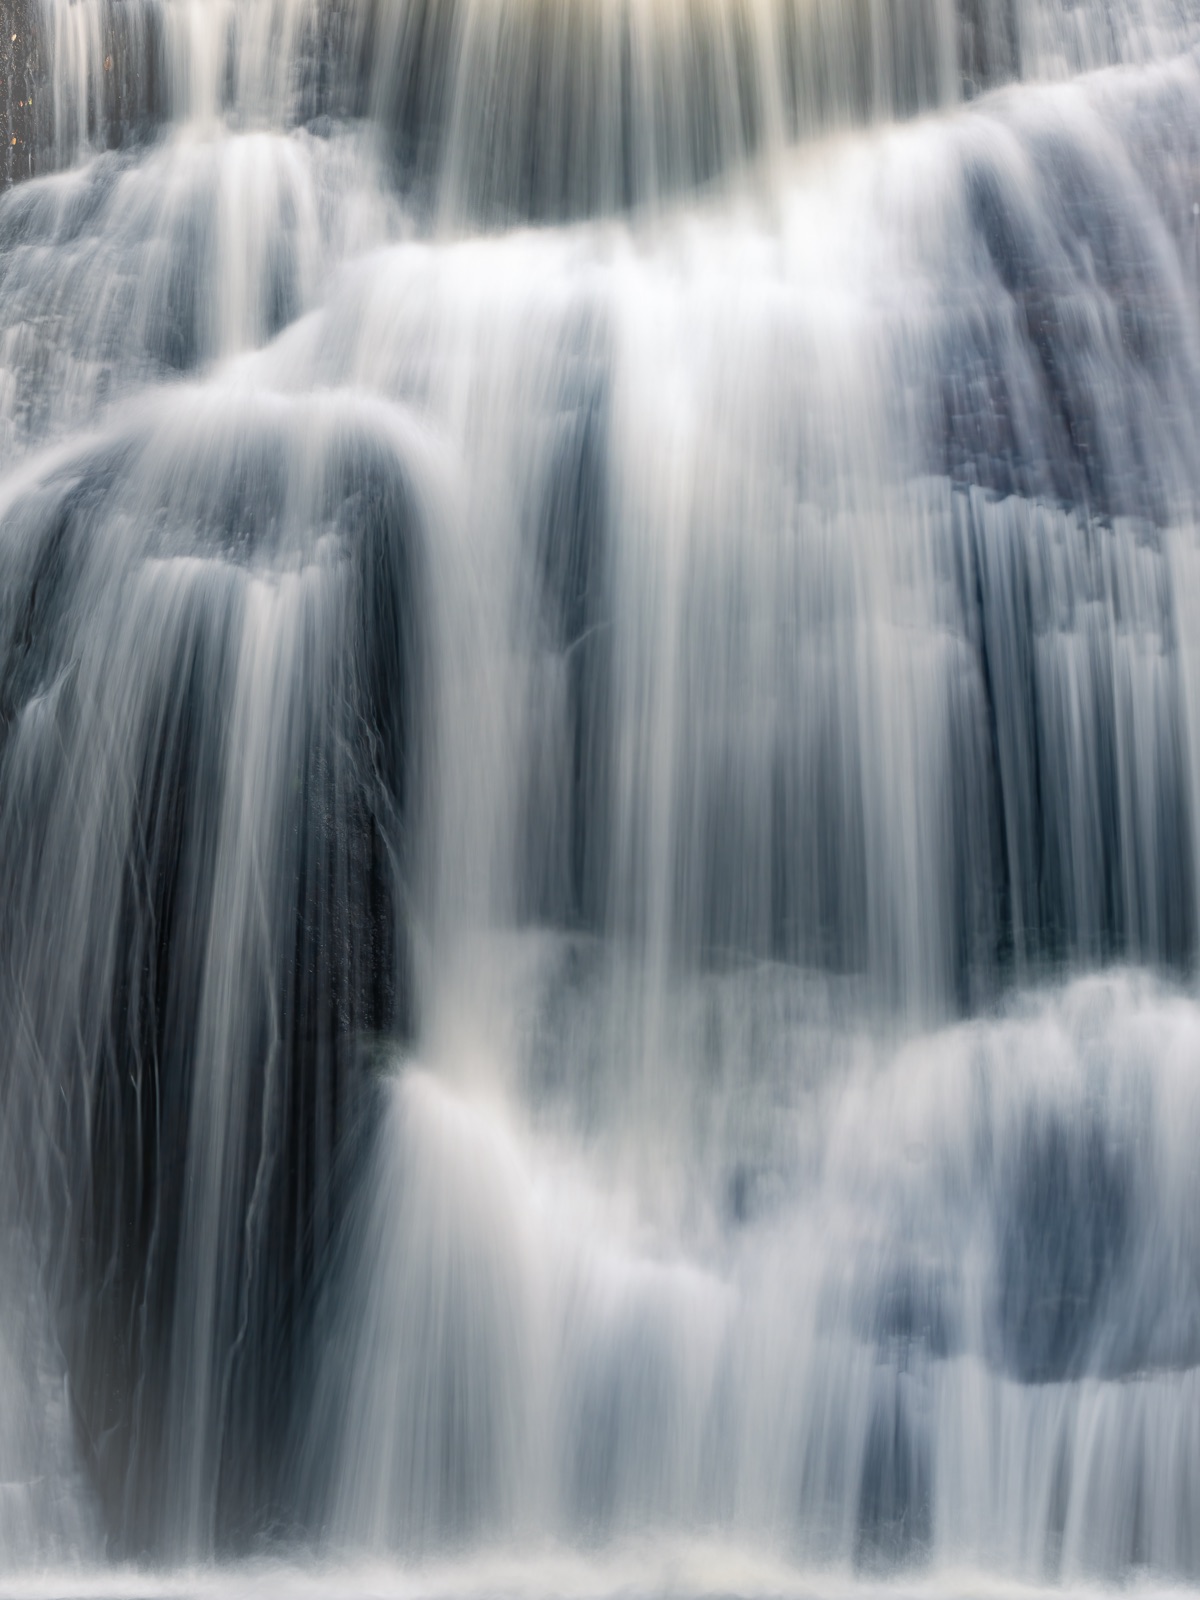
Everything about silky water comes down to shutter time relative to how fast the water moves. While the shutter is open, fast-moving water travels across many pixels and blurs into smoothness; slower water travels less and keeps more of its texture. So the same shutter speed gives a different result on a thundering waterfall than on a lazy tidal flat.
That means there’s no single “silky” number — you match the time to the subject. Here’s a rough working guide:
| Shutter time | What you get | Best for |
|---|---|---|
| ~1/4 to 1 sec | Visible texture and streaks; flow still reads as flow | Waterfalls where you want to see the water move |
| ~1 to 5 sec | The classic silky, flowing look | Rivers, medium waterfalls, falls in shade |
| ~15 to 30 sec+ | Soft mist or a flat, foggy surface | Seascapes, lakes, slow tidal water |
A fast waterfall “silks” at a shorter time than a slow-moving sea, because the water is already covering more ground per second. Start near these ranges, take a frame, and adjust: if the water looks too busy, go longer; if it’s an undifferentiated white blur with no shape, go shorter.
The gear that makes it possible
You don’t need much, but each piece earns its place.
- A sturdy tripod. Non-negotiable. At one second or thirty, any movement smears the whole scene, not just the water. Rocks, sky and trees must stay razor-sharp while only the water blurs — that contrast is the entire effect.
- An ND (neutral density) filter. In daylight, your fastest “slow” shutter is still too fast — a bright scene at base ISO might force you to 1/30 sec. An ND is dark glass that cuts the light by a fixed number of stops (each stop halves the light), letting you reach multi-second exposures in full sun. A 6-stop ND is the versatile starting point for water; a 10-stop handles very long, foggy-sea exposures.
- A remote release or the 2-second self-timer. Pressing the shutter by hand nudges the camera. Either tool fires it without touching it.
- A polariser. It cuts glare off wet rocks and the water’s surface, restoring colour and detail you’d otherwise lose to reflection. As a bonus, it eats roughly 1.5 to 2 stops of light on its own — a mild ND you’ll often want anyway.
If you want the precise shutter for a given filter, the photography calculators do the stop math for you so you’re not counting on your fingers in the cold.
The order of operations in the field
Strong ND glass is dark — a 10-stop is nearly black to the eye and to the autofocus system. So the sequence matters:
- Compose the frame the way you want it.
- Focus on your subject, then switch to manual focus so it can’t hunt later.
- Meter the scene — get a correct exposure — before the dark filter goes on. This base exposure is the number everything else is built from.
- Fit the ND and dial in the new, longer shutter to compensate for the stops you just added.
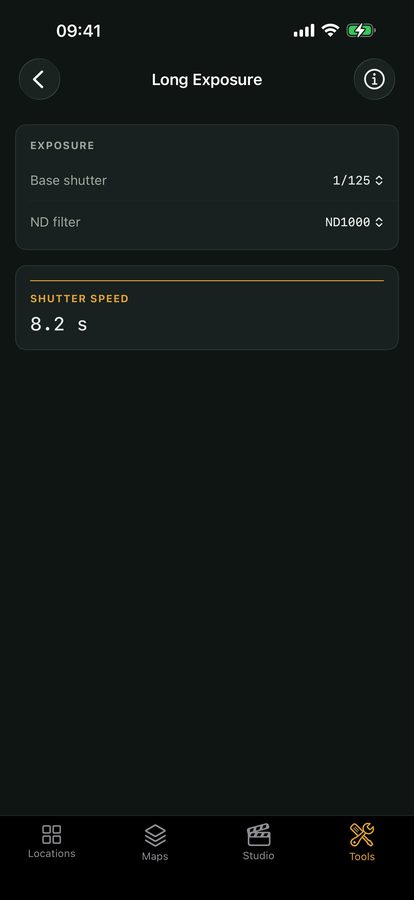
This is where a long-exposure calculator earns its keep: feed it your base exposure and the filter’s stop value, and it returns the exact shutter time. The deeper mechanics — why stops stack, how reciprocity nudges very long exposures, which ND strength suits which light — are worth reading up on in Long exposure photography.
Don’t let the white water clip
Silky water is bright water, and bright water is the easiest thing in the frame to clip — to blow out so completely that the highlights record as pure white with no detail to recover. Once it’s clipped, no edit brings the texture back.
Your guard against this is the histogram, the little graph that shows how the tones in your image are distributed from black on the left to white on the right. After each exposure, check that the spike for the foam and froth sits just short of the right edge, not jammed against it. If it’s pinned to the wall, reduce exposure — shorten the shutter, close the aperture a stop, or lower ISO — and reshoot. Trust the histogram over the rear screen, which lies in bright outdoor light.
Timing a seascape
The sea adds one more variable: the wave itself. A long exposure averages whatever the water does during the open shutter, so when you start the frame changes the result.
- For soft, drifting mist around rocks, start the exposure as a wave is retreating — the water pulling back leaves silky trails streaming out to sea.
- For leading lines that draw the eye in, time it to an incoming surge so the foam reaches up into the frame.
- For a flat, foggy surface, go long enough (often 30 seconds or more) that dozens of waves average into a smooth sheet.
Take several frames at the same settings; with the sea, the difference between a flat shot and a great one is often just which wave you caught. Capturing each attempt with its conditions noted — light, tide, the shutter you used — turns a hit-or-miss outing into a repeatable recipe, which is exactly the kind of field record Viewpoint is built to keep.
Quick-start checklist
- Match the time to the subject: ~1/4–1 sec for textured waterfalls, ~1–5 sec for silky flow, ~15–30 sec+ for misty seas and lakes.
- Lock it down: sturdy tripod, plus a remote release or the 2-second timer.
- Compose, focus, then meter — get your base exposure before the dark ND goes on.
- Reach the shutter: 6-stop ND as your everyday filter, 10-stop for very long; add a polariser to kill glare and gain ~1.5–2 stops.
- Watch the histogram so the foam sits just short of clipping.
- For seas, time the wave — start on the retreat for trailing mist, and shoot several frames.