🌌 Milky Way & Astro
How to photograph the Milky Way
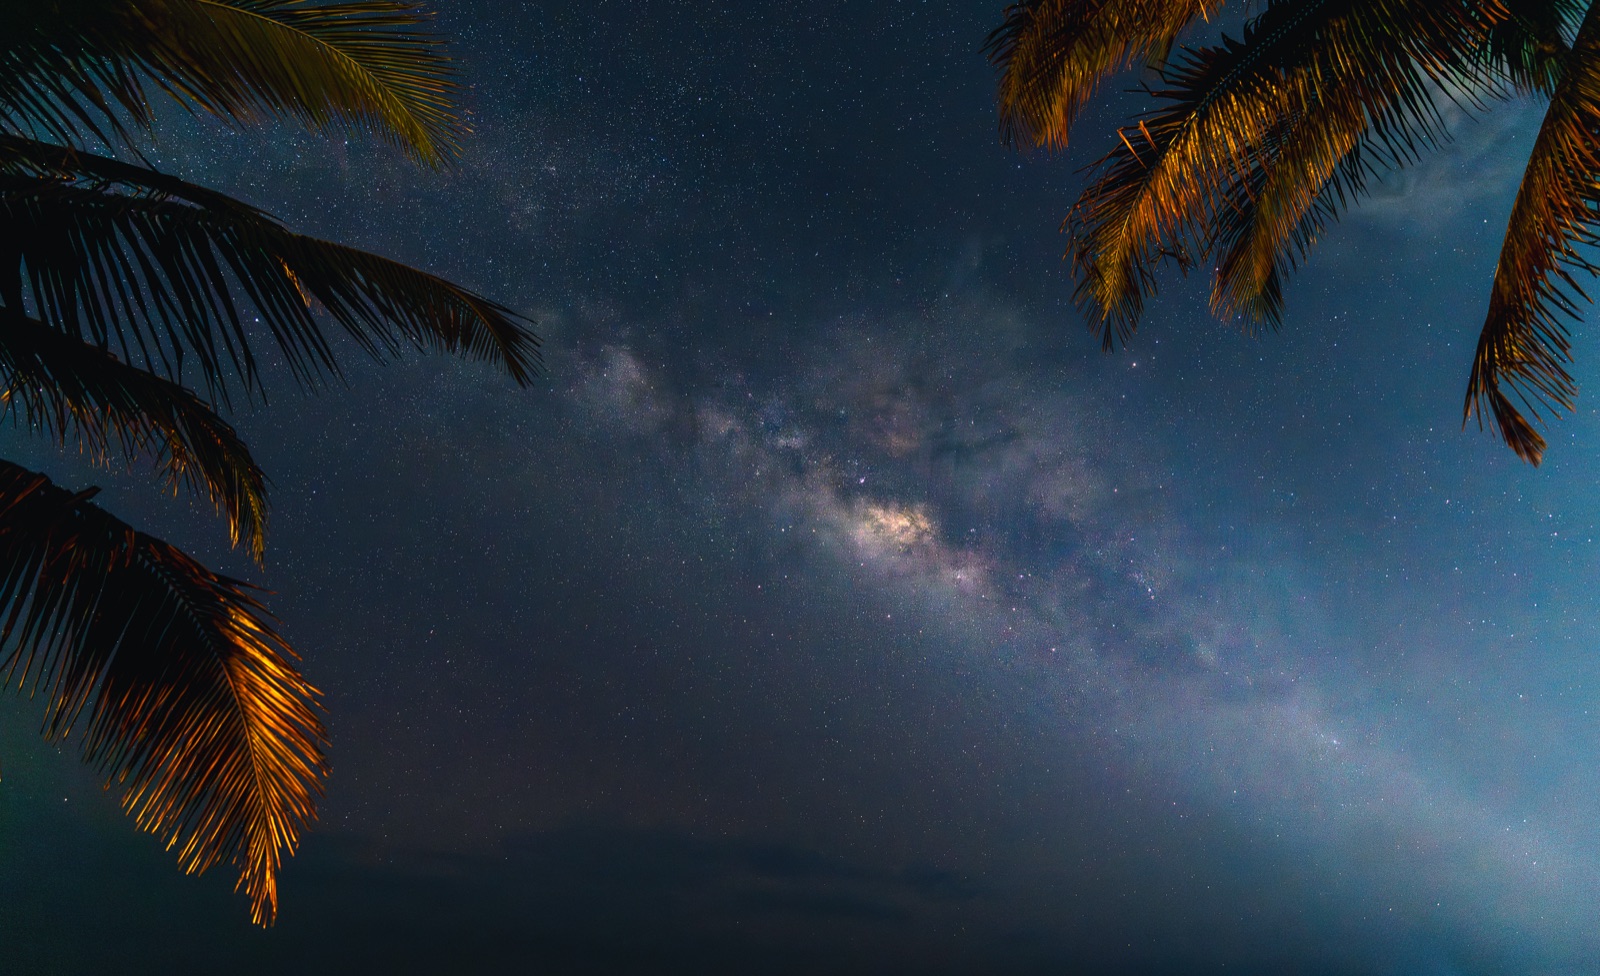
The bright galactic core is only up — and in a dark enough sky — for part of the year, in a window you can predict to the minute. Get the season, the settings and the planning right and a sharp, bright Milky Way is repeatable, not luck.
Photographing the Milky Way feels like luck the first few times — and then you learn that almost everything that makes or breaks the shot is predictable. Where the bright core sits, when it clears the horizon, how dark the sky is, and how long you can leave the shutter open before stars smear: all of it can be known before you leave the house. This guide walks through the four things that matter, in order.
When the Milky Way core is visible
The part of the Milky Way worth chasing is the galactic core — the dense, bright region in Sagittarius and Scorpius. It is below the horizon or lost in daylight for a chunk of the year, which is why photographers talk about Milky Way season.
In the northern hemisphere the core is realistically shootable from roughly late February to October. Early in the season it only rises in the hours before dawn; by mid-summer it is up for most of the night; late in the season it is already up at dusk and sets in the evening. The further south you are, the higher and longer the core rides — from the southern United States or southern Europe it climbs well clear of the horizon, while from far-northern latitudes it stays low and, in deep summer, never escapes the lingering twilight at all. In the southern hemisphere the core passes high overhead and the season is broadly the same months, centred on the southern winter.
You do not have to memorise any of this. The point is that for any given night and location there is a specific core-rise and core-set time, and a specific window when it is both up and the sky is properly dark. The app’s Sun, Moon & Milky Way almanac computes that window for you and flags the nights when it lines up.
Find a dark sky, and dodge the moon
Two things wash the core out: artificial light and the moon.
For light, you want a genuinely dark site — think Bortle 1–4. A useful rule of thumb: if you can see the Milky Way clearly with your own eyes once dark-adapted, your camera will render it beautifully; if you can’t see it at all, no exposure trick fully rescues it.
The moon matters just as much. A bright moon is a giant softbox that floods the sky and drowns the core. Aim for the nights around the new moon, or for any night when the moon is below the horizon during your shooting window — a thin crescent that sets early is fine. This is exactly the filter the almanac’s Milky Way nights view applies: it highlights the evenings when the core is up in a dark sky with little moonlight, so you’re not cross-referencing three things by hand.
Camera settings: exposing for pinpoint stars
Milky Way exposure is a balancing act between gathering enough light and keeping the stars as points rather than streaks, because the sky is slowly rotating overhead.
- Lens and aperture. Use the widest, fastest lens you have — a 14–24mm at f/2.8 or faster is the classic choice. Shoot wide open, or stopped down just a third to a half a stop if the corners are soft.
- Shutter — the 500 and NPF rules. The longer the shutter, the more the stars trail. The old 500 rule gives a quick ceiling: max seconds ≈ 500 ÷ (focal length × crop factor) — so about 20 seconds on a 24mm full-frame lens. It’s a rough guide. The NPF rule is the modern, stricter version: it also accounts for your aperture and the camera’s pixel pitch, and it’s what you want for truly pinpoint stars on a high-resolution sensor. Both are built into the app’s calculators so you can read the number for your exact kit instead of doing arithmetic in the dark.
- ISO. Start around ISO 3200 and adjust. Modern sensors handle it well, and a slightly bright, noisy frame you can clean up beats a clean frame that’s too dark to hold detail.
- Focus. Autofocus won’t find the stars. Switch to manual, magnify a bright star on the rear screen, and turn the ring until it snaps to the smallest point. Re-check after you move the lens.
- Shoot RAW, and set white balance around 3900–4200K as a starting point — you’ll fine-tune it later, but it stops the preview from looking orange.
If you want to go further, stacking several identical frames and averaging them in software dramatically cuts noise and lets you keep ISO in check — but get one good single frame working first.
Compose with a foreground
A bright core over an empty horizon rarely holds attention. The frames people remember have an anchored foreground — a lone tree, a ridge line, a rock, a building — that gives the sky a sense of place and scale.
The catch is sharpness: at f/2.8 focused on the stars, a close foreground falls out of focus. Three common fixes:
- Blend two exposures — one focused on the stars, one focused on the foreground — and merge them in post.
- Light-paint the foreground briefly with a dim, warm torch during the exposure.
- Shoot the foreground during blue hour, while there’s still a little ambient light, and combine it with the later sky frame.
Composition still follows the usual landscape instincts — lead the eye, mind the horizon line, leave the core room to breathe.
Plan it so it’s repeatable
Everything above comes together in the planning. Before a shoot you want to know three things: is the core up and the sky dark tonight (almanac), where exactly will the core be from where I’m standing, and will it sit over the foreground I have in mind.
That last pair is what the AR Celestial Scout is for: point your phone at the actual landscape and the core’s arc is drawn over the live view, so you can see whether it rises behind your tree or off to the side — and scrub time forward to the moment it’s best placed. When you find it, start a shoot plan and the app will remind you when to be there.
Quick-start checklist
- A dark site (Bortle 1–4), checked for the moon below the horizon.
- Core up and dark in your window — confirm in the almanac.
- Fast wide lens, wide open; manual focus on a star.
- Shutter from the 500/NPF number; ISO ~3200; RAW.
- A foreground, with a plan to keep it sharp.
- The core’s position scouted in AR before you commit.
Get those right and the Milky Way stops being a gamble — it becomes a shot you can plan, return to, and improve.