🌌 Milky Way & Astro
Finding dark skies: light pollution and the Bortle scale
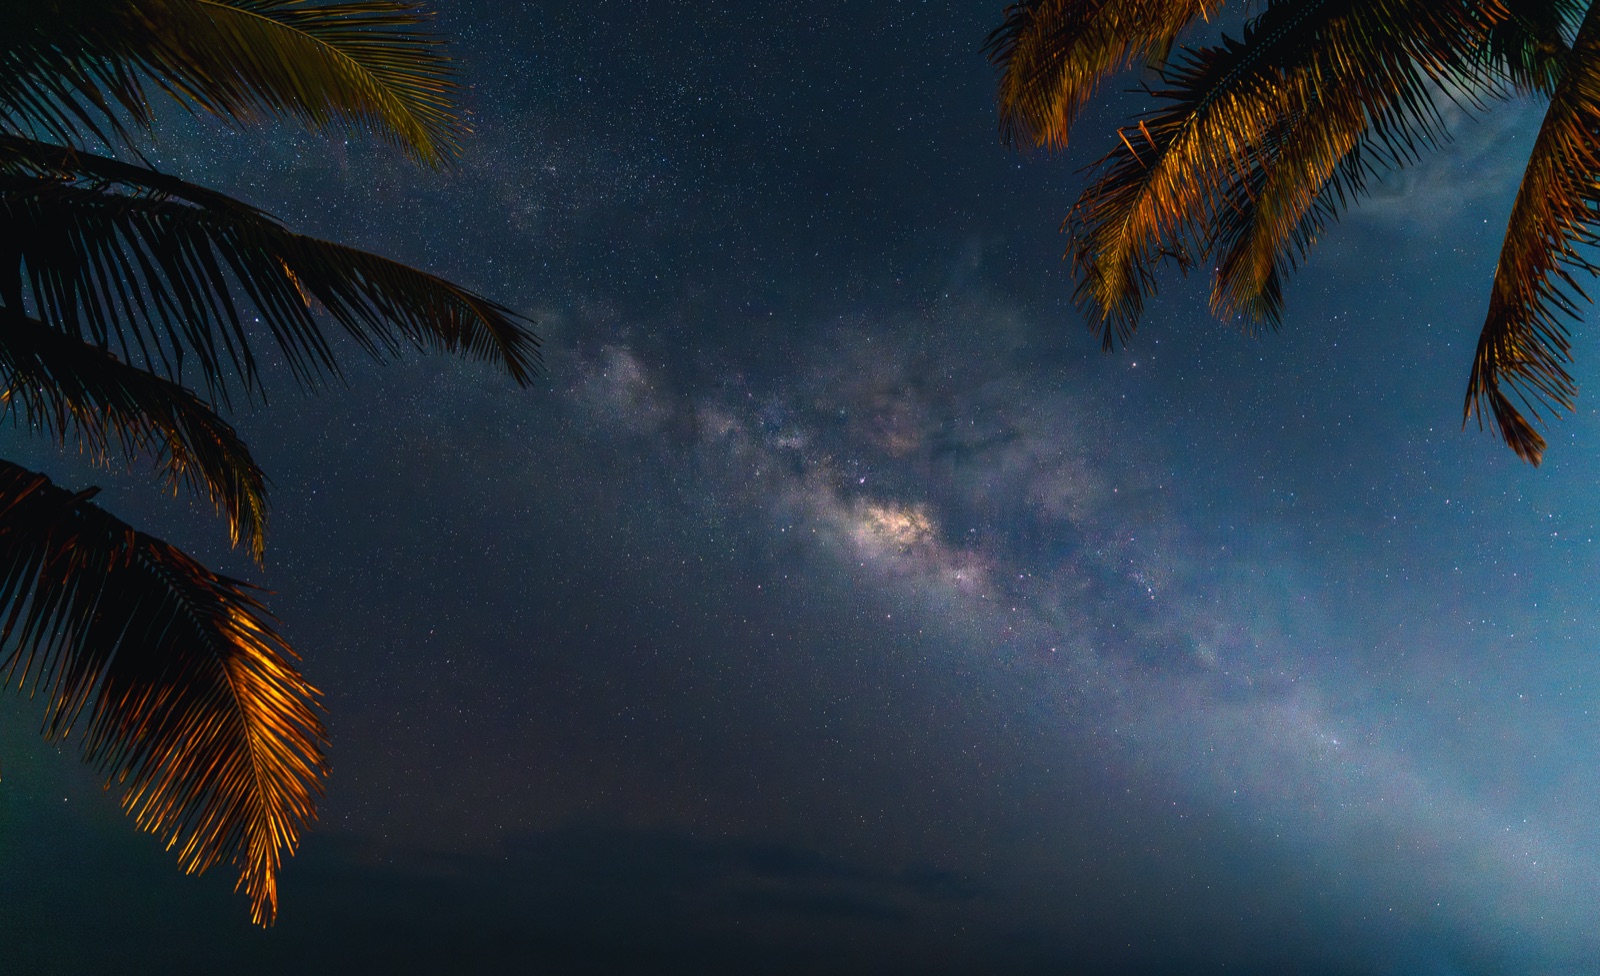
The single biggest variable in a Milky Way photo isn't your lens or your ISO — it's how dark the sky is overhead. Sky darkness is measurable, mappable, and entirely plannable, which means a good night is something you arrange in advance, not something you stumble into.
A camera can pull a lot out of a dim scene, but it cannot invent contrast that the sky has already erased. When a town’s glow scatters off the air between you and the stars, it raises the brightness of the whole background — and the faint structure of the Milky Way lives in the gap between that background and the brighter band of the galaxy. Close the gap with light pollution and the band disappears, no matter how long you expose. The fix isn’t a setting. It’s a location and a date, both of which you can pin down before you ever leave the house.
What light pollution actually does
Light pollution is artificial light scattered back down by the atmosphere, forming a glowing dome over and around any populated area. Two things matter for photography. First, it’s directional: a city sits in one part of your sky and throws a light dome above itself, brightest low on that horizon and fading as you look away from it. Second, it’s cumulative with distance — a big city stains the sky for 50 to 100 km, a small town for a few.
The Milky Way’s bright part, the galactic core (the dense region toward the constellation Sagittarius), is the faint target that light pollution kills first. From mid-northern latitudes the core sits low in the southern sky, rising in the southeast and setting in the southwest. That geometry is the whole game: if the nearest city is to your south, its dome lands exactly where the core will be, and you’ve lost before you started. The same drive to a dark site can succeed or fail depending on which way you point. Knowing where the core will sit on a given night — covered in our guide to how to photograph the Milky Way — lets you choose a site whose glow falls behind you, not in front.
The Bortle scale as shorthand
The Bortle scale is a nine-step rating of sky darkness, from class 1 to class 9, based on what an experienced observer can see by eye. It’s a convenient shorthand because most dark-sky maps colour the world by Bortle (or by the sky-brightness measurement behind it), so you can read a candidate site off a map before committing a drive.
Here’s roughly what the core looks like across the scale:
| Bortle | Sky | The core by eye / camera |
|---|---|---|
| 1–3 | Pristine to rural | Vivid and three-dimensional; dust lanes and structure obvious. The camera renders it beautifully. |
| 4–5 | Rural/suburban transition | Washed and flat; the band is there but faint, glow on one or more horizons. Workable, not stunning. |
| 6–7 | Suburban to bright suburban | Effectively gone overhead; only the brightest stars survive. No exposure rescues it. |
| 8–9 | City to inner city | Just the moon, planets, and a handful of stars. Forget the Milky Way. |
The practical line for a satisfying core shot is Bortle 4 or darker — and every step toward Bortle 1 buys you visibly more detail. Treat the number as a target, not a guarantee: local terrain, a nearby gas flare, or a single bright town can make a “Bortle 3” site worse than the map says.

The naked-eye test (trust your own eyes)
The map is a plan; your eyes are the verdict. There’s a simple, reliable test once you arrive:
If you can see the Milky Way overhead with dark-adapted eyes, the camera will render it well. If you genuinely can’t make it out, no exposure trick fully rescues it.
This works because your eye and the sensor are sampling the same contrast. When the band is visible to you, real signal is reaching you above the background glow, and the camera — which gathers far more light over a 15-second exposure — will pull it out cleanly. When the band is invisible because glow has lifted the background to meet it, the camera faces the same wall you do. It can brighten the whole frame, but it can’t separate the core from a sky that’s already as bright as the core.
The catch is dark adaptation. Your eyes take 20 to 30 minutes in real darkness to reach their sensitivity, as the pigment in your retina rebuilds — and one glance at a phone screen or a headlamp resets it. So run the test patiently: arrive early, kill every white light, use a dim red light if you need one, and give your eyes the full half-hour before you judge the sky or your first frames.
Plan the night: moon, glow, and timing
A dark site on a bad night still fails, because the moon is its own light pollution. A bright moon floods the whole sky uniformly and washes the core out as thoroughly as a town would. So you plan around the new moon — the dark phase — and shoot in the window when the moon is below the horizon. Aim for the nights within roughly a week either side of new moon, or any night where the moon has set before your core window opens.
Stacking the conditions for one good night:
- Dark site — Bortle 4 or darker, confirmed on a light-pollution map.
- New moon (or moon down) — no lunar glow during your shooting window.
- Core above the horizon — the right season and hours for your latitude.
- Glow pointed away — the nearest city’s dome falls behind you, not into the southern sky where the core rides.
- Clear air — haze and high cloud scatter what light there is and dull the core.
This is exactly the kind of multi-factor problem that rewards scouting ahead of time. The broader method — checking sight lines, timing, and conditions before you commit — is laid out in how to scout and plan a photo shoot. When you find a site whose horizons stay dark in the right direction, save it as a spot in Viewpoint with a note on which way the glow sits and where the core appears. The darkness and geometry don’t change; only the date does. A saved dark-site spot turns “I got lucky once” into a place you return to on the next clear new moon, with the core already framed in your head before you arrive.
Quick-start checklist
- Find a candidate site at Bortle 4 or darker on a light-pollution map, with the nearest city glow away from the south.
- Pick a date near the new moon, or confirm the moon is down during your core window.
- Confirm the core is up for your latitude and season (it’s a seasonal, southern-sky target up north).
- Arrive early and give your eyes a full 20–30 minutes to dark-adapt — no white light.
- Run the naked-eye test: if you can see the band, the camera will too; if you can’t, move or come back.
- Save the spot with notes on glow direction and core position so the next new moon is a return trip, not a gamble.