🧭 Planning & Weather
How to scout and plan a photo shoot
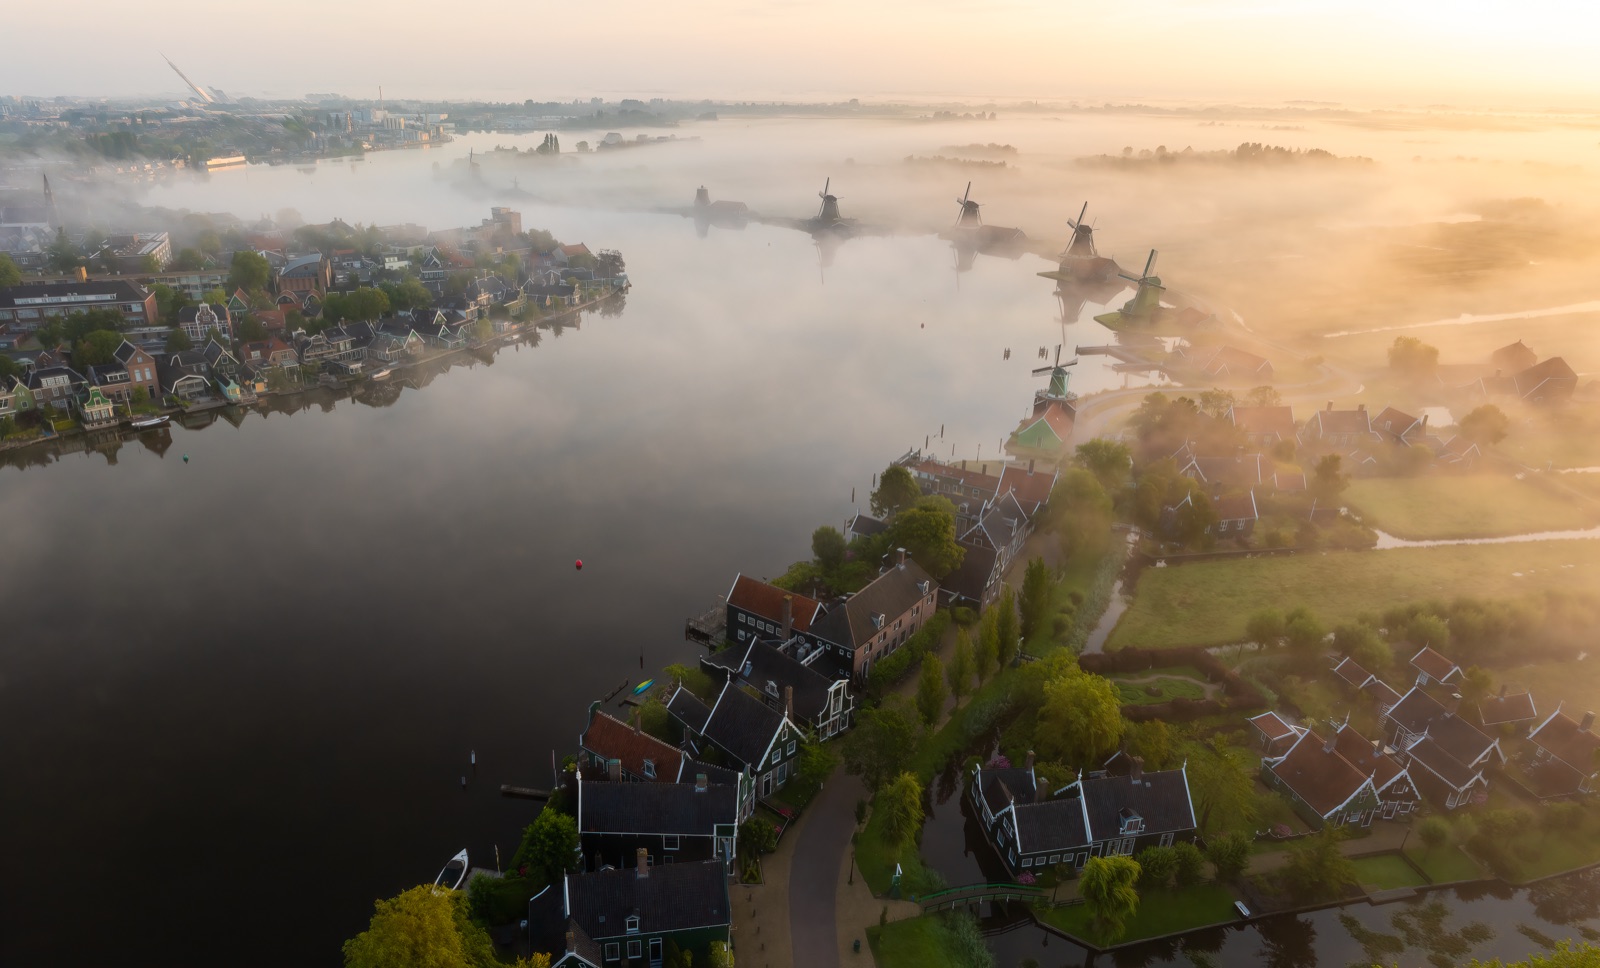
The photographers who come home with the shot rarely got lucky. They scouted the spot, recorded exactly where they stood and which way they faced, then waited for the day the sun, moon and weather lined up. Planning is the difference between hoping the light shows and knowing it will.
A great landscape image is usually the product of three or four visits, not one. The first time you find a place, the light is almost never doing what you need — but you learn the lay of the land, work out where to stand, and figure out which morning or evening will bring the conditions you want. Then you come back. Scouting is simply the habit of separating finding the composition from catching the light, so you only have to solve one hard problem at a time.
This guide walks through the whole loop: finding locations, recording them properly, checking the variables that decide whether the shot is even possible, and choosing the window to return. None of it requires expensive gear — it requires being deliberate. If you’re brand new to the app, the getting started guide is the gentler on-ramp; this piece is the method that sits underneath it.
Why scouting beats luck
The light at any location is governed by physics you can predict. The sun’s azimuth — its compass bearing as it rises and sets — drifts north in summer and south in winter (in the northern hemisphere; reversed south of the equator), so a cliff that catches warm side-light in June can sit in flat shade by December. The sun’s elevation — its angle above the horizon — decides shadow length and softness. Golden hour, when the sun sits roughly 0° to 6° above the horizon, gives you the warm, raking light that models texture; blue hour, when it’s about 4° to 6° below, gives even, saturated twilight. None of this is random. It’s a calculation tied to your exact coordinates and the date.
That’s the core insight: the only genuinely unpredictable variable outdoors is the weather, and even that you can stack the odds on with a good forecast. Everything else — where the sun will be, whether the moon will wash out the stars, when the tide will expose the rocks — is knowable in advance. Scouting is how you turn “I hope it’s good” into “I’ll be there before sunrise because that’s when the light clears the ridge.”
Finding locations
Good spots come from three overlapping sources, and the best ones usually need all three:
- Maps and satellite imagery. Scan terrain for the ingredients of a composition — a lone tree, a bend in a river, a ridge line that frames the sky, a west-facing beach for sunset. Satellite view tells you which way a coastline runs and where the high ground is.
- Research. Other photographers, location databases, local tourism sites and geotagged images tell you a place is photogenic. Treat them as leads, not destinations — a famous viewpoint is often the worst place to stand, because everyone stood there.
- On foot. Nothing replaces walking the ground. Maps don’t show you the fence that blocks the path, the better angle fifty metres downhill, or the puddle that becomes a perfect reflection after rain. The first visit is reconnaissance; treat it as fact-finding, not shooting.
The aim of the finding phase isn’t a photograph. It’s a precise, reusable note about a place worth returning to.
Recording the spot properly
This is where most people lose their good locations — they find a great spot, take a snapshot, and a month later can’t remember how to get back to the exact place they stood. A useful spot record captures more than a pin on a map:
- GPS coordinates of where you actually set up the tripod — not the car park, not the trailhead, the shooting position. A few metres changes a composition entirely.
- Compass bearing — the direction the camera faced. This is the single most valuable number you can record, because it lets you cross-reference where the sun or moon will be against where your shot points.
- The foreground. Note what anchors the frame: the rock, the reeds, the foreground interest that gives the scene depth. Foregrounds change with season and water level, so record what was there and when.
- Hazards, access and parking. Tides that cut off a headland, a gate locked after dark, a track that needs a high-clearance vehicle, a cliff edge you don’t want to find in the dark. Where you parked and how long the walk took — future-you, arriving before dawn, will be grateful.
The discipline of capturing spots with their bearing, GPS, and notes attached is what makes the whole method compound: every visit makes the next one faster and more certain.
Checking the variables
With a spot recorded and a bearing noted, you can ask the real question: which day, and which hour, will the conditions deliver the shot?
Sun. Compare the sun’s rise/set azimuth for your target date against your compass bearing. Will the light actually strike the face of the scene you want lit, or will it be back-lit or in shadow? Then pick the elevation band — golden hour for warmth and texture, blue hour for mood, the deep twilights for darker skies.
Moon. The moon is both a subject and a nuisance. As a subject, a full moon rising near sunset, low and large on the horizon behind a landmark, is a classic shot — and it needs the same azimuth planning as the sun. As a nuisance, a bright moon washes out the Milky Way and faint stars. For astro work you don’t just want a new moon; you want the moon below the horizon during your specific shooting hours, which is a moonrise/moonset timing question, not only a phase one. The Sun, Moon & Milky Way almanac computes all of this for your exact coordinates and date, so you’re working from real angles, not rules of thumb.
Weather and cloud. Clear isn’t always best — a fully clear sky at sunset is often dull, while broken cloud catches colour and turns a sky dramatic. Watch cloud cover percentage, the chance of fog in valleys, and wind if you’re shooting long exposures or anything that moves.
Tides and season. Coastal scenes live or die on the tide; a low tide can expose foreground rock and pools that vanish at high water. Season changes everything — foliage, water levels, snow line, and crucially the sun’s azimuth and how long golden hour lasts. At high latitudes in summer the sun may never drop low enough for true darkness; near the equator twilight is brief and the light moves fast.
Deciding the return window and revisiting
Now you converge. You have a fixed spot and bearing; you’ve found the dates when the sun azimuth aligns, the moon cooperates, and the tide is right; you watch the forecast for the cloud you want. Where those overlap is your return window — often just a handful of mornings a month, sometimes a single one. Set an alert for it and be ready.
This is why revisiting a known spot beats chasing new ones. A location you’ve already solved — composition fixed, hazards mapped, bearing recorded — needs only the conditions to align. You arrive knowing exactly where to stand and what the light will do, which frees you to concentrate on the few things you can’t pre-plan: the precise cloud, the moment of peak colour, the unrepeatable instant. Most portfolio images come from a spot the photographer had already visited two or three times.
Doing it all offline, in the field
The catch with all this planning is that the best spots have the worst signal. Mountain valleys, remote coastlines and dark-sky sites are exactly where your phone drops to no bars. Any planning tool that needs a connection fails you at the moment you need it — standing on the trail before dawn, checking whether the sun will clear the ridge in time.
That’s why the whole loop has to work without a network. You capture the spot, its GPS, bearing and notes on location; the sun and moon calculations run on-device from the date and your coordinates; your saved locations and downloaded maps are all available with the phone in airplane mode. The data syncs later when you’re back in range, but nothing you need in the field waits on a connection. The page on how Viewpoint works offline covers exactly what’s available when you’re off-grid — the short version is: everything that matters at the moment of the shot.
Quick-start checklist
- Scout first, shoot second — treat the first visit as reconnaissance to find the composition, not to capture it.
- Record the shooting position, not the car park — exact GPS plus the compass bearing your camera faced.
- Note the foreground, hazards, access and parking while you’re there — future-you arriving in the dark will need them.
- Check sun azimuth against your bearing for the target season — will the light actually hit the scene you want lit?
- Confirm the moon and tide — moon down for astro or in position for a moon shot; tide right for coastal foregrounds.
- Set a return window where sun, moon, tide and forecast cloud all line up, and use a conditions alert so you don’t miss it.
- Revisit known spots — a solved location plus the right conditions beats a new spot every time.