🧭 Planning & Weather
How to photograph fog and mist
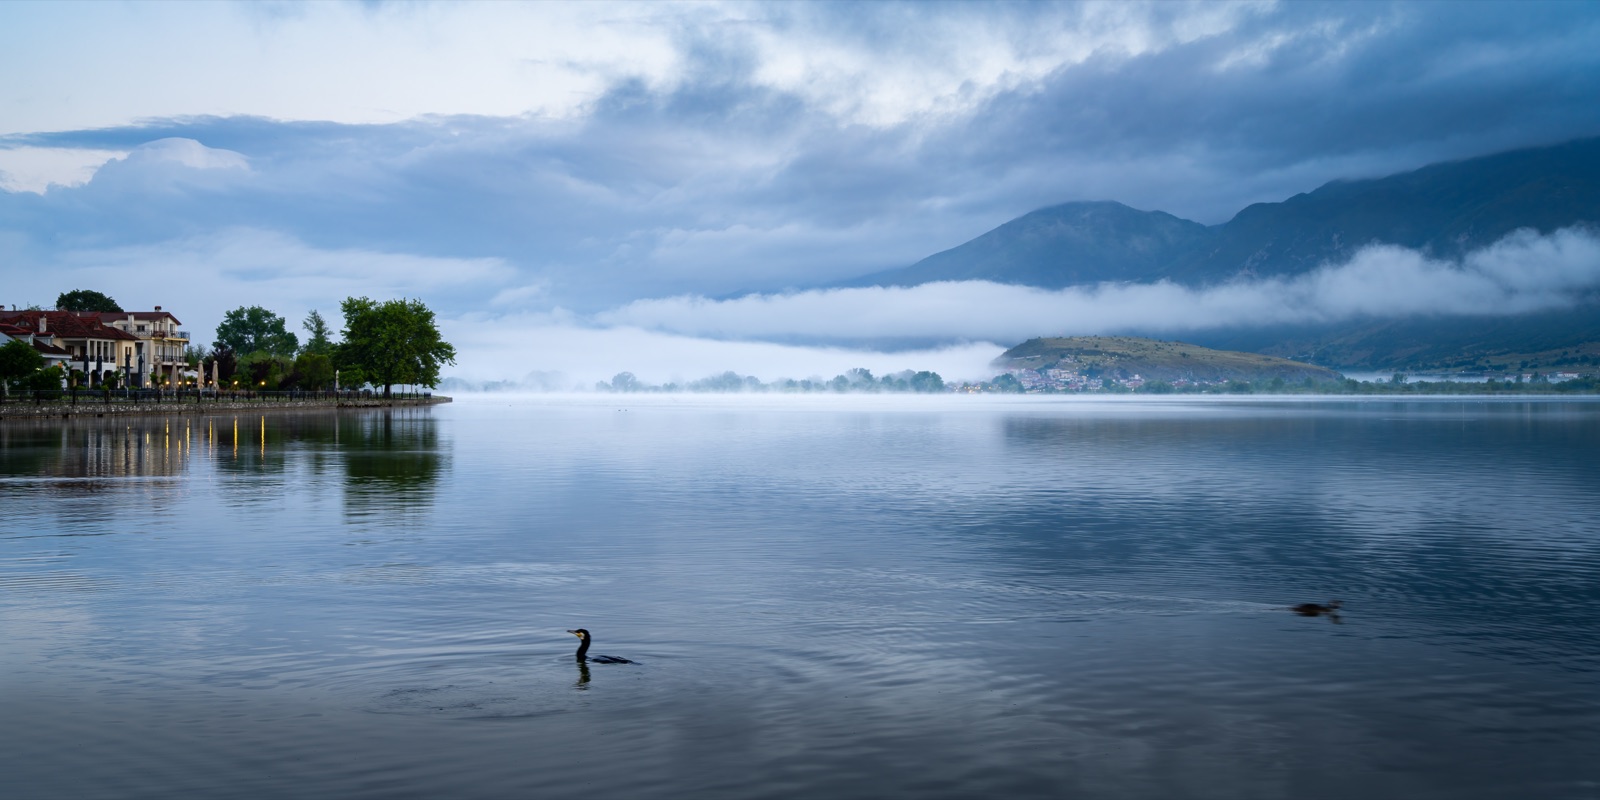
Fog is the landscape photographer's cheat code. It strips a cluttered scene down to a few clean shapes, separates the background from the foreground into soft receding layers, and turns an ordinary wood or valley into something that looks lit by hand. The catch is that it's fleeting and it's local — so the whole game is learning to predict where it will pool and being standing there when the sun comes up. Here's the physics, the forecast, and the technique.
Most conditions a photographer chases add something to a scene — colour in the sky, light on a ridge. Fog does the opposite, and that’s why it’s so powerful: it removes. A messy tangle of trees, wires and distant houses becomes a single dark trunk against soft grey nothing. Fog is nature’s simplifier, a depth machine and a mood filter in one, and the best part is that the conditions that make it are predictable the night before if you know what to look for.
What fog actually is — and which kinds you can predict
Fog is just cloud sitting on the ground: air cooled to the point where the water vapour in it condenses into visible droplets. The temperature at which that happens is the dew point, and the single fact that governs fog is how close the air temperature is to it. When they meet, the air can’t hold its moisture and fog forms. So the forecast number you actually want isn’t “chance of fog” — it’s the gap between temperature and dew point. A small gap on a calm night means fog is likely; a wide gap means the air is too dry.
Three kinds are worth knowing, and one of them is genuinely forecastable:
- Radiation fog (valley fog) — the photographer’s bread and butter. On a clear, calm night, the ground radiates its stored heat away to the open sky and chills the air just above it. If that air cools to its dew point, fog forms and, being denser than the surrounding air, it drains downhill and pools in valleys and hollows and over water. This is the fog you can plan for.
- Advection fog — warm, moist air blowing over a cooler surface (sea air moving over cold land, or over snow). Common on coasts; it needs a wind to carry it, unlike radiation fog.
- Evaporation / steam fog — cold air sitting over warmer water, so the water evaporates and instantly re-condenses into wisps rising off the surface. You see it over lakes and rivers on the first cold mornings of autumn. Beautiful, and a bonus when it happens.
The overnight recipe to forecast valley fog
Radiation fog needs three things to line up overnight, and you can check all three in a forecast the evening before:
- Clear skies. Cloud acts like a blanket, trapping the day’s heat near the ground; a clear sky lets it radiate away so the ground and the air above it can cool enough to reach the dew point.
- Calm or near-calm wind. A breeze mixes the cold surface air with warmer air above and stops the shallow chilled layer from forming. You want winds close to zero. (This is the same still night that gives you mirror reflections — a happy overlap.)
- Moist air — a small temperature–dew-point spread. The closer tonight’s low temperature is forecast to fall toward the dew point, the more likely fog is. Recent rain or a damp autumn landscape loads the air with the moisture that makes it easy.
Put simply: clear, cold, calm, and damp overnight is the fingerprint of a foggy dawn. Autumn and early winter are prime because the nights are long enough to cool the ground hard and the ground is often still wet.
Where it pools and when it lifts
Because radiation fog flows downhill like water, think topographically. It gathers in river valleys, low basins, over lakes and marshes, and in the dips between hills — while the tops stay clear. That geography is the whole opportunity, and it’s why the classic fog shot is taken looking down from a hillside onto a valley filled to the brim, with a church spire or a stand of trees poking through the top like islands. Scout a viewpoint above a valley in advance, so on a foggy morning you already know where to stand.
The timing window is short. Fog is thickest around and just before sunrise, when the air is coldest. Then the sun climbs, warms the ground, and the fog burns off — usually within one to two hours. So you want to be in position in the dark, shoot through first light, and often the magic moment is exactly when the sun starts to punch through the mist and backlight it. Don’t pack up when it starts thinning — a lifting fog with shafts of light is often the best frame of the morning.
Shooting in fog: exposure, focus and composition
Fog changes how the camera behaves, and three adjustments make the difference between a clean shot and a grey mush.
Expose brighter than the meter says. Fog is bright and mostly white, so the camera’s meter — which assumes an average scene — reads it as too bright and darkens the exposure, leaving your fog a dingy grey. Dial in +1 to +2 stops of exposure compensation to put the fog back where it belongs, and check the histogram: you want the tones pushed well to the right without clipping the brightest whites. Bright, clean fog is the goal, not muddy grey.
Focus deliberately — autofocus struggles. Low contrast is exactly what an autofocus system needs to lock, and fog has almost none. Switch to manual focus, or autofocus on the nearest high-contrast edge (a dark trunk, a rock) and recompose. Because fog scenes are often about a single subject in soft space, you frequently don’t need front-to-back sharpness — focus on your subject and let the background dissolve.
Compose for the simplicity fog gives you. This is where fog earns its keep:
- Layers and depth. Fog makes each successive rank of trees or hills paler than the one in front (aerial perspective, dialled to eleven). A longer focal length compresses those layers into stacked bands of tone — one of the most reliable fog compositions there is.
- A subject emerging. A lone tree, a figure, a boat — anything with a clear shape reading out of soft nothing is instantly strong. Use the empty fog as negative space.
- Backlight and rim. When the sun is behind the fog, it glows and separates your subject with a bright edge, and you may catch light shafts (crepuscular rays) streaming through gaps in trees. Shoot toward the light for mood, across it for shape.
Keep a cloth handy — fog settles on the front element and softens your images without you noticing.
Predicting all this by hand means cross-reading wind, cloud and dew-point forecasts for a specific valley every evening, which is exactly the tedious watching software is good at. Viewpoint monitors those overnight conditions for the spots you’ve saved and tells you when a foggy dawn is setting up, so the scouting you did on a clear day pays off on the right morning. Pair this with reading the weather for photography for the wider forecast picture, and scouting and planning a photo shoot to have your valley viewpoint ready in advance.
Quick-start checklist
- Watch for a clear, calm, cold and damp night — and a forecast low falling toward the dew point.
- Scout a viewpoint above a valley, lake or river in advance; fog pools in the low ground.
- Be in position before sunrise and shoot through first light; expect it to burn off within a couple of hours.
- Overexpose by +1 to +2 stops and check the histogram — keep the fog bright, not grey.
- Manual focus on your subject; let the background dissolve into soft space.
- Reach for a longer lens to stack the fading layers, and shoot toward the light for glow and shafts.
- Don’t leave when it thins — a lifting fog with light beams is often the best frame.