🧭 Planning & Weather
Timing a shoot with the sun, moon and tides
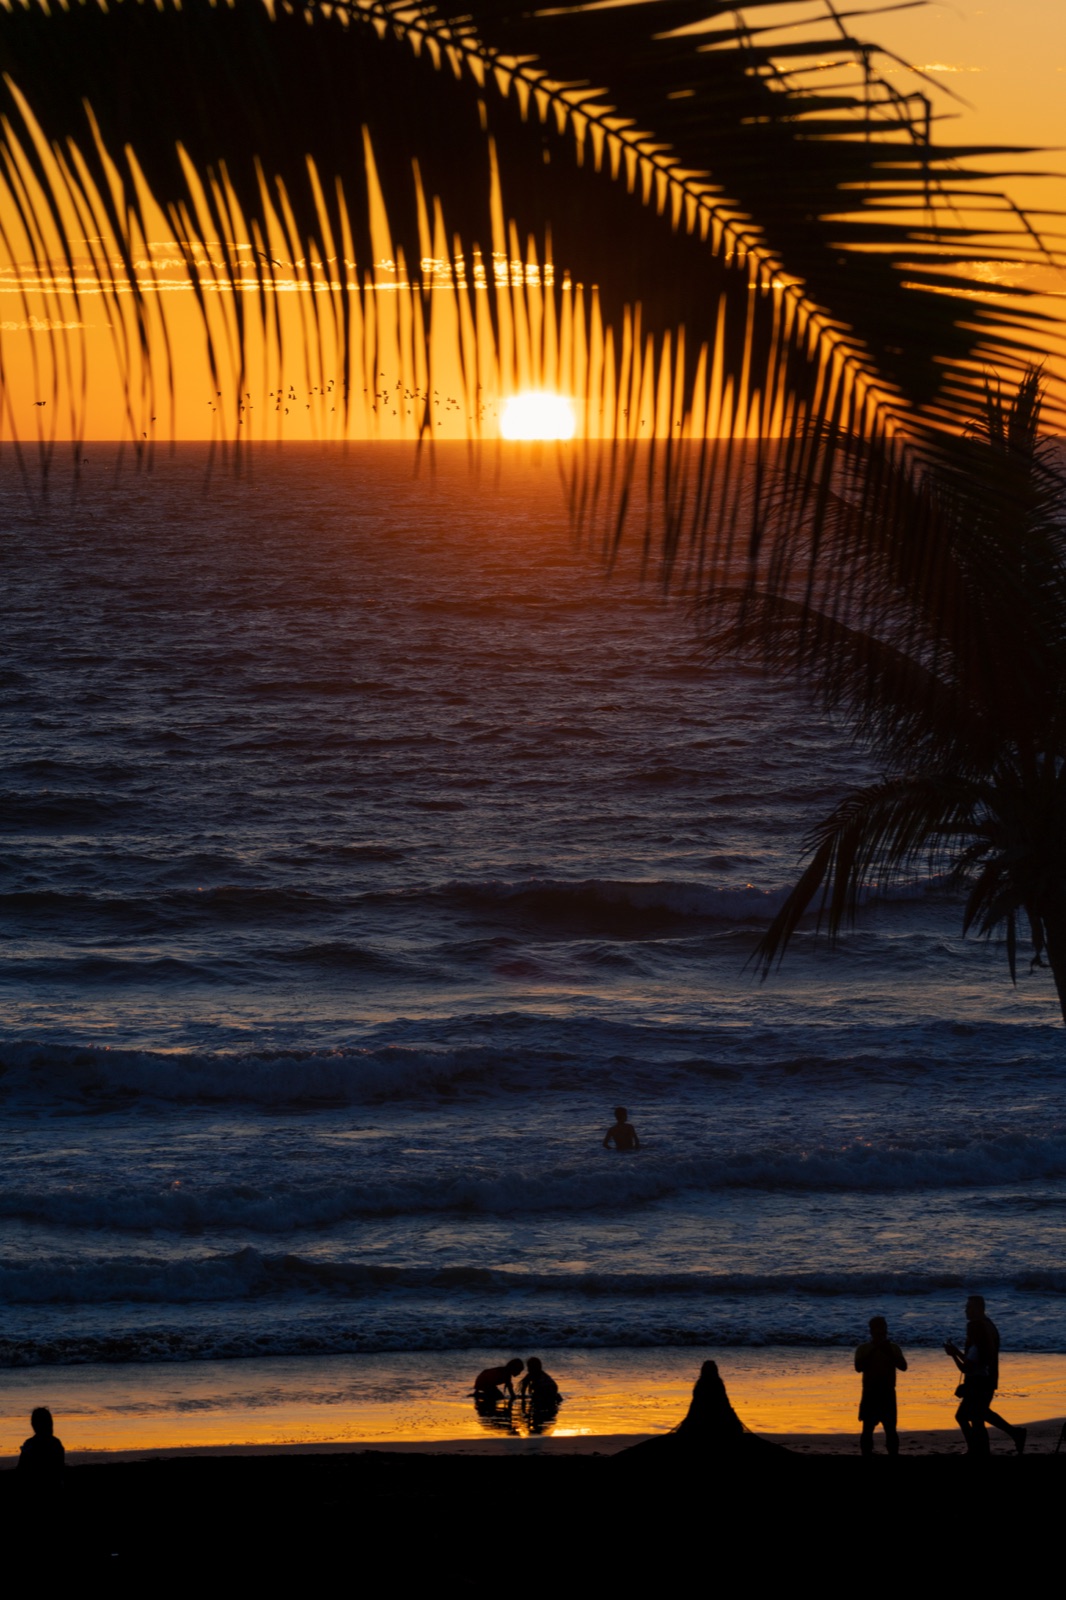
Sun, moon and tide timing is what separates a great landscape shot from a lucky one — three forces that run on fixed schedules you can read weeks in advance. The light, the night sky and the water each follow a clock you can look up, so once you learn to line them up you stop hoping for conditions and start choosing them.
Timing is the most learnable skill in landscape photography, because the variables that matter most are not random. The sun’s path, the moon’s phase, and the rise and fall of the sea are all calculable days or weeks ahead. Master reading them together and you can stand on a beach at the exact moment a low tide, a warm sky and a calm evening converge — a shot most people walk past because they arrived an hour wrong. This guide goes deep on pulling those three timing variables into one decision. It fits inside the bigger workflow of how to scout and plan a photo shoot; here we focus purely on when.
The sun decides the light — start here
The sun is your headline timing decision, because it controls both the quality of the light and which face of your scene is lit. Two things matter: when the light is good, and where the sun sits on the horizon.
The good light comes at golden hour — when the sun sits roughly 0° to 6° above the horizon, low and warm, raking sideways to model texture and throw long shadows — and at blue hour, the cool, even twilight when the sun is a few degrees below the horizon, just before sunrise and after sunset. Neither is literally an hour; the length swings with latitude and season, so you compute it for your actual spot and date rather than quoting a fixed clock time. The full craft of working those windows is covered in how to shoot golden hour and blue hour.
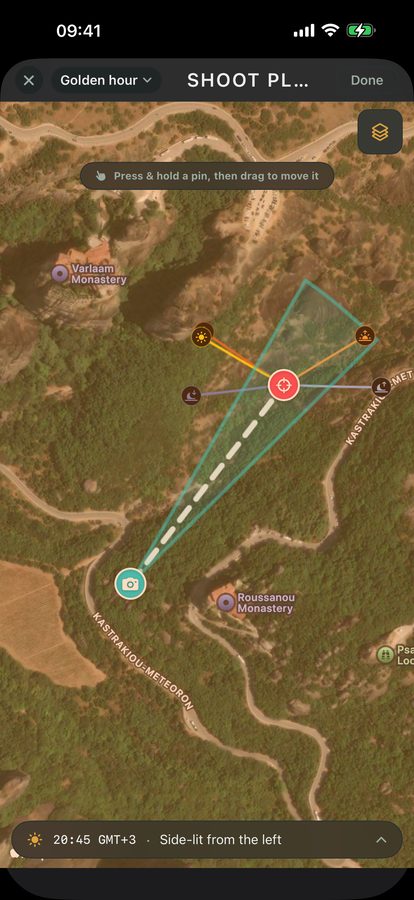
The “which face is lit” part comes down to the sun’s azimuth — its compass bearing (0° north, 90° east, 180° south, 270° west). The azimuth tells you where on the horizon the sun rises and sets, and therefore which way light rakes across your composition. This drifts with the season: a cliff face that catches glorious side-light in June may sit in flat shade or full back-light in December. So the sun question is really two: when is the light good, and will it actually fall on the part of the scene I want lit?
The moon: a wash of light, or the subject itself
The moon matters in two opposite ways, and which one you care about flips your plan completely.
When you’re shooting the night sky — the Milky Way, faint stars, deep-sky detail — a bright moon acts like light pollution. It floods the sky and washes out everything faint. So you plan around the new moon, when the moon is unlit and absent from the night sky, or more precisely around a moon that is below the horizon for your specific shooting hours. That last point is the one people miss: phase alone isn’t enough. A first-quarter moon that sets at 23:00 still leaves you a genuinely dark window after midnight. What you want is the moonrise and moonset times, not just the phase.
When the moon is your subject — a full moon rising large and low behind a ridge or a landmark — you want the opposite. A full moon rises at sunset and is up all night, and that rising moon, sitting near the horizon, is a classic shot. Lining it up behind your subject is an azimuth problem exactly like the sun’s: you need a date when the moon rises in the right bearing. Either way, the times you need are the same two — moonrise and moonset.
Tides: the variable seascape shooters forget
If you shoot coastlines, the tide is as important as the light, and it’s the one most landscape photographers overlook until it ruins or makes a frame.
- At low tide, rocks, pools, sand textures and lead-in features are exposed. You can get close to them and use them as foreground. The beach is at its most photogenic and most accessible.
- At high tide, those same features are underwater — and access can be cut off entirely, with a path or a rock platform simply gone.
Tides are completely predictable from a tide table, so you don’t gamble on them — you choose the tide state that suits your composition. Want glistening foreground rock and a long lead-in line? You need low tide. Want waves breaking right against a cliff base? High tide.
Two honest caveats. First, the app gives you sun, moon and weather alerts, but it does not generate tide predictions — you pair it with a dedicated tide source for your location. Second, and more important: mind the safety. An incoming tide can rise faster than you expect and strand you on rocks or cut you off on a beach. Always know whether the tide is coming in or going out, and give yourself a wide margin to get back. No photo is worth being caught out.
Combining them — the whole point of planning
A good shoot uses one favourable variable. A great one stacks several at once. The skill is reading all three schedules together and finding the moment they line up.
The textbook example: a low tide that coincides with golden hour, on a calm evening, under broken cloud that the low sun underlights into colour. That single window asks four things to agree — tide state, light quality, wind, and sky — and when they do, you get a frame you couldn’t manufacture any other way. For astro on the coast, you might stack a moonless sky during astronomical night with a low tide that exposes a foreground for the Milky Way to rise over.
Here’s how the variables map to your needs:
| You want… | Sun | Moon | Tide |
|---|---|---|---|
| Warm side-lit landscape | Golden hour, right azimuth | — | Low, if foreground rock matters |
| Moody twilight / city lights | Blue hour | — | To taste |
| Milky Way / faint stars | Astronomical night | Down or new | Low for foreground |
| Moon behind a landmark | Around sunset/sunrise | Full, right azimuth | — |
Viewpoint’s Sun, Moon & Milky Way almanac gives you the sun and moon times and bearings for any spot and date — the rise and set times, the golden and blue hour windows, the azimuths. Pair that with a tide source and a cloud forecast, and you have every schedule you need in front of you. The planning is then just overlap-hunting: find the moment the columns all turn green, and put that in your calendar.
Quick-start checklist
- Fix the light first: golden hour for warmth and side-light, blue hour for mood, astronomical night for the stars — and check the sun’s azimuth actually lights your subject’s face.
- Check the moon for your exact hours, not just the phase — for astro you want it below the horizon; for a moon shot you want it rising in the right bearing.
- Pull a tide table for the spot and choose the tide state your composition needs — low to expose foreground, high to drive water against the rocks.
- Treat an incoming tide as a hazard: know which way it’s running and keep a safe exit.
- Hunt for overlap — the strongest shoots stack a good tide, good light, calm wind and a workable sky in one window.
- Arrive early and be set up before the window opens; the best frames are often in the few minutes around the boundary.