🧭 Planning & Weather
How to photograph snow and winter landscapes
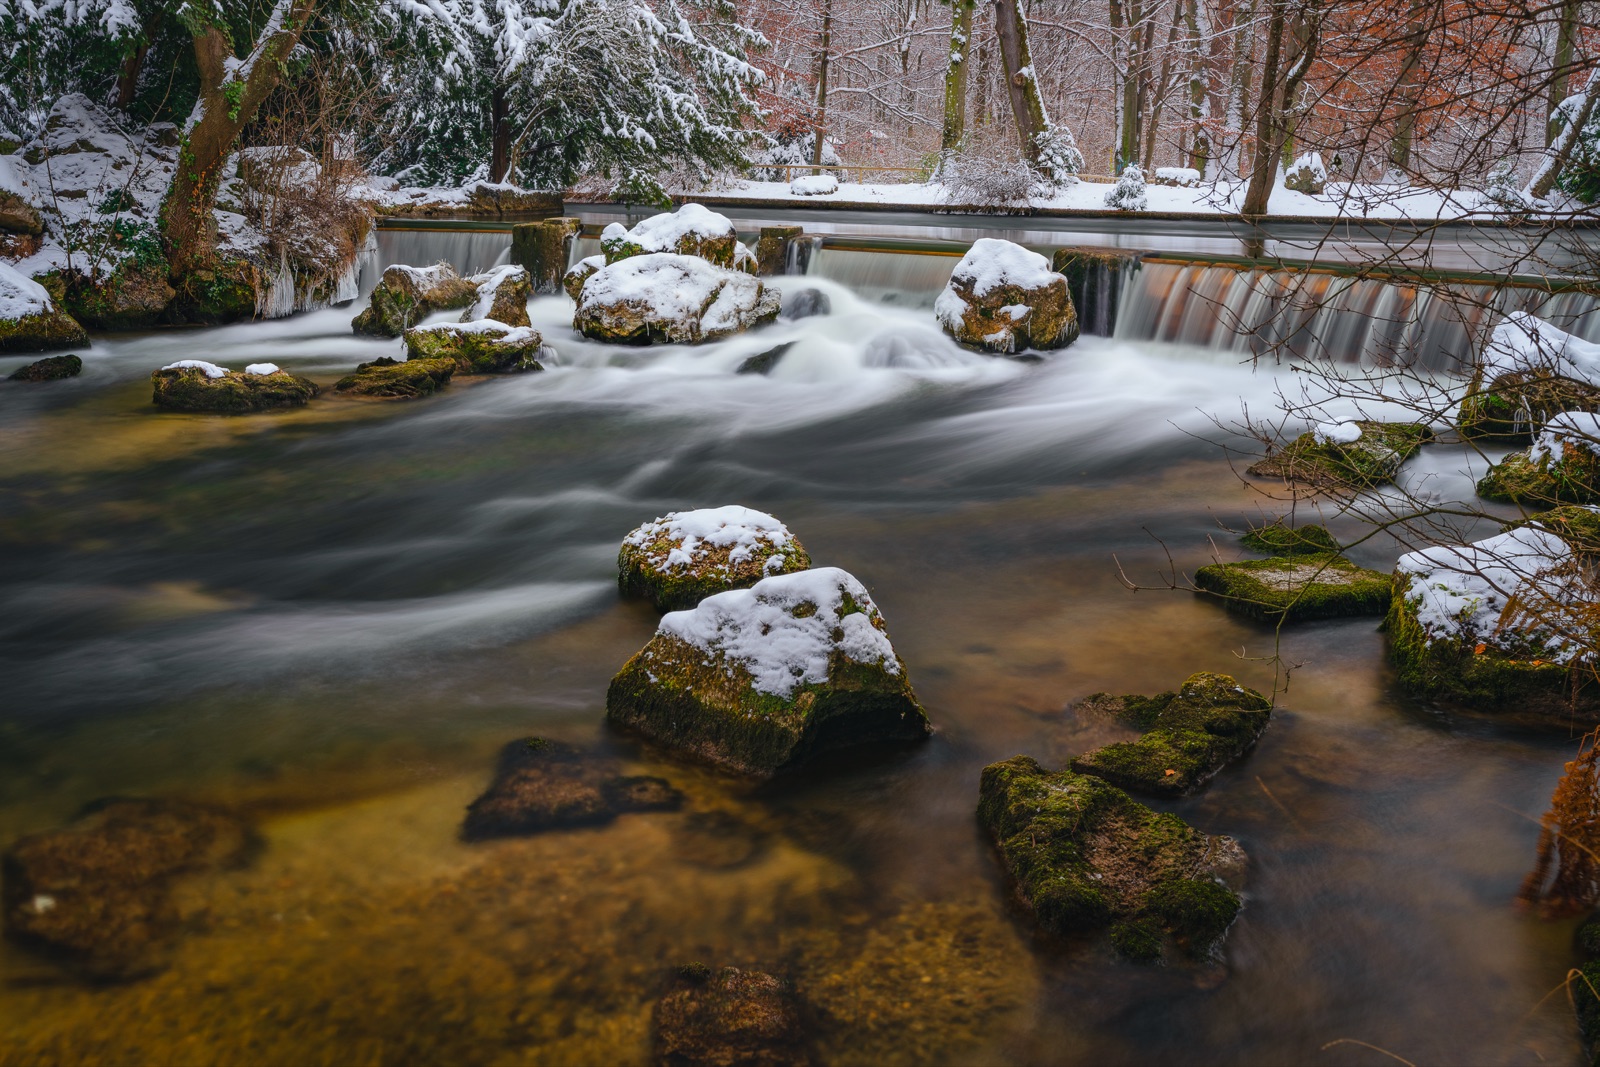
Snow turns a familiar landscape into a clean, graphic, almost abstract version of itself — and then quietly ruins your exposures, because a scene that's mostly white is exactly what a camera's meter is worst at reading. Get two things right, the exposure and the white balance, and winter becomes the easiest season to make a striking photograph. Here's how, plus how to keep your gear alive in the cold and find the snow in the first place.
Snow is the great simplifier. It buries the clutter, mutes the colours to a near-monochrome palette, and reduces a scene to its essential shapes — a lone tree, a fence line, a curve of hill. It’s some of the most forgiving subject matter there is if you understand the one trick your camera plays on you in the white. Almost every disappointing snow photo comes down to a single, fixable mistake, so let’s start there.
Why your snow comes out grey — and the fix
Point a camera at a snowy scene and, left to its own devices, it will give you dull grey snow. This isn’t a fault; it’s the meter doing exactly what it’s designed to do.
A camera’s light meter assumes the scene it’s looking at averages out to middle grey — a mid-tone reflecting about 18% of the light. That assumption is right for most ordinary scenes, which contain a mix of light and dark. But a field of snow is overwhelmingly bright, far brighter than middle grey. The meter sees all that brightness, concludes the scene is over-lit, and darkens the exposure to drag the average back down to grey. The result: snow that should be brilliant white comes out a lifeless grey, and the whole image looks murky.
The fix is positive exposure compensation. You deliberately tell the camera to overexpose relative to what its meter wants, adding light back in:
- +1 to +2 stops of exposure compensation for a scene dominated by snow. Bright, sunlit, wall-to-wall snow leans toward +2; a scene with plenty of dark trees or rock needs less.
- Confirm with the histogram, not the rear screen (which lies in bright outdoor light). You want the tones pushed well to the right, with the bulk of the data high up — but the brightest whites just short of clipping off the right edge. Snow with texture, not a blown-out white void. Many cameras also offer a “blinkies” highlight warning — let a few blink on the very brightest snow, but not across large areas, or you’ve lost detail for good.
This is the whole game. Nail the exposure and winter photos come alive; miss it and no amount of editing fully recovers grey, muddy snow.
The blue cast, and using it
The second thing snow does is go blue — especially in shadow and under an overcast sky. Snow is highly reflective, so shaded snow mirrors the colour of the blue sky above it, and your images pick up a cold cast. Two ways to handle it, depending on the mood you want:
- Warm it up for a natural look. Shoot raw and set a warmer white balance (nudge toward the “cloudy” or “shade” preset, or correct it later), so the snow reads clean white rather than icy blue.
- Or lean into it. A cool blue cast can be exactly right for a stark, wintry, minimalist mood — blue shadows against warm low sunlight is a classic winter contrast. Decide on purpose rather than letting auto white balance decide for you.
The best winter light plays directly into this: the low winter sun stays near the horizon all day, giving you long, raking shadows and warm side-light for hours — an extended golden hour. That warm light on cool blue snow is the signature winter palette. A polariser helps too, cutting glare off wet or icy surfaces and deepening a pale winter sky (though it can exaggerate the blue — watch the effect).
Falling snow, frost and detail
Winter isn’t only wide vistas. Falling snow is its own decision: a fast shutter (1/500 s and up) freezes individual flakes as sharp dots, while a slower shutter (around 1/60–1/125 s) stretches them into soft streaks that read as motion and atmosphere. Neither is wrong — pick the story. Backlighting falling or blowing snow against a dark background makes the flakes glow and separates them from the scene.
And don’t overlook the small stuff. Frost, rime and ice turn leaves, grass and windows into intricate abstract patterns — a whole macro genre that appears on the coldest clear mornings, the same still, clear nights that also produce fog. A single frosted leaf or a frozen puddle can be as strong as the grand winter landscape.
Keeping your gear (and yourself) working in the cold
Cold is hard on equipment, and a few habits save a shoot:
- Batteries drain fast in the cold. Carry spares in an inside pocket near your body heat and swap them in as they fade; a “dead” cold battery often revives once warmed.
- Beware condensation on the way in. Bringing a cold camera into a warm room makes moisture condense on — and inside — it. Seal the camera in a plastic bag or your camera bag before you go indoors and let it warm up gradually before opening, so the condensation forms on the bag, not the sensor.
- Wipe snow off before it melts, keep a cloth handy for the front element, and protect yourself: warm gloves you can still operate dials in, and knowing the light window so you’re not standing around freezing longer than you need to.
The hardest part of winter photography is often just catching the snow — it falls locally, then thaws or gets churned to slush within a day. Viewpoint tracks temperature, snowfall and freezing conditions for the spots you’ve saved and tells you when one has genuinely turned white, so you’re there for clean, fresh snow at first light. Pair the exposure craft here with the exposure triangle explained to work in full manual with confidence, and reading the weather for photography to see the cold front coming.
Quick-start checklist
- Add +1 to +2 stops of exposure compensation so snow reads bright white, not grey.
- Judge it on the histogram — tones high and right, brightest whites just short of clipping.
- Shoot raw and set a warm white balance to tame the blue cast (or keep the blue on purpose).
- Work the low winter sun for long shadows and warm side-light all day; a polariser cuts glare.
- Choose your shutter speed for falling snow — fast to freeze flakes, slow to streak them.
- Look for frost and ice detail on clear, cold mornings.
- Carry spare batteries warm, and bag the camera before coming indoors to avoid condensation.