
🧭 Planning & Weather
How to photograph a sea of clouds
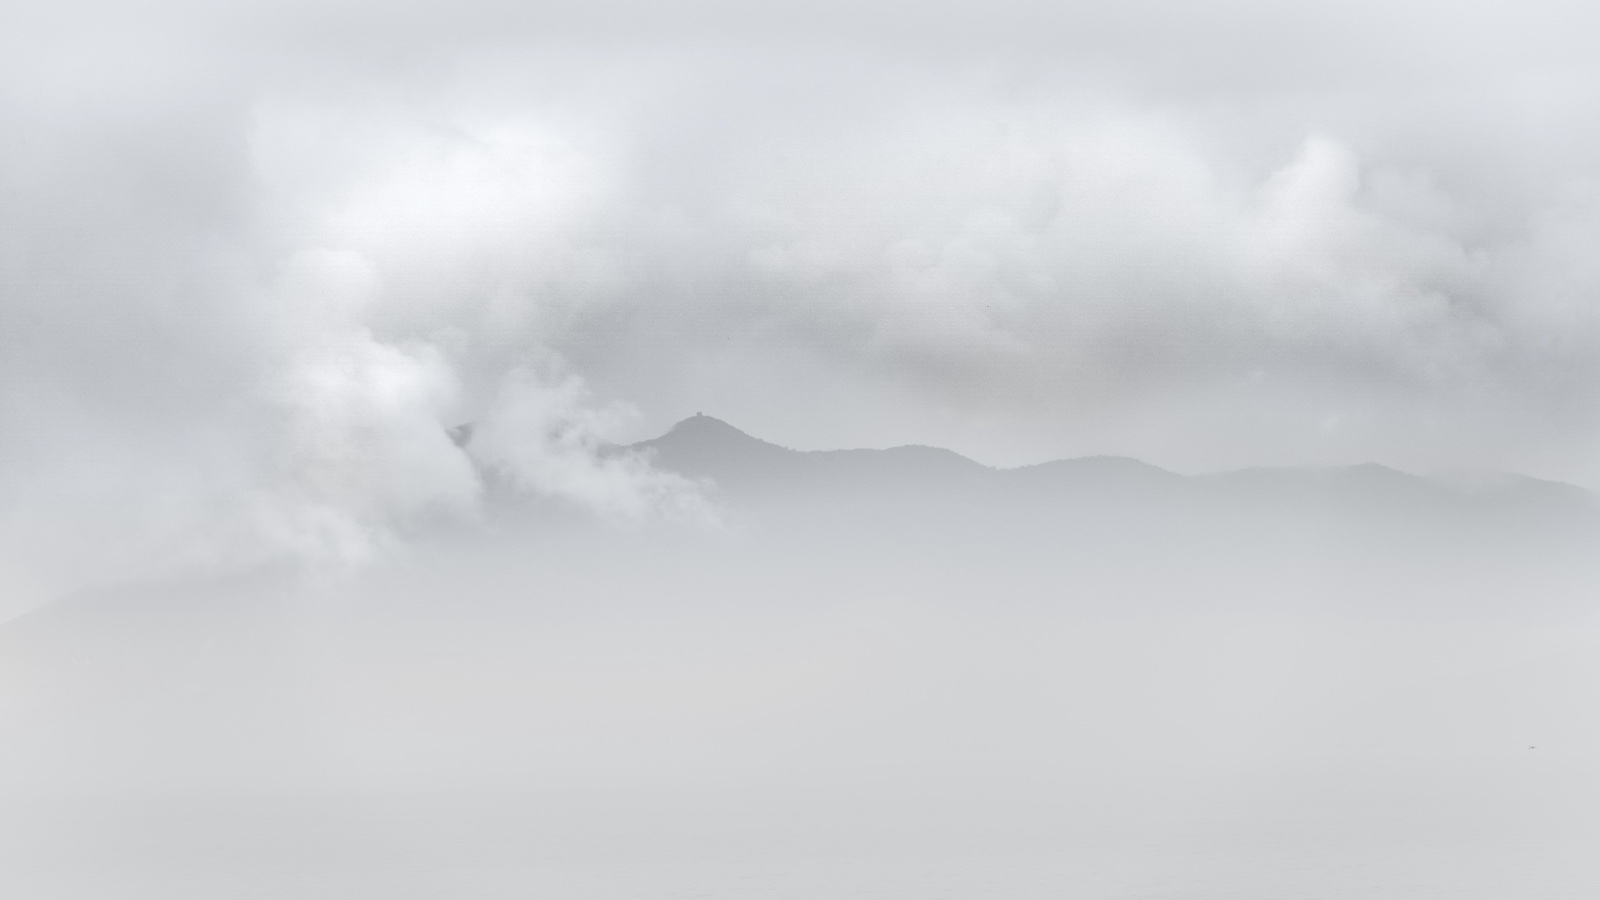
A sea of clouds is one of the most dramatic subjects in landscape photography — a valley filled to the brim with white while distant peaks float above it like islands. But it's fickle: you can return to the same viewpoint for a week and, if the conditions don't line up, the valley just stays a valley. Half of shooting a cloud sea is reading the overnight conditions that make one; the other half is standing above the cloud, in position for the few minutes when dawn light sets it alight. This guide walks both.
A white ocean of cloud fills the valley below you, and only the far peaks break through, floating like islands — a sea of clouds is one of the most cinematic things a landscape photographer can point a lens at. It’s also one of the least cooperative. You can drive to the same viewpoint morning after morning and, unless the conditions line up, look down on nothing but an ordinary valley. Shooting a cloud sea is really two skills: reading whether one will form, and standing above the cloud, in position for the brief window when dawn light paints it. Here’s the physics, the forecast, and the technique.
What a sea of clouds is — and why it forms
A sea of clouds is, in most cases, radiation fog pooled in a basin or valley and seen from above. Overnight, the ground radiates its stored heat away to the open sky and chills the air just above it. When that near-surface air cools to its dew point, the water vapour in it condenses into fog. The fog settles into the low ground, below the surrounding peaks — and from a viewpoint higher up, that layer reads as a single white “sea.”
Put another way, a cloud sea appears when three things coincide: a temperature inversion (warm air sitting on top of a colder layer near the ground), enough moisture in the air, and a still, windless night to let the fog form and settle undisturbed. Once you understand that recipe, you can judge a morning’s chances for yourself instead of relying on luck.
The conditions that make one
The more of these that line up, the higher the odds of a cloud sea at dawn:
- Recent rain or high humidity. Without moisture in the air, no fog forms. The morning after rain is a classic setup — the landscape is damp and the air is loaded with the water the fog needs.
- A clear, calm night. Cloud cover acts like a blanket and weakens the radiation cooling; wind stirs the cold surface air into the warmer air above and breaks the shallow chilled layer apart. You want clear skies and near-zero wind.
- Strong radiation cooling — a big temperature drop. The larger the gap between the daytime high and the pre-dawn low, the harder the ground and the air above it cool. Cold, still mornings in autumn and early winter are prime.
- A basin or valley to pool in. Cold air and fog need a bowl to collect in. Basins ringed by hills or mountains are cloud-sea factories, precisely because the fog has nowhere to drain.
Season. Radiation cooling works best in the long, cold nights of autumn through early winter — that’s the peak, with a second chance in early spring. High summer, when the day-to-night temperature swing is small, rarely produces one.
Finding a vantage — standing above the cloud
The one non-negotiable condition for shooting a cloud sea is being higher than the fog layer, looking down on it. Stand in the valley bottom and you’re simply inside the fog, wrapped in featureless white. What you want is a ridge, pass, summit, or high shoulder that overlooks a basin or valley.
- Rather than chasing a list of famous “cloud sea spots,” learn to read a topographic map and find your own high ground overlooking a basin. That skill travels — it works anywhere on Earth. The fog pools in the low ground and you stand on its rim; that spatial relationship is the whole thing.
- This is an elevation game with a narrow margin. The fog layer is often only tens to a few hundred metres thick, so too high and you’re above the cloud sea looking at ordinary cloud; too low and you’re inside the fog. Work the same mountain at different elevations across several visits until you learn that location’s “right height.”
- When a viewpoint works, save it as a spot on the way out. Viewpoint auto-stamps the GPS, date, and sun information, so on the next promising morning you can go straight back to the exact place that paid off.
The window — the dawn is short
A cloud sea builds through the night, peaks around sunrise, and then burns off as the sun climbs and the air warms. The window you can actually shoot is often surprisingly short, so the rule is to be in position in the dark, before first light.
- Blue hour (before sunrise). A cloud sea sunk in cool blue is quiet and otherworldly. A long exposure smooths the fog to silk.
- Sunrise through golden hour. The low sun rakes across the cloud sea from the side and turns it gold. Place the sun on the far side of the sea — shooting into the light — and the fog glows from within and reads at its most three-dimensional.
- Before it lifts. Once the sun gets high, the cloud sea starts to break up. Treat the peak as brief and settle your composition while it’s still dark.
This is exactly why knowing the sunrise time and the direction the sun rises the night before pays off. Viewpoint’s sun, moon & Milky Way almanac shows both for your exact location, offline — so you can work out which way first light will strike the sea and when you need to already be standing at the viewpoint.
Camera settings
- Tripod. Essential for the dim blue hour and any long exposure. Use a remote release or the 2-second timer to kill shutter shake.
- Lens. A wide lens to show the sweep of the valley; a telephoto to reach across and stack the distant peaks floating like islands (the compression makes them pile up on top of one another). Both are worth trying — they tell different stories from the same spot.
- Exposure. A white cloud sea is bright, and it’s easy to clip the highlights and lose all detail in the brightest cloud. Watch the histogram, expose as bright as you can without blowing the whites, and shoot RAW to keep the tones. When the rising sun is in the frame the dynamic range is huge, so bracket a few exposures if you need to.
- White balance. To keep the warmth of dawn, don’t leave it on auto — lock the colour temperature a little warm so the sunrise colour lands. With RAW you can fine-tune it later.
Composition
- Floating peaks as the subject. Distant summits breaking the surface, stacked in layers with a telephoto, give an ink-wash-painting sense of depth — each rank paler than the one in front.
- A foreground ridge or tree. A near ridge or a single tree in the front gives the eye a foothold against the white sea and sells the scale.
- Put the sun in. The rising sun in the frame adds a story — but mind the clipping and the flare. Tucking the sun half-behind a ridge or a tree makes it far easier to handle.
- How much sky. If the cloud sea is the star, keep the sky restrained; if a blazing dawn sky is the star, give it room. Let what you want to show decide where the horizon sits.
The go/no-go call
A cloud sea is a subject you’ll strike out on often. The night before, sort your evidence like this:
- It rained the previous day, or the humidity is high.
- The night is clear and calm, with strong radiation cooling forecast (a cold morning).
- You have a viewpoint that looks down into a basin or valley.
And here’s the honest part: what Viewpoint calculates is the dawn timing, the sun’s direction, and the light windows, plus the location of the viewpoint you saved. Whether a cloud sea actually forms depends on the day’s humidity, temperature, and wind — so confirm that in a weather forecast. The tool handles when and where to stand; the forecast handles whether it will form. You need both before the odds are in your favour.
Field checklist
- Previous-day rain / high humidity, and a clear, calm night with strong radiation cooling (reading the weather).
- A viewpoint that looks down into a basin or valley — in the not-too-high, not-too-low elevation band.
- In position in the dark — check the sunrise time and direction the night before.
- Tripod, a wide lens and a telephoto, remote release or timer.
- Protect the white cloud from clipping (RAW + check the histogram); bracket exposures when shooting into the light.
- Save the viewpoint as a spot for the next morning the conditions look good.