🧭 Planning & Weather
How to photograph storm light
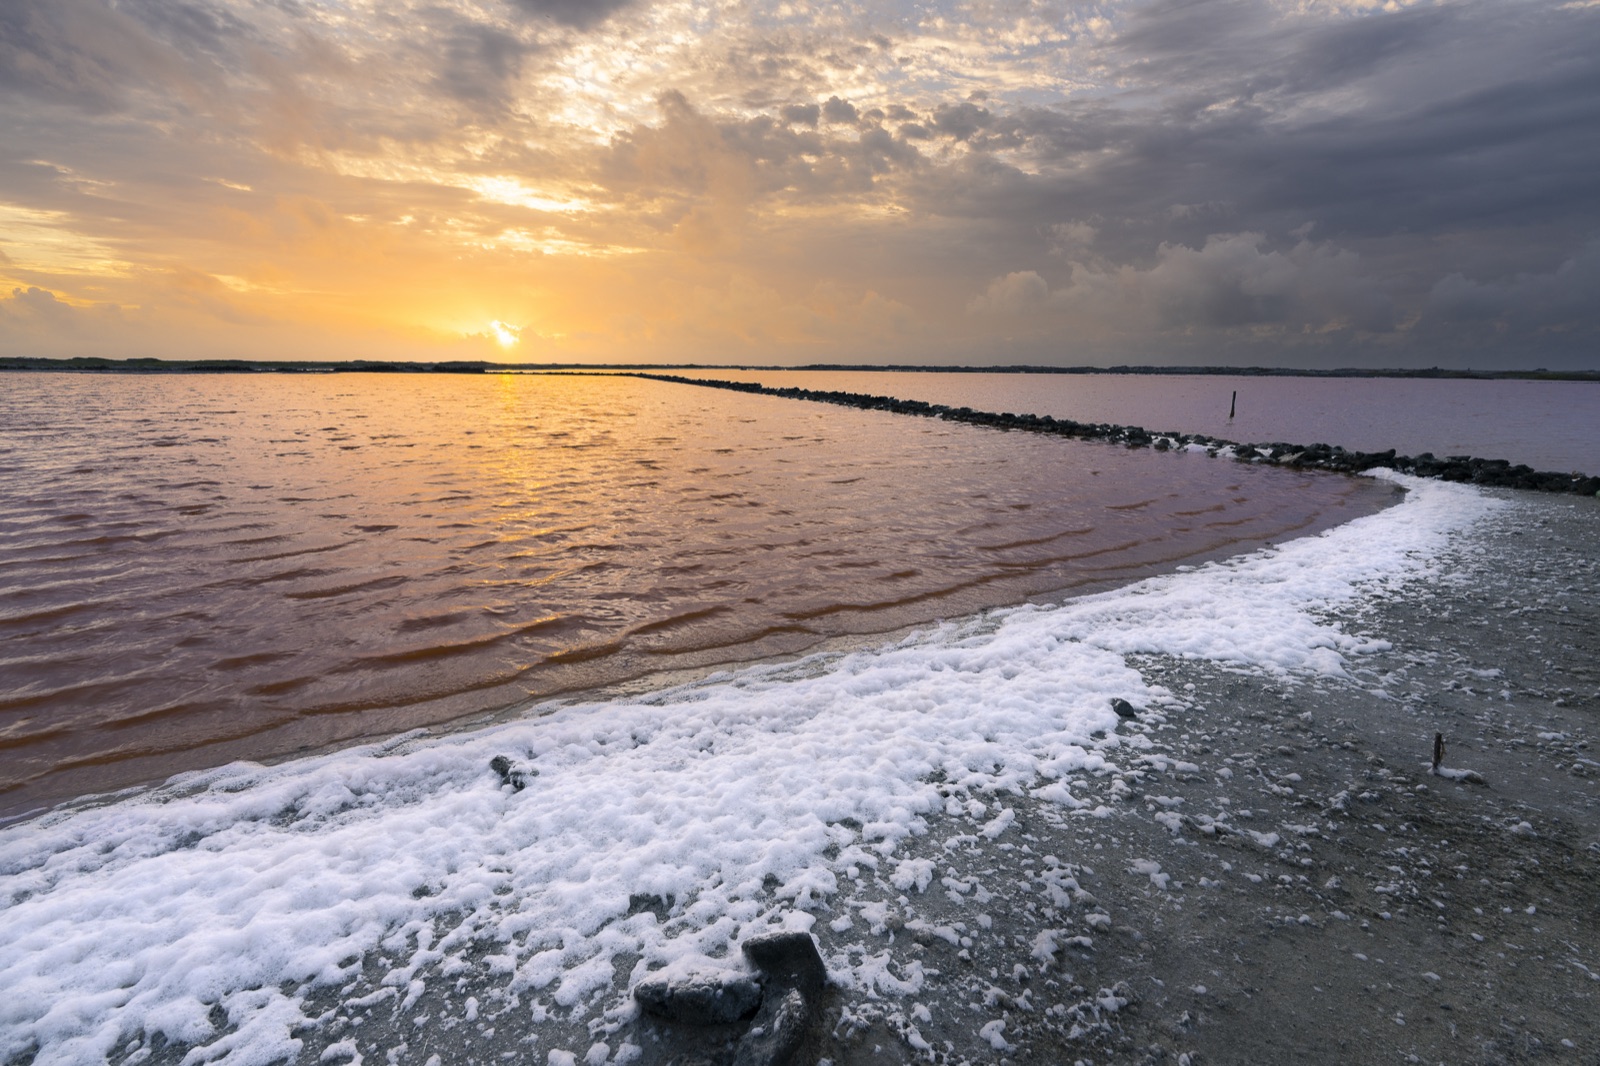
The most dramatic light in landscape photography doesn't come on a clear evening — it comes at the exact moment a storm breaks. When low sun punches through a gap in a still-black sky, a single lit ridge or tree blazes against the darkness behind it, and often a rainbow arcs over the whole thing. It lasts minutes, sometimes seconds, and it's the highest-reward light there is. Here's how to see it coming, and how to be ready when it fires.
Every photographer learns to check whether it’ll be clear. Fewer learn the more valuable skill: reading a forecast for the edges of bad weather, because that’s where the best light of all lives. A fully clear sky gives you a clean but ordinary sunset. A solid overcast gives you nothing. But the transition — a storm breaking up, a front clearing, the sun finding a gap in a heavy sky — produces light with a drama nothing else matches. Learning to anticipate it is what separates photographers who happen to be out for it from those who plan to be.
What makes storm light so good
Two ingredients collide, and it’s the collision that does it.
- A dark, heavy backdrop. The retreating storm leaves a sky full of thick, near-black cloud. On its own, grim.
- Low, direct sun through a gap. As the front clears, the sun — sitting low, so its light is warm and raking — finds an opening and fires under the cloud deck, side-lighting the landscape.
The result is extreme contrast: a brilliantly lit foreground or ridge glowing warm against a sky that’s almost black behind it. Because the sun is low and to the side, the light rakes across the land and reveals every fold and texture. This is the “spotlight from heaven” look, and it’s why photographers actively chase toward clearing storms rather than away from them. Add a wet, freshly rained-on landscape — saturated, glistening, reflective — and the scene is doing half the work for you.
When and where it happens
Storm light is all about timing a front against the sun. The prize windows are:
- The clearing edge, after a storm. A band of rain moves through and its trailing edge arrives near sunrise or sunset, so the sun slips into the clear gap behind it while the departing cloud still fills the sky. This is the classic.
- The leading edge, before a storm. Sometimes the sun is still out ahead of an advancing front, lighting the land against the dark wall of approaching cloud. Higher-risk (you may be shooting in the last minutes before it hits), often spectacular.
- Broken, unsettled “showery” days. Post-frontal air full of scattered heavy showers gives you gap after gap — many small chances through the day rather than one, and frequent rainbows.
The craft is watching the timing of a front passing through against your sunrise or sunset time, and being in position before the gap opens — because when it opens, you have minutes, not hours.
Chase the rainbow — and know where it will be
Storm light and rainbows travel together, and the good news is a rainbow’s position is pure geometry, so you can predict it. A rainbow always appears in the part of the sky directly opposite the sun — around the antisolar point, the spot marked by the shadow of your own head. So: put the sun at your back and look ahead. Because the bow sits at a fixed angle from that point, it’s highest when the sun is lowest — which is exactly the low-sun, post-shower moment storm light gives you. Rainbows near midday are low and flat; the tall, dramatic arcs come at the ends of the day, right when you want them.
Two field tips: a polariser dramatically strengthens or weakens a rainbow as you rotate it — dial it for maximum saturation, but don’t rotate it away by accident. And you need rain in front of you and sun behind you at the same time, which is precisely the showery, broken condition described above.
Shooting it: fast, and metered for the drama
Storm light is a race, so have the camera ready before it happens — settings roughly dialled, tripod up, composition chosen on the dark sky so you only fine-tune when the light hits.
- Expose for the lit subject, not the average. The huge dark sky will fool the meter into overexposing to compensate, blowing out your bright lit ridge. Watch the histogram and be ready to dial in negative exposure compensation to hold the highlights on the sunlit land — let the storm sky go dark and moody. That dark sky is a feature, not a problem.
- Work fast and shoot a lot. The light changes second to second as the gap shifts. Fire frames, adjust, keep firing. You can edit down later; you can’t get the minute back.
- A graduated ND can help balance a bright break in the sky against the land, though with storm light you often want the sky dark, so don’t overdo it.
- Long lenses love storm light. A telephoto lets you isolate a single spotlit hill or building against the black sky — one of the most reliable storm-light compositions.
A word on safety. Storm light means active weather nearby. If there’s lightning, a metal tripod on an exposed ridge is exactly where you shouldn’t be — no photograph is worth it. Keep an escape in mind, watch the sky behind you, and shoot the clearing edge from a safe position, not the heart of the storm.
Because it all hinges on a front’s timing lining up with low sun — the hardest thing to judge by eye — this is where planning pays off most. Viewpoint watches the forecast for the clearing edges and broken-cloud windows at your saved spots and flags when one is due around sunrise or sunset, so you’re set up for the break. Pair it with reading the weather for photography to interpret the wider system, and scouting and planning a photo shoot so you already know the viewpoint to run to.
Quick-start checklist
- Watch the timing of a front against your sunrise/sunset time — the clearing edge is prime.
- Be in position early; when the gap opens you have minutes.
- For the rainbow, put the sun at your back and look at the antisolar point — highest arcs come with the lowest sun.
- Use a polariser to strengthen the rainbow and saturate wet land.
- Meter for the lit subject — dial in negative compensation so the highlights hold and the storm sky stays dark.
- Shoot fast, shoot lots, and reach for a long lens to isolate a spotlit feature against black cloud.
- Stay safe — if there’s lightning, get off the exposed ground; no frame is worth it.