🧭 Planning & Weather
Reading the weather for landscape photography
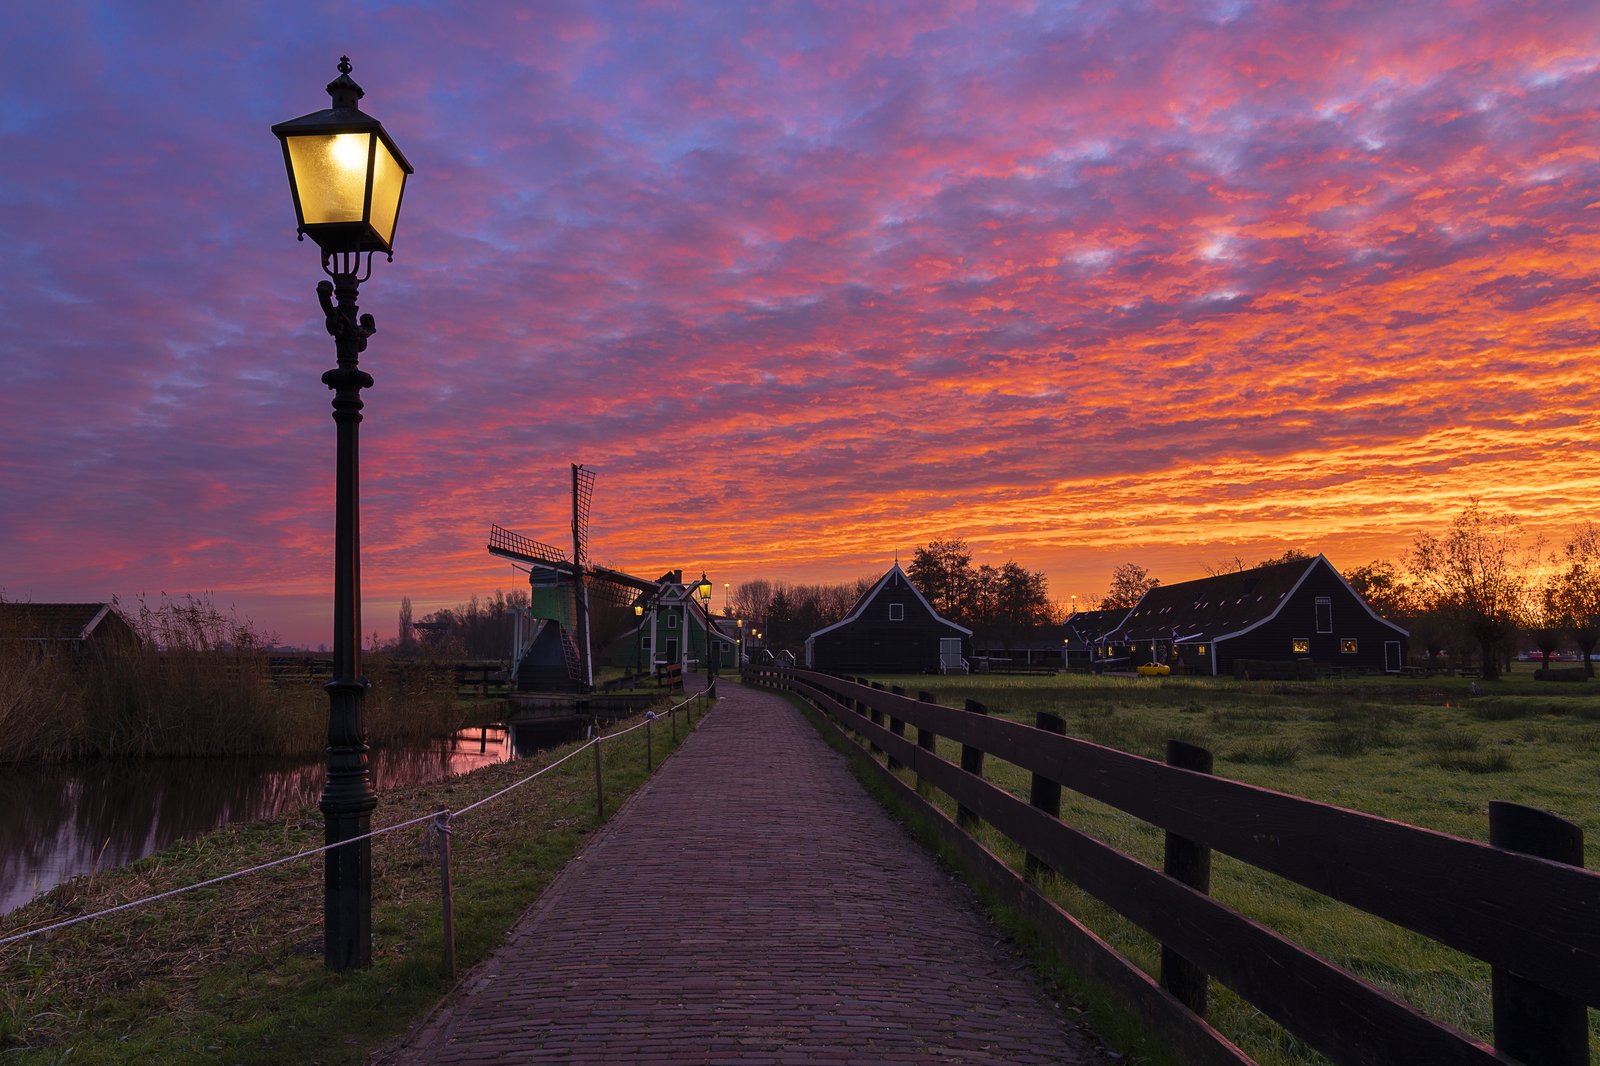
A great sunrise isn't luck — it's a forecast you learned to read. Once you know that the sky's drama lives almost entirely in the clouds, you can look at tomorrow's conditions and call your shot the night before. Here's how to read a forecast for light, not just rain.
Most photographers check the forecast for the wrong thing. You don’t actually care whether it rains — you care what the sky will do with the light at sunrise and sunset. And the single variable that decides that, more than temperature, more than the chance of precipitation, is cloud cover: how much of the sky is covered, and what kind of cloud it is. Learn to read that one number and its context, and you stop gambling on good light. You start predicting it.
The physics is simple and it’s the whole game. At sunrise and sunset the sun sits at the horizon, so its light travels nearly sideways and underlights the clouds — it hits their undersides from below rather than their tops from above. That low, warm, reddened light is what paints a sky. No clouds to catch it, no colour with structure. The forecast is just telling you, in advance, whether there’ll be a canvas for that light to land on.
The cloud-cover sweet spot
Think of cloud cover as a dial from 0 to 100 percent, with the magic in the middle.
- Clear sky (near 0%). A cloudless sunrise gives you a clean colour gradient — soft band of orange fading to blue — but no structure, no texture, nothing for the eye to hold. Pretty for five minutes, forgettable in a frame. Clear skies are a gift for astrophotography and a letdown for sunrise.
- Total overcast (near 100%). A solid grey lid blocks the low sun entirely. The light underneath is flat, even, and lifeless — no warmth gets through. (Overcast has its own uses for forests and waterfalls, where soft shadowless light is ideal — but it kills a sunrise.)
- Broken or partial cloud (roughly 30–70%). This is the target. Scattered high cloud (thin, wispy, high-altitude) and mid-level cloud sit far enough up to catch the sun’s underlight while the sun itself is still below or just on the horizon. Their undersides flare orange, pink and red. The gaps give the sky rhythm. This is where dramatic light lives.
There’s a refinement that separates a good sky from a great one: you want partial cloud overhead plus a clear gap right at the horizon, in the direction the sun rises or sets. The sun has to physically break through that gap to fire its light under the cloud deck above you. A sky that’s broken overhead but solid on the horizon often does nothing — the sun comes up behind a wall and the colour never ignites. When you’re scouting and planning a photo shoot, check the forecast for the horizon in your shooting direction, not just the sky as a whole.
Reading the cloud type, not just the percentage
A cloud-cover percentage alone can mislead you, because altitude matters as much as amount. High and mid clouds catch underlight beautifully. Low, thick cloud — the stuff that brings drizzle — sits beneath the colour and just greys everything out, even at a modest percentage. Two forecasts both reading “60% cloud” can produce a screaming sky or a damp nothing depending on the layer.
Most detailed forecasts break cloud into high, mid and low bands. The reading you want:
| You see | Likely sunrise/sunset |
|---|---|
| High + mid cloud, low cloud near zero, clear horizon | Best case — strong, structured colour |
| Low cloud dominant | Flat and grey, even if total % looks moderate |
| 100% any layer | Overcast, no colour |
| 0% all layers | Clean gradient, no drama |
When a forecast only gives you a single total figure, treat 30–70% as promising and then sanity-check against the general conditions — a rainy, low-pressure day is probably low cloud, a crisp high-pressure morning more likely high and thin.
Fog, wind and the clearing storm
Three other variables turn an ordinary morning into a special one.
Fog and mist are just cloud at ground level, and they’re some of the most atmospheric conditions you can shoot. The kind you can predict is radiation fog (valley fog): it forms overnight when the air is cool, the sky is clear, and the wind is calm — the ground radiates its heat away, chills the air just above it, and moisture condenses. It pools in valleys and over water, then usually burns off within an hour or two after sunrise as the sun warms the ground. So the window is dawn, and the recipe to watch for is clear, cool and still overnight.
Wind cuts both ways, and you should know which way you want it. Calm air gives you mirror-still water for reflections and is essential for long exposures of anything that should stay sharp. But wind is also what prevents or clears fog — the same still night that brews valley fog needs the wind to stay down. A breeze can save a dull sky by streaking the clouds, or wreck a reflection. Read it deliberately.
Storms and clearing fronts deliver the most dramatic light there is. The prize moment is the clearing edge — when a storm is breaking up and the sun punches through a gap in a still-dark, heavy sky. You get intense, low side-light against near-black cloud, often a rainbow (look opposite the sun). This is the highest-risk, highest-reward situation: you’re chasing a gap that may last minutes. Watch the timing of a front passing through against your sunrise or sunset, and be in position early.
Which forecast tools to read
No single source tells you everything, so combine a few:
- A general forecast for the overall picture — pressure, fronts, precipitation timing, wind.
- A cloud-cover forecast that breaks out total percentage and, ideally, high/mid/low layers — this is your primary light predictor.
- A dedicated cloud / clear-sky forecast when you’re planning astrophotography, where you want the opposite of a sunrise sky: as close to 0% cloud as possible.
And remember the honest limits. Cloud forecasts are genuinely hard and lose reliability beyond a day or two — treat a four-day-out sky as a rough hint, not a promise, and re-check the night before. One thing no general weather source covers is tides: if you shoot coastlines, pair your forecast reading with a separate tide table so you’re not arriving at a flooded or fully-drained foreshore.
This is exactly the watching that’s tedious to do by hand every morning. Viewpoint can monitor the forecast for a spot you’ve saved and alert you when the conditions you’ve set — a clearing window, calm wind, the cloud cover you’re after — actually line up, so you only get up at 4 a.m. when it’s worth it. Pair what you read here with the timing in shooting golden hour and blue hour, and you’ll know not just that the light is coming, but exactly when and how good it’ll be.
Quick-start checklist
- Aim for 30–70% cloud — broken, not clear, not solid overcast.
- Prioritise high and mid cloud over low cloud; check the layer breakdown, not just the total.
- Confirm a clear gap at the horizon in your sunrise/sunset direction so the sun can underlight the deck.
- For fog, look for a cool, clear, calm overnight and shoot the dawn window before it burns off.
- Want reflections or long exposures? Check for calm wind. Chasing fog? Calm too.
- Re-check the cloud forecast the night before — and keep a tide table on hand for coastal shoots.