🎒 Gear & Setup
Intervalometer or remote release: what star trails and timelapse need
Two small, cheap accessories get confused constantly, and picking the wrong one quietly ruins a night of shooting. A remote release just fires the shutter without touching the camera; an intervalometer fires it again and again on a schedule. For a single long exposure either is fine — but for the two things landscape photographers most often reach for them, star trails and timelapse, only one does the job. Here's the difference, why it matters, and how to set it from the exposure numbers you already have.
A remote shutter release is a button on a cable (or wireless) that fires the shutter without you touching the camera — it exists to avoid the tiny vibration of pressing the shutter by hand, and to hold the shutter open in Bulb mode for exposures longer than 30 seconds. An intervalometer does all that and the thing a plain release can’t: it fires the shutter repeatedly, on a timer you set — so many frames, so many seconds each, so many seconds apart. For a single shot they’re interchangeable. For a sequence — which is what star trails and timelapse are — you need the intervalometer. Getting this right is the difference between coming home with the shot and coming home with one frame.
What each one actually does
- Remote release — fires (or holds, in Bulb) the shutter once, vibration-free. Perfect for a single long exposure: a long-exposure seascape, a several-minute Bulb frame, a self-portrait in the scene. It cannot take a series on its own.
- Intervalometer — programs a run of exposures: N frames, each X seconds long, Y seconds apart, optionally after a start delay. Many modern cameras have one built in (look for “interval timer” or “interval shooting”); otherwise it’s a cheap external cable or app.
If you only ever shoot single frames, a remote release is enough. The moment you want a sequence, you want the intervalometer.
Why star trails need gap-free triggering
Star trails are built from a long run of consecutive exposures — often dozens or hundreds — that you later stack into continuous arcs. The critical requirement: the gap between frames must be tiny (a second or two), because any longer gap shows up as a visible break in every star trail. A remote release can’t do this — you’d be pressing the button all night. An intervalometer fires the next frame automatically the instant the last one finishes, keeping the trails smooth and unbroken. This is the single most common reason landscape photographers buy one.
Timelapse: same tool, different math
A timelapse uses the identical hardware to a completely different end: instead of stacking the frames, you play them back in sequence as video. Here the interval between frames is long and deliberate — seconds to minutes apart — because you’re compressing time. The intervalometer is doing the same job (fire N frames on a schedule); you’re just choosing a spacing that samples the scene over a long period. One accessory, two techniques, opposite interval settings.
Setting the interval from your exposure math
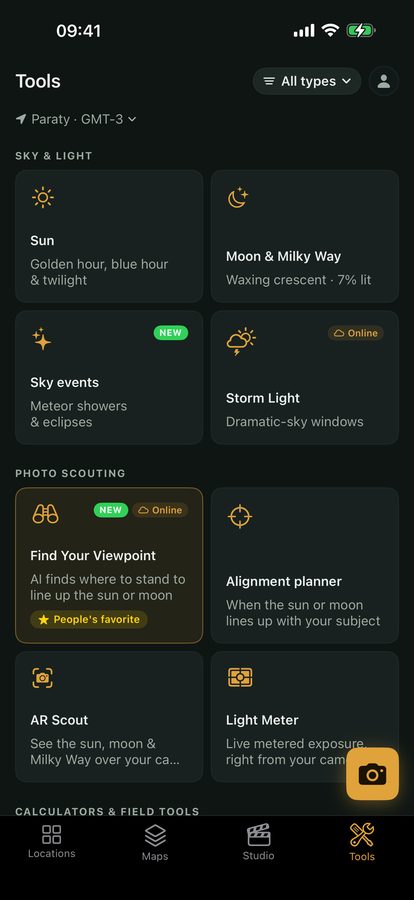
This is where the plan meets the hardware. For star trails you don’t guess the settings — you derive them: the total time you want the trails to arc, divided into sub-exposures short enough to keep noise down, tells you the frame count and the per-frame exposure. Viewpoint’s star-trail calculator does exactly that — feed it your target and it returns the exposure length, the number of frames, and the total run time. Then you enter those into the intervalometer: exposure = the sub-exposure, interval = exposure + ~1 s, frames = the count. The gear becomes a way to execute the plan, not a variable you’re fiddling with in the dark.
In-camera alternatives
Before buying anything, check what your camera already offers: many have a built-in interval timer (fully replacing an external intervalometer for most star-trail and timelapse work), a long-exposure/Bulb timer (times a single Bulb frame so you don’t need a release for that), and even in-camera star-trail / live-composite modes that build the stack for you. If yours does, you may not need to buy anything. If it doesn’t, a basic external intervalometer is inexpensive and does everything above.
Quick-start checklist
- Remote release = fire/hold one shutter, vibration-free. Intervalometer = fire a scheduled series.
- Star trails need the intervalometer — gap-free triggering, or every trail shows a break.
- Timelapse = same tool, long deliberate intervals (you play the frames back, not stack them).
- Set the interval from the math — the star-trail calculator gives exposure, frame count and total time.
- Interval ≈ exposure + ~1 s to keep trails continuous.
- Check your camera first — a built-in interval timer often replaces the external one entirely.