🎒 Gear & Setup
Square vs screw-in: which filter system do you actually need?

Once you know you want filters — an ND to smooth water, a polariser to cut glare, a graduated ND to hold a bright sky — the next question trips up everyone: what *format*? Round filters that screw onto the lens, or square filters that slot into a holder? It's a genuine fork, and the right answer depends entirely on how you shoot, not on which is 'better.' Here's how the two systems actually differ and how to choose the one that fits your photography.
There are two ways to put a filter in front of a lens, and choosing between them is one of the first real gear decisions a landscape photographer makes. Screw-in filters are round and thread directly onto the front of the lens. Square (or rectangular) filters slot into a holder that clamps to the lens via an adapter ring. Both can hold the same ND, polariser or graduated filter — the difference is in how you use them, how you combine them, and how much you carry. Neither is universally right; the format that suits a one-lens traveller frustrates a multi-lens tripod shooter, and vice versa. Work out which you are first.
What each system actually is
- Screw-in (round): a filter that threads onto the lens’s front element, matched to that lens’s filter diameter. Compact, quick, nothing extra to assemble — the filter lives on the lens.
- Square (holder-based): a flat filter that drops into a holder mounted on an adapter ring. The holder takes one or more filters at once and lets you slide and rotate them. Bulkier, a little slower to set up, far more flexible.
Same optical job; very different handling.
Why landscape shooters reach for square
The square system exists because landscape photography often needs to do things a single round filter can’t:
- Stacking multiple filters. Landscape work frequently combines a graduated ND (to hold the sky) with a solid ND (to slow the water) — sometimes plus a polariser. A holder takes several at once; screwing multiple round filters together causes vignetting and is fiddly.
- Sliding a graduated ND. A grad’s transition has to sit exactly on the horizon. In a holder you slide it up and down freely; a round grad is fixed in the centre and nearly useless because you can’t position the transition.
- One set across many lenses. Buy the holder and filters once in a size that covers your largest lens, then just swap a cheap adapter ring per lens. Round filters are tied to each lens’s thread diameter, so a mixed kit means duplicate filters.
If you shoot from a tripod, combine filters, and use graduated NDs, the holder system pays for its bulk quickly.
Why screw-in still wins for some
Square isn’t automatically the answer. Round filters are the better call when:
- You travel light or shoot one or two lenses. A screw-in ND and a screw-in polariser in a pocket beat a holder kit you have to assemble.
- You mostly use a polariser or a single ND. For one filter at a time, threading it on is faster and less to carry — a holder is overkill.
- Simplicity matters more than flexibility. Fewer parts, nothing to drop in the dark, quicker to deploy for a grab shot.
Many photographers own both: a couple of screw-in filters for travel and quick work, a holder system for deliberate tripod-based landscapes.
Matching the format to your kit
A simple decision tree:
- One or two lenses, filters used one at a time, portability first? → Screw-in. Match each filter to your lens’s thread size.
- Multiple lenses, or you stack a grad ND with a solid ND, and shoot from a tripod? → Square holder. Buy filters sized for your widest lens, add adapter rings for the rest.
- A polariser is your main filter? → a screw-in polariser is simplest; but if you already run a holder, a dedicated holder polariser avoids stacking issues.
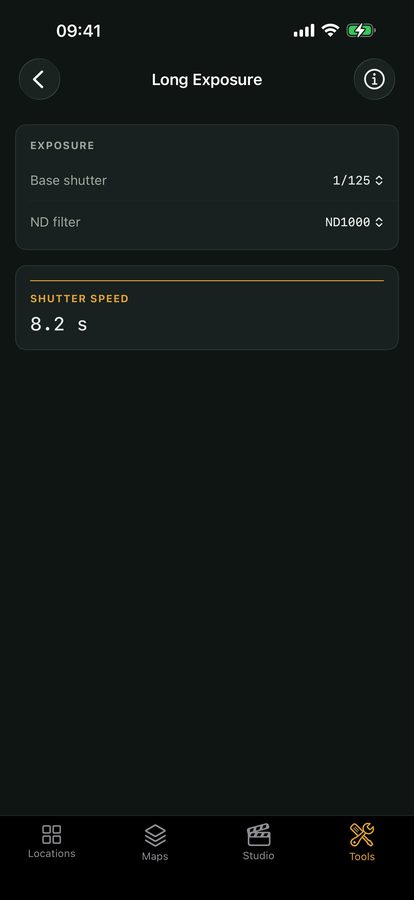
Whichever you land on, the exposure doesn’t change with the format — a 6-stop ND slows the shutter by six stops either way. Viewpoint’s ND and long-exposure calculator turns your chosen filter strength into the exact shutter speed for the effect you want (and ND filters explained covers which strength to reach for).
Where the calculator fits in
The system decision is about handling; the shot is still made by the exposure. Once the glass is on — round or square — a strong ND can push your shutter to many seconds or minutes, far past what you can guess. That’s where the ND calculator earns its place: feed it your filter strength and base exposure and it gives the shutter speed for silky water or streaking cloud, so the format you chose just becomes the way you mount the glass, not a variable in the maths.
Quick-start checklist
- Two systems, same job — screw-in threads on the lens; square slots into a holder.
- Square wins for stacking filters, sliding a graduated ND, and sharing one set across many lenses.
- Screw-in wins for travelling light, one-filter-at-a-time shooting, and speed.
- Grad ND user on a tripod? You almost certainly want the holder system.
- One lens, a polariser, portability? Screw-in is simpler and lighter.
- The exposure is the same either way — use the ND calculator to turn filter strength into shutter speed.