🎨 Editing & Processing
AI noise reduction for astro and landscape photos, without the plastic look
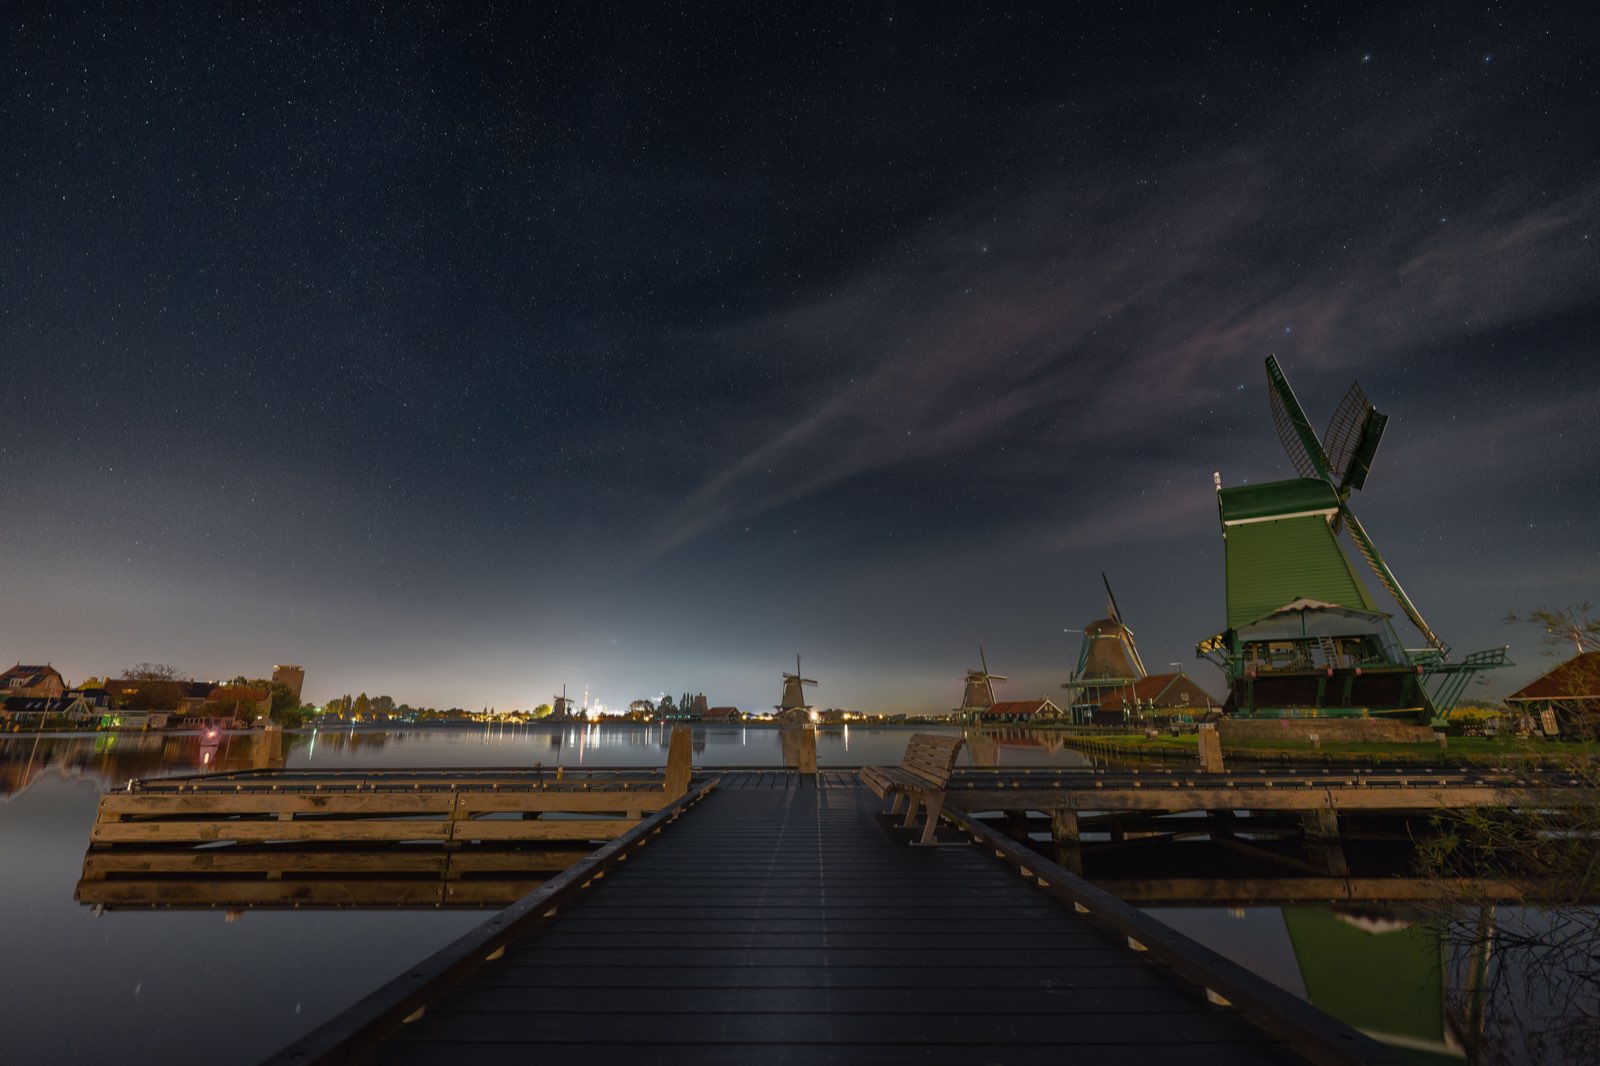
AI noise reduction has quietly become one of the most powerful tools in a photographer's kit — it can rescue a grainy high-ISO night sky or a lifted-shadow landscape in a single click. It's also one of the easiest to overdo, and the failure mode is ugly in a specific way: plasticky, waxy detail, stars smeared to mush, textures wiped smooth. The tool is genuinely good; the skill is knowing how much is too much. Here's what it actually does, the symptoms of over-denoising, and a workflow that keeps your frames clean *and* real.
Noise — the grainy, speckled texture in a photo — comes from pushing a sensor: high ISO, long shadows lifted in post, small underexposed files stretched. AI noise reduction tools, trained to recognise the difference between real detail and random grain, have made cleaning it up dramatically better than the old blur-and-smear approach. But “better” isn’t “free”: lean on them too hard and you trade grain for a worse artefact — an unnatural, plastic smoothness that screams processed. The whole skill is applying enough to clean the frame and stopping before it starts erasing the thing you photographed.
What “AI” denoise actually changes
Traditional noise reduction blurs: it averages neighbouring pixels, which softens grain and real detail together — hence the classic muddy, watercolour look. AI denoise is different in kind. Trained on huge numbers of noisy-and-clean image pairs, it recognises what’s noise versus what’s genuine texture and edge, and removes the former while trying to preserve the latter. The result at a sensible strength is remarkable — a clean file that keeps its detail. The catch is that the model is guessing at detail it can’t see under the noise, and pushed too far it invents a smooth, synthetic surface where texture used to be.
The over-denoise tell: what to watch for
Over-denoising has a signature. Learn to spot it at 100% zoom and you’ll never ship a plastic photo:
- Waxy, smeared skin and surfaces — rock, bark, foliage that should have micro-texture goes smooth and artificial.
- Stars turned to blobs — in astro, faint stars are small points of light that look a lot like noise, so aggressive denoise erases or smears them. A denoised Milky Way with mushy, reduced stars is the classic giveaway.
- Halos and watercolour edges — soft, painterly transitions where crisp detail should be.
- A “too clean” flatness — the image loses the fine grain that reads as real and starts to look rendered.
If a viewer senses the processing before the photo, you’ve gone too far. A little residual grain almost always looks better than a plastic surface.
A sane default workflow
Order and restraint are everything:
- Denoise before sharpening, always. Sharpening amplifies noise, so clean first, then sharpen — never the other way round (this is the same rule as in the export workflow).
- Start low and push up only until the noise is acceptable, not gone. The target is “clean enough,” not “zero grain.” Back off the moment texture starts to soften.
- Judge at 100%, on the areas that matter — the sky’s faint stars, a rock face’s texture — not the whole image zoomed out.
- Mask it if you can. Apply more to smooth areas (sky, water) and less to detailed ones (foliage, stars) rather than one global slug of denoise.
- Match the amount to the ISO. A base-ISO daytime frame needs almost none; a high-ISO night frame needs real denoise — knowing which you shot (your capture settings) tells you where to start.
Pairing denoise with stacking
If you shoot astro, there’s a way to need less denoise in the first place: stacking. Shoot several frames of the same scene and average them, and the random noise cancels out while the real signal stays — a cleaner starting file that needs only gentle denoise, keeping far more star detail than hammering a single noisy frame. Denoise and stacking aren’t rivals; the best clean astro images use a light touch of both. (For where that noise comes from at capture, see ISO and noise; for shooting the Milky Way cleanly in the first place, plan for a dark, moonless night.)
Quick-start checklist
- AI denoise recognises grain vs detail — far better than old blur, but it guesses under heavy noise.
- The failure mode is plastic — waxy texture, smeared stars, watercolour edges, a too-clean flatness.
- Denoise before sharpening, always.
- Aim for “clean enough,” not zero grain — a little residual noise beats a synthetic surface.
- Judge at 100% on stars and texture; mask more onto smooth areas, less onto detail.
- Match the strength to the ISO you shot — and stack astro frames to need less denoise at all.