🎨 Editing & Processing
How to sharpen and export photos for web, print and social
You've developed the shot and it looks perfect at full size on your screen — then you post it and it comes out soft, or crunchy, or ringed with ugly halos. Sharpening and export are the last, least-glamorous steps of editing, and they're where a lot of good photos quietly fall apart. The fix is understanding that there isn't one 'sharpen' button: there are three kinds of sharpening for three different jobs, and the order you do them in — resize first, sharpen last — is what separates a crisp post from a mushy one.
Sharpening feels like it should be simple — a slider that makes things crisper — but that mental model is exactly what produces halos, crunch and noise. Sharpening doesn’t add detail; it increases contrast along edges to create the impression of detail, and how much you want depends entirely on what stage you’re at and where the photo is going. Get the stages and the order right and your photos look crisp everywhere; get them wrong and the same file looks great on your screen and terrible in the feed.
The three kinds of sharpening
Professional workflows sharpen in up to three passes, each doing a different job:
- Capture sharpening — a small, global pass early in the edit that counteracts the slight softening every digital sensor introduces (the anti-aliasing filter and the demosaicing of RAW data). It just gets the file back to “neutrally sharp.” Modern RAW developers apply a sensible default automatically.
- Creative sharpening — local, selective, applied during the edit to draw the eye: a touch more on a rock face or a subject’s texture, none on a smooth sky or water. This is part of shaping the image, not a global move.
- Output sharpening — the final pass, applied last, tuned to the specific size and medium the photo is going to. This is the one most people skip, and it’s the one that decides whether the photo looks right where it’s actually seen.
Keeping these separate is the whole trick. Pile all your sharpening into one heavy global pass and you over-sharpen the smooth areas (hello, noisy skies and halos) while the important edges still don’t look right for the final size.
Why you resize before you sharpen
This is the single rule that fixes most soft-or-crunchy exports: resize to the final dimensions first, then apply output sharpening. Sharpening works at the pixel level, so its effect depends on how big the pixels are relative to the image. Sharpen a 45-megapixel file and then shrink it to 2048px for the web and the resizing throws away most of that sharpening — the result looks soft. Shrink first, then sharpen for that exact size, and every bit of the pass lands where it’s seen. Always: resize, then output-sharpen.
Noise reduction comes first, though
One ordering trap catches everyone: reduce noise before you sharpen, never after. Sharpening amplifies whatever is there — including grain — so if you sharpen a noisy night frame first, you’re etching the noise in permanently, and no amount of later noise reduction will cleanly remove it without smearing the detail you just sharpened. So the real end-of-edit order is: noise reduction → resize → output sharpening. (For a deeper look at where that noise comes from, see ISO and noise.)
Output for where it’s going
The right export settings depend entirely on the destination:
- Web and portfolio sites — export a smaller long edge (commonly 2048px), sRGB colour, JPEG at a high-but-not-maximum quality, with light output sharpening. Too much and you’ll see halos once the site re-compresses your file.
- Social feeds — platforms aggressively re-compress and downscale everything you upload, so give them a file already sized close to what they display and don’t over-sharpen; heavy sharpening plus platform compression is what produces those crunchy, artefact-ridden posts. Match the platform’s aspect ratio too, so you control the crop instead of the algorithm.
- Print — the opposite extreme: export at full resolution, in the print lab’s colour space, with stronger output sharpening, because ink on paper spreads slightly and softens fine detail. A file sharpened perfectly for the screen will look soft in print, and vice versa — which is exactly why output sharpening is a separate, destination-specific pass.
From export to the feed
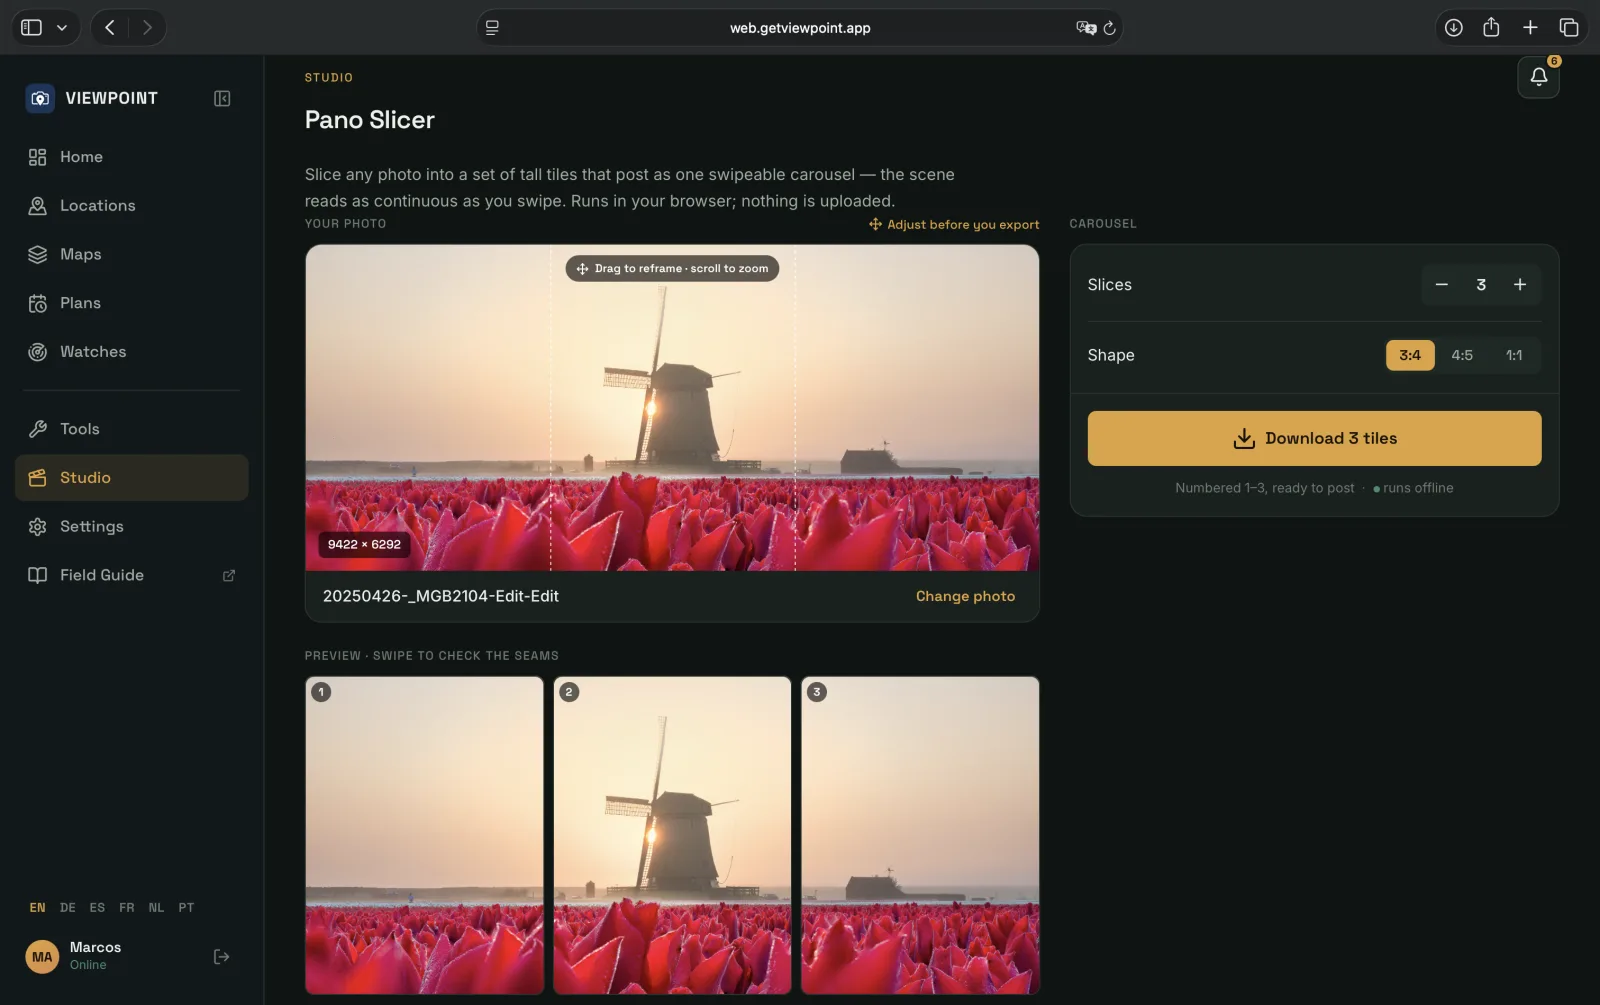
Export isn’t quite the finish line if the photo is headed for social. A wide panorama shrinks to an unreadable sliver in a feed; a beautiful frame posted flat gets scrolled past. This is the job Studio does: it takes your finished, exported photo and rebuilds it for the way feeds actually show work — slicing a panorama into a set of tall tiles that post as one swipeable carousel, turning a shot into a smooth vertical reel, or building a card that shows the settings behind the frame. It all runs on your device — the photo is never uploaded — and it’s the natural last step after you’ve sharpened and sized for the screen: get the file right, then get it seen.
Quick-start checklist
- Sharpening doesn’t add detail — it adds edge contrast, so a little goes a long way.
- Three passes, three jobs — capture (fix sensor softness), creative (draw the eye), output (final, size-specific).
- Noise reduction first, always — sharpen a noisy frame and you lock the grain in.
- Resize, then output-sharpen — sharpen before resizing and the shrink throws it away.
- Match the output to the destination — light for web/social, strong and full-res for print.
- Size for the platform — feeds re-compress, so upload a file already close to display size, in the right aspect ratio.
- Then hand it to Studio — turn the finished frame into a carousel, reel or spec card ready to post.