🎨 Editing & Processing
How to shoot and stitch a panorama: from frames to one seamless wide
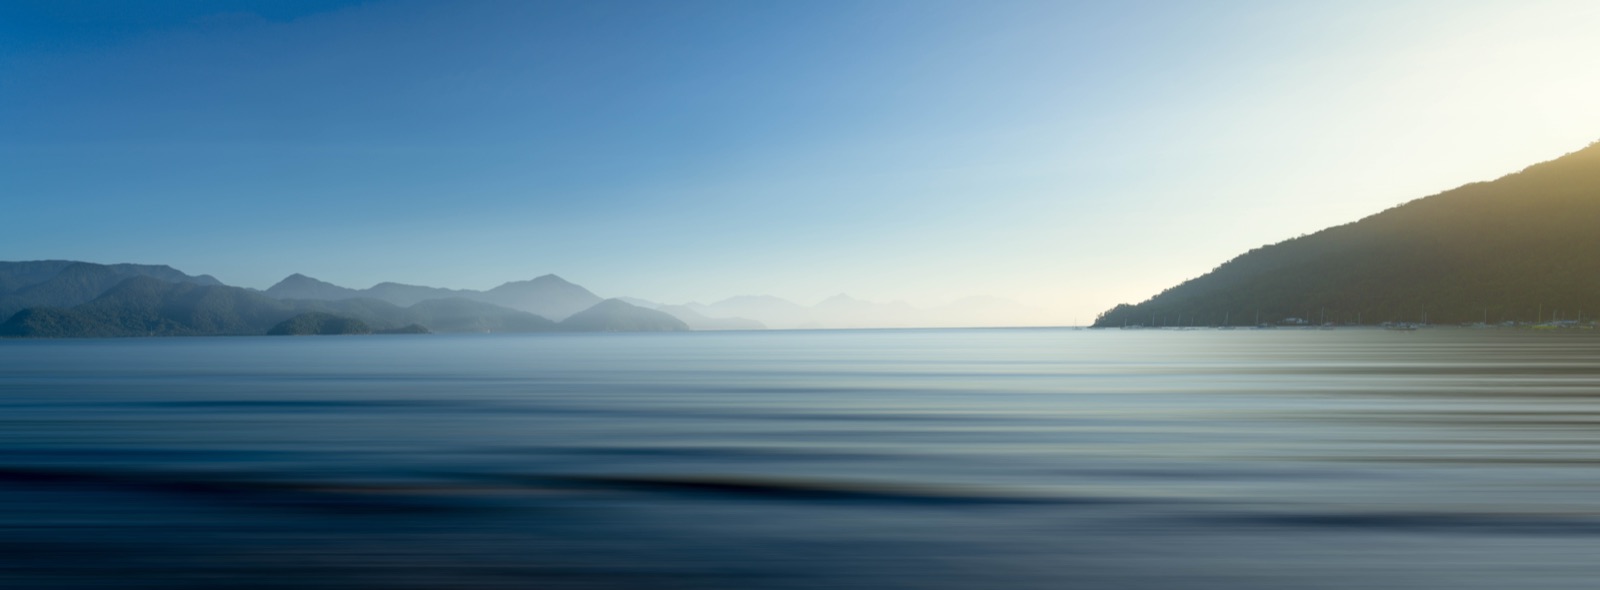
A single wide-angle frame can't always hold the scene in front of you — and cramming it in distorts the edges and shrinks everything to a postage stamp. A panorama solves both: you shoot the scene in overlapping frames and stitch them into one huge, high-resolution image with a natural field of view. The catch is that ninety percent of whether a stitch works is decided in the field, before you ever open the software. Here's the capture discipline that makes stitching easy, and the stitch itself.
A panorama isn’t just a “wide photo” — it’s a way to capture a scene at a natural perspective and enormous resolution that a single frame can’t match. Shoot a sweeping valley with an ultra-wide lens and the mountains at the edges stretch and the whole thing feels small; shoot it as a panorama with a longer lens and you get the grand scale without the distortion, and a file big enough to print across a wall. The secret is that a good stitch is made in the field. Get the capture right and the software does the rest almost automatically; get it wrong and no amount of clicking will hide the seams.
Why stitch instead of shooting one wide frame
Two reasons, and both matter:
- Perspective. A wide or ultra-wide lens exaggerates the foreground and bends the edges. Stitching several frames from a longer lens (35mm, 50mm) gives a wide field of view with natural, undistorted proportions — the scene looks the way it felt.
- Resolution. A panorama built from six frames has roughly six times the pixels of one shot. That’s the difference between a web-only image and one you can print big and crop into freely.
If the scene is wider than your lens comfortably holds without distortion, or you want maximum quality, stitch it.
The field discipline that makes a stitch work
This is the part that decides everything. Before you press the shutter:
- Level the camera. The single biggest cause of a failed or heavily-cropped stitch is a camera that isn’t level as it pans. Use a tripod with a levelled head if you can; hand-held, keep the horizon steady across the sweep. A levelled panoramic head is ideal but not essential.
- Choose the lens deliberately. Reach for a standard-to-short-telephoto (35–70mm) rather than ultra-wide — less distortion per frame means a cleaner merge and better proportions.
- Lock everything to manual. Manual exposure, manual white balance, manual focus. If the camera re-meters or re-focuses between frames, the tiles won’t match and the sky will band where exposures change. Meter for the scene, then lock it.
- Overlap generously — about a third. Each frame should overlap its neighbour by roughly 30%. The software needs that common area to find matching points and align the frames; too little overlap and the stitch fails.
- Shoot fast and watch for movement. Drifting cloud, moving water and people shift between frames and confuse the stitch — sweep quickly, and be aware of what moved.
Nail these five and stitching becomes a formality.
Shooting the sequence
Work methodically across the scene: start at one end, take a frame, rotate so the next frame overlaps by a third, repeat to the far end. Keep the rotation smooth and the camera level throughout. For a tall scene you can shoot multiple rows the same way (a multi-row panorama), overlapping vertically too. Shooting the frames vertically (portrait) and panning horizontally is a common trick — it gives the stitched result more height to crop from. Count your frames so you know the set belongs together.
Stitching it together
In your editor, select the frames and run the panorama merge (every major RAW developer has one). The software finds the overlapping points, aligns and blends the frames, and hands you a single wide image. A few things to expect:
- Choose the projection if offered — cylindrical for wide horizontal sweeps, spherical for very wide or multi-row, perspective for architectural scenes. If the result looks bowed or stretched, switch projection.
- Crop the ragged edge. A stitched pano has an irregular, stepped border where the frames didn’t perfectly overlap — crop into the clean rectangle, or use content-aware fill for small gaps.
- Then develop as one image — take the merged file through your normal RAW workflow (white balance, tone, colour) after stitching, so the whole panorama is treated consistently.
Log it as one place, not ten shots
A small workflow win: a panorama is one photograph of one location, even though it started as ten frames. When you save the spot, record it as a single entry with the panorama as its result — not ten scattered files you’ll puzzle over later. Keeping the finished pano tied to the place (with the focal length and the fact that it’s a stitch noted) means next time you’re there you know exactly how you made it. And when it’s ready to share, Studio turns that wide frame into something a feed can actually show.
Quick-start checklist
- Stitch for perspective and resolution — a longer lens across several frames beats one distorted ultra-wide.
- Level the camera — the number-one cause of failed stitches.
- Lock exposure, white balance and focus to manual — so the tiles match.
- Overlap each frame by about a third — the software needs the common area.
- Shoot fast, watch for movement; shoot portrait frames for more height to crop.
- Merge, pick the right projection, crop the ragged edge, then develop as one image.
- Save it as one spot with the pano as the result — and let Studio make it postable.