🎨 Editing & Processing
How to blend exposures for a bright sky and dark foreground
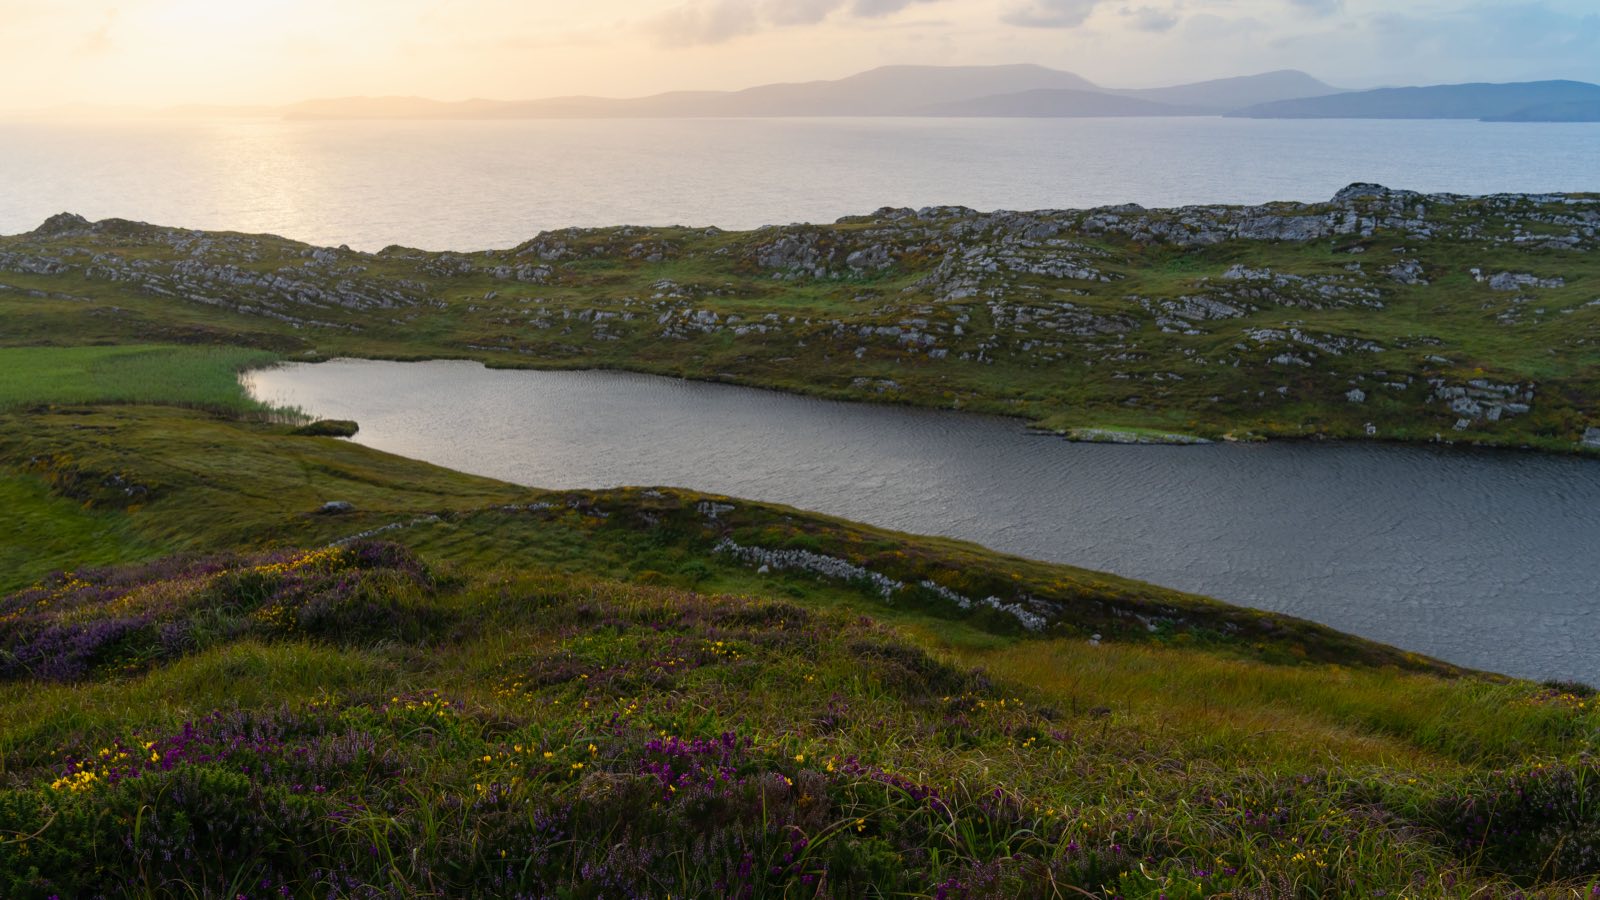
Some scenes are simply too much for one frame: expose for the glowing sky and the foreground falls to black; expose for the foreground and the sky burns out to white paper. Your eye handled it effortlessly — the camera can't. Exposure blending is how you get both, by combining two or more frames of the same scene into one that holds detail from the brightest cloud to the darkest rock. Here's when to do it, how to shoot for it, and how to keep it looking like a photograph rather than a composite.
Point a camera at a sunrise over a dark valley and you meet the oldest problem in landscape photography: dynamic range. The scene contains a brighter-to-darker span that no single exposure can record. Your eye and brain merge a huge range in real time, so it never looks like a problem in the field — but the sensor has to pick one exposure, and whatever it picks, one end of the scene is lost. Exposure blending solves it the honest way: shoot the range in pieces, then reassemble it.
Why one frame can’t hold the whole scene
Every sensor has a fixed dynamic range — the distance between the brightest highlight it can hold before clipping to white and the darkest shadow before it drowns in noise. A high-contrast scene (a bright sky over a shaded foreground, a sunlit peak above a valley still in shadow) can span more stops than that. Push the exposure to save the sky and the foreground goes black and noisy; lift it to save the foreground and the sky blows out, gone for good. A RAW file buys you a stop or two of recovery at each end — but when the gap is bigger than that, you need more than one exposure. That’s the entire reason to blend.
Blend in post, or a graduated ND filter in the field?
There are two honest answers to a bright sky, and knowing which to reach for is half the skill:
- A graduated ND filter darkens the sky at capture — a piece of glass, dark at the top and clear at the bottom, that you slide until its transition sits on the horizon. It’s instant, it’s one frame, and it’s brilliant when the horizon is a clean straight line (a seascape, a flat plain). Its weakness is anything that pokes above that line — a mountain, a tree, a spire — which the filter darkens too, leaving an obvious grey band across it.
- Exposure blending does the same job after capture, by masking a darker sky exposure over a brighter foreground exposure. It costs you a bit of desk time and needs a tripod, but it handles a ragged, complex horizon perfectly — because you paint the blend exactly where you want it, around every peak and branch.
Rule of thumb: clean horizon → grad ND is faster; complicated horizon → blend. Many photographers carry the filter for speed and fall back to blending when the scene is too busy for it. Neither is “cheating” — both are just tools for capturing the range your eye already saw.
Shooting the bracket
Blending only works if the frames line up, so discipline in the field is everything:
- Use a tripod. The frames must be identical but for brightness — a locked-off tripod is non-negotiable.
- Lock focus and aperture. Only the shutter speed changes between frames, so depth of field and focus stay constant. Switch to manual or exposure-bracketing mode.
- Bracket to cover the range. Take one frame exposed for the highlights (the sky just short of clipping — check the histogram, not the screen) and one for the shadows (the foreground clean and open). A three- or five-frame bracket at 1–2 stop steps gives you margin on very high-contrast scenes.
- Watch for movement. Water, blowing grass and drifting cloud shift between frames — shoot the bracket quickly, and note anything that moved so you know where the blend will need care.
The blend itself — mask, don’t fade
The mistake beginners make is dropping the darker frame on top of the brighter one at 50% opacity — that just gives you a flat, muddy average of the two. A real blend uses a mask: you keep 100% of the foreground exposure and reveal 100% of the darker sky exposure only where the sky is, with a soft transition along the horizon. Modern tools make the selection easy — an automatic sky mask, or a luminosity mask that targets the brightest tones — and then you refine the edge by hand around anything that breaks the horizon. The goal is a seam no one can find. Feather the transition, match the brightness across it, and step back often to check it reads as one natural frame.
Keeping it natural
Over-blended landscapes have a look, and it’s not a good one: grey, flat, lifeless skies; a halo of light tracing the horizon or the edge of a mountain; a foreground that’s unnaturally bright for the hour. The fix is restraint. Blend to recover detail, not to erase contrast — a sky should still be brighter than the land, because in reality it is. Rebuild global contrast after the blend, watch the horizon for halos at 100% zoom, and if the result looks like the place felt, you’re done. The best blend is invisible; the viewer just sees a scene their own eye could have taken in.
Plan the light so you blend less
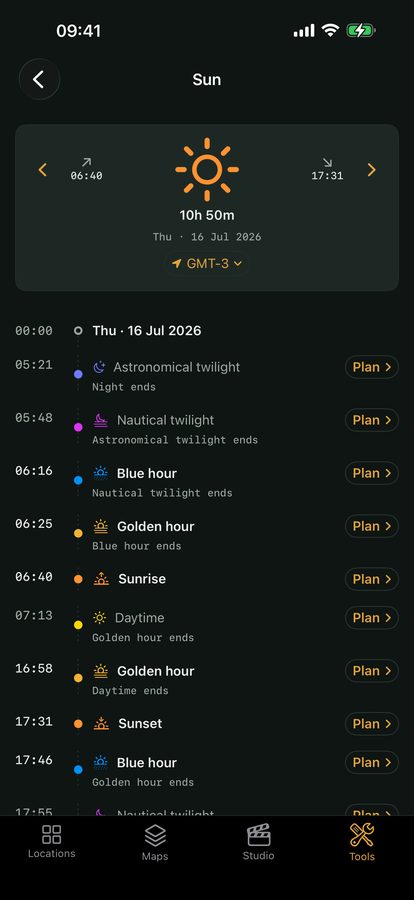
Here’s the shortcut the pros use: shoot when the gap is small. In the minutes around sunrise and sunset the sky and the land are closest in brightness, so a single frame — or a gentle two-frame blend — covers the whole scene. Shoot the same view at midday and the contrast is brutal. This is a planning decision, and it’s where Viewpoint earns its place: it gives you the exact golden- and blue-hour windows for the spot you’re standing on, so you’re bracketing at the moment the range is easiest to hold. It also keeps your capture settings on the spot, so weeks later you remember which frames were the bracket. Get the timing right in the field and the blend on the desk becomes almost trivial — which is the whole idea.
Quick-start checklist
- Blend when the scene out-ranges the sensor — a bright sky over a shadowed foreground is the classic case.
- Grad ND for a clean horizon, blend for a ragged one — pick the tool to the skyline.
- Tripod, locked focus and aperture — only the shutter changes across the bracket.
- Bracket for both ends — one frame for the highlights, one for the shadows, check the histogram.
- Mask, don’t fade — reveal the darker sky with a soft-edged mask, not 50% opacity.
- Watch for halos and grey skies — blend for detail, keep the sky brighter than the land.
- Shoot at golden or blue hour — the smaller the contrast gap, the less blending you’ll do.