🎨 Editing & Processing
How to focus stack landscape photos for front-to-back sharpness
You frame a scene with a rock a metre from the lens and mountains on the horizon, stop down to f/16 for depth — and neither end is truly sharp: the foreground's a touch soft, the peaks are softened by diffraction. There's a physical limit to how much depth one frame can hold, and focus stacking is how you beat it: shoot several frames focused at different distances, then combine the sharp parts of each into one image sharp from the nearest pebble to the farthest ridge. Here's when you need it, and how to do it.
Depth of field is finite. Stop down and you extend it, but only so far — and past about f/11–f/16 on most lenses, diffraction starts softening the whole frame, so you lose at the sharp end what you gain in depth. When a scene has a very close foreground and a distant background, one aperture sometimes can’t render both critically sharp. Focus stacking sidesteps the physics: instead of asking one frame to hold all the depth, you shoot several, each focused at a different distance, and merge the sharp zones. It’s the landscape photographer’s answer to front-to-back sharpness that a single exposure can’t deliver.
What focus stacking solves that stopping down can’t
Every aperture gives you a zone of acceptable sharpness — the depth of field. A smaller aperture (bigger f-number) deepens that zone, which is why landscape shooters stop down. But two things cap it:
- The near-far gap can exceed the zone. With a foreground object very close to the lens and a distant horizon, even f/16 may not stretch the sharp zone across both.
- Diffraction sets in. Past roughly f/11–f/16, light bending around the aperture blades softens the entire image. So “just stop down more” eventually makes things worse, not sharper.
Focus stacking lets you shoot at the lens’s sharpest aperture (often f/8) and build the depth in software instead — sidestepping diffraction entirely.
First, check whether you even need to
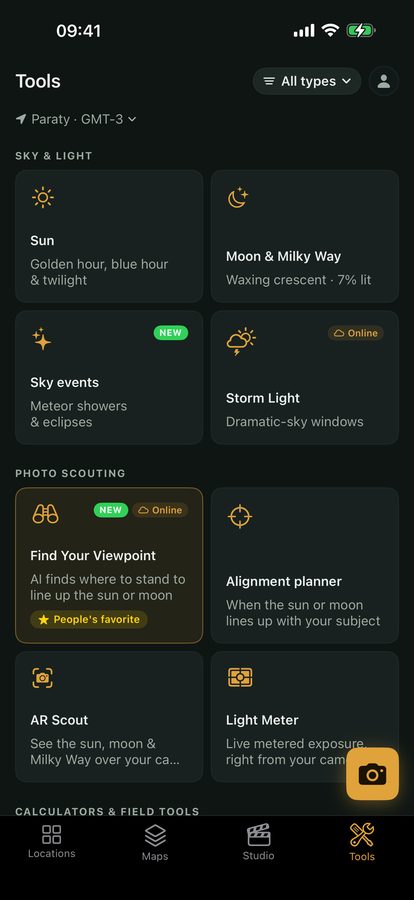
Stacking is work, so don’t do it reflexively. Often a single frame, focused smartly, is enough — and the fastest way to know is to check the numbers before you reach for a stack. Focus roughly a third into the scene (or at the hyperfocal distance, the focus point that maximises depth of field for your aperture and lens) and a lot of landscapes fall entirely within one frame’s sharp zone. Viewpoint’s depth-of-field and hyperfocal calculators tell you exactly what will be sharp for your aperture, lens and focus distance — so you stack only when a genuinely close foreground makes it impossible in one shot. (For the fundamentals, see aperture and depth of field.)
Shooting the stack
When you do need it, the capture is simple but demands discipline:
- Tripod, locked composition. As with any multi-frame technique, the frames must be identical but for focus.
- Pick your sharpest aperture — often around f/8. You’re building depth in post, so you don’t need to stop down.
- Focus in steps from near to far. Take a frame focused on the nearest important detail, then refocus slightly farther and shoot again, and again, until the farthest point is sharp. Each frame’s sharp zone should overlap the next.
- How many frames? A close foreground needs more, smaller steps near the front (where depth of field is thinnest) and fewer toward the back. Three or four frames covers many scenes; extreme close foregrounds need more.
- Keep exposure constant — manual exposure and white balance, so only focus changes.
- Watch for movement. Wind-blown grass or water between frames creates ghosting the blend can’t fully resolve — shoot quickly, and pick calmer moments.
Blending the stack in post
In your editor, select the frames and run the focus-merge (photo editors and dedicated stackers both do this). The software auto-aligns the frames — they shift slightly in size as focus changes — then takes the sharpest pixels from each and blends them into one fully-sharp image. Expect to:
- Check the transitions at 100%, especially along edges where a sharp foreground meets a soft background in the source frames — occasional halos or soft bands need a manual mask fix.
- Retouch ghosting from anything that moved between frames.
- Then develop the merged file through your normal RAW workflow, as a single image.
When one frame at f/11 is enough
Don’t let focus stacking become a reflex. Plenty of landscapes — no extreme foreground, subject not metres from the lens — are perfectly sharp front-to-back in a single frame at a sensible aperture. Stacking adds capture time, post time, and failure modes (movement, alignment errors). Use it when the scene earns it: a dramatic near foreground you can’t otherwise hold sharp. The rest of the time, one well-focused frame — the aperture and focus point the calculators point you to — is the simpler, better answer.
Quick-start checklist
- Stack when the near-far gap beats one aperture — a very close foreground plus a distant background.
- Check the calculators first — hyperfocal focus often gets you there in one frame; stack only when it can’t.
- Shoot at the lens’s sharpest aperture (~f/8) — build depth in post, dodge diffraction.
- Tripod, locked exposure, focus in overlapping steps from near to far.
- More frames near the front, where depth of field is thinnest.
- Auto-align and blend in software, check transitions at 100%, then develop as one image.
- Don’t stack by reflex — one well-focused frame is often enough.