🗂️ Workflow & Library
How to cull photos fast — then keep what the keeper taught you
Come home from a good shoot with four hundred frames and the real work begins: finding the handful worth keeping. Culling is where most photographers lose hours — second-guessing, comparing near-identical frames, drifting through the whole take three times. It doesn't have to be slow. A disciplined two-pass cull gets you to the keepers fast, and the step almost everyone skips — recording *why* the keeper worked — is what makes the next shoot better.
Culling — choosing which frames to keep and which to bin — is the least glamorous part of photography and one of the most valuable to get fast at. Done well it takes minutes and leaves you with a clean set of keepers. Done badly it eats an evening in indecision, and worse, it ends the moment you’ve picked a winner — throwing away the one thing that would make you better: the record of why that frame beat the others. Here’s a workflow that fixes both halves.
The two-pass cull
The reason culling drags is that people try to do two jobs at once — reject the failures and pick the best — on every frame, comparing everything to everything. Split it into two fast passes instead:
- Pass one — reject only. Go through the take once and mark only the definite failures: missed focus, blown highlights you can’t recover, closed eyes, camera shake, duplicates of duplicates. Don’t rate, don’t agonise, don’t pick favourites — just remove what’s unusable. This alone typically cuts a take by half or more, fast, because rejecting is an easy binary.
- Pass two — pick only. Now go through what survived and flag the genuine keepers. With the clutter gone, the strong frames stand out immediately. You’re choosing between good options, not wading through everything.
Two quick passes beat one slow one every time, because each pass asks a single easy question instead of a hard comparative one.
Picking the keeper from a bracket or burst
Landscapes and wildlife both produce sets of near-identical frames — an exposure bracket, a pano sequence, a burst of a bird in flight. Comparing them well is its own small skill:
- Zoom to 100% and check the thing that matters — critical focus on the eye, on the foreground rock, on the point where sharpness counts. Sharpness is the fastest tiebreaker between otherwise-equal frames.
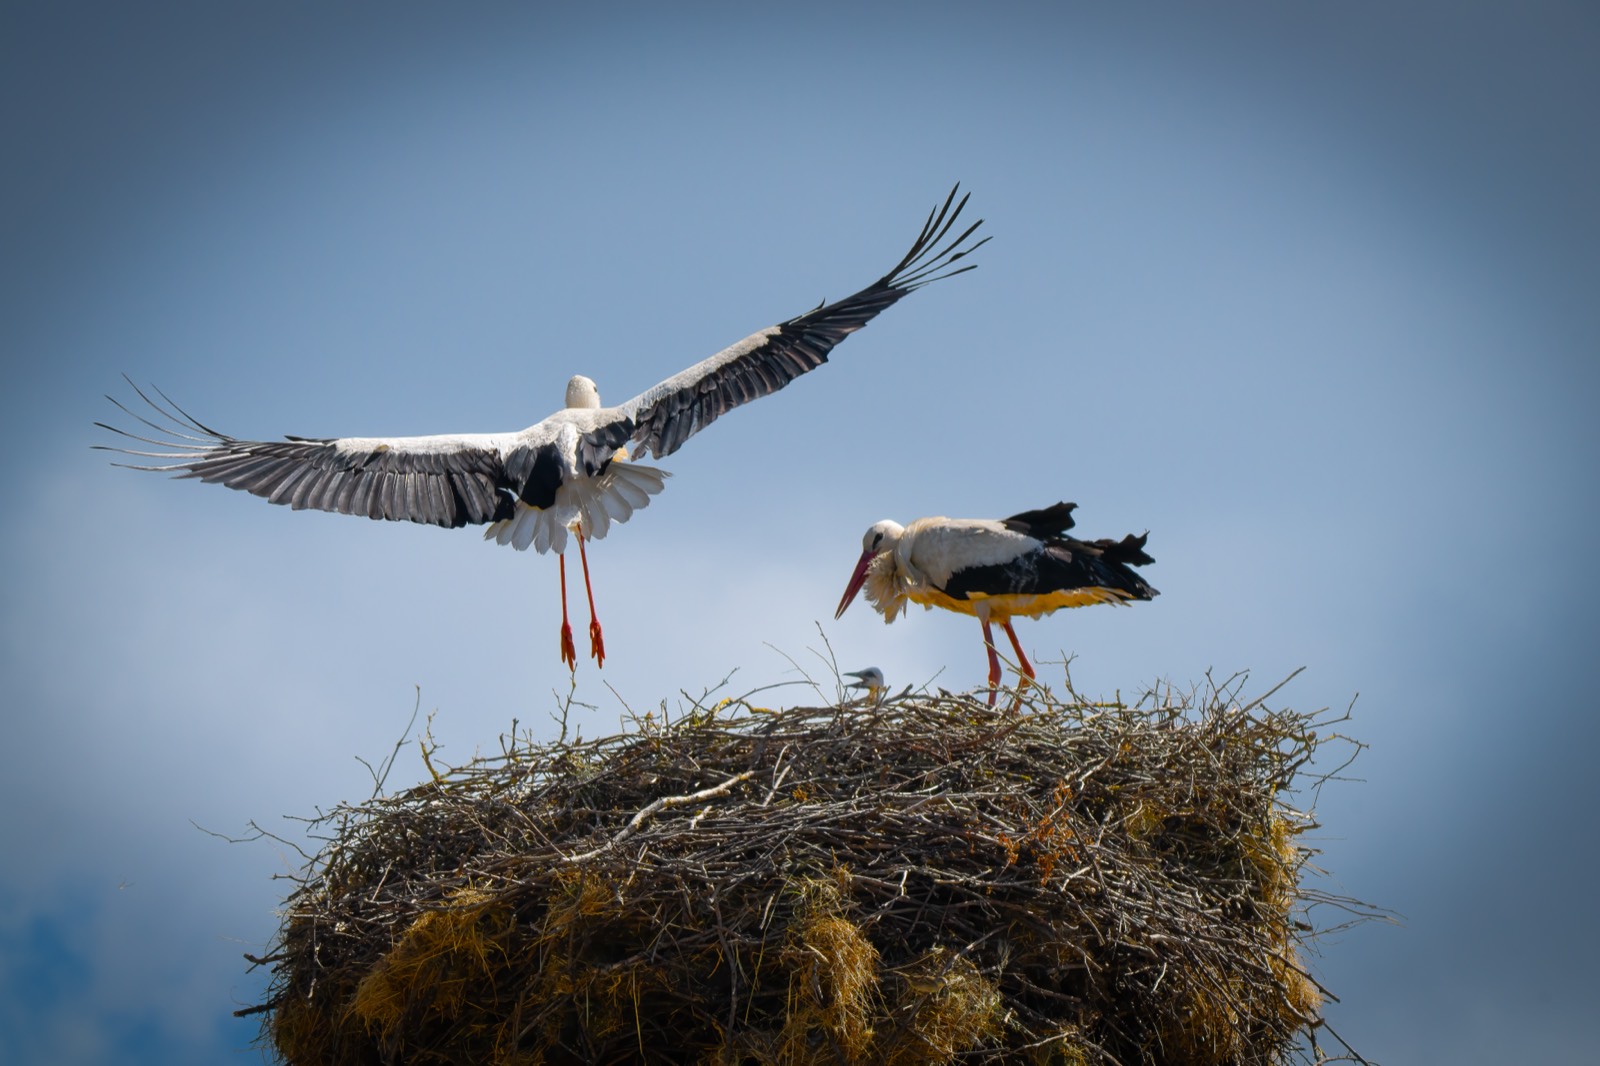
- For action, judge the moment — wing position, the gesture, the peak of the motion. The technically perfect frame with a dead moment loses to a slightly softer one caught at the right instant.
- For a bracket or pano, keep the whole set together — you’re not picking one, you’re keeping the frames you’ll blend or stitch later. Flag them as a group.
Cull ruthlessly — you don’t need ten of the same shot
The hardest discipline is letting go of good-but-redundant frames. Five nearly identical keepers of the same composition aren’t five photos — they’re one photo and four backups you’ll never open. Keep the best one (plus a genuine safety frame if focus or exposure is marginal) and reject the rest. A library of true keepers is worth far more than an archive of maybes, and every redundant frame you keep is one you’ll re-cull every time you revisit the shoot.
The step everyone skips: log what the keeper taught you
Here’s where most workflows stop — and where the value leaks away. You’ve found the keeper; you edit it; you post it; you forget it. But that frame is a lesson: it worked because of a specific focal length, aperture, time of day, and set of conditions. Record that, tied to the place, and your next visit doesn’t start from zero.
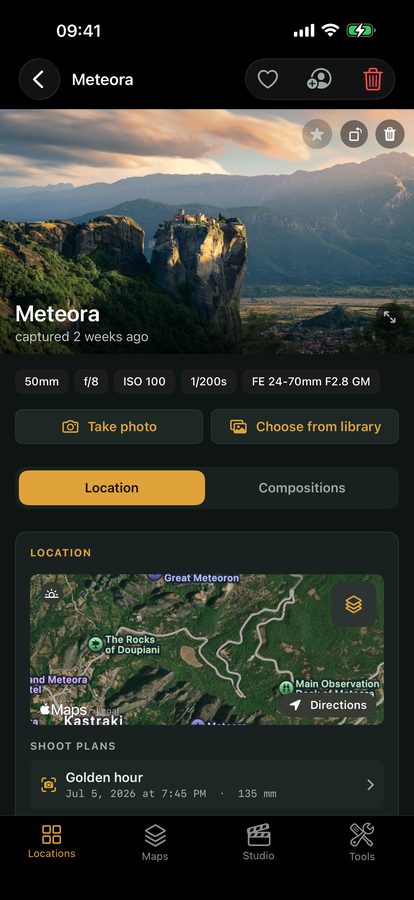
That’s exactly what Viewpoint keeps: attach your finished result photo to the spot where you shot it, and its EXIF — focal length, aperture, ISO, shutter — rides along with your own processing notes (“shot into the light, warmed the shadows, ridge blocks the sun till 07:50”). Return a year later and the spot tells you what worked, instead of making you re-learn it in the field. Culling gets you the keeper; logging it is what compounds into getting better.
Quick-start checklist
- Two passes, not one — reject-only first, pick-only second. Each pass asks one easy question.
- Reject fast — unusable frames go immediately; don’t rate them, just remove them.
- Zoom to 100% for focus — the quickest tiebreaker between near-equal frames.
- For action, judge the moment; for brackets and panos, keep the set together.
- Be ruthless about redundancy — one keeper plus a safety frame, not ten of the same.
- Log what the keeper taught you — attach it to the spot with its settings and notes, so the next shoot starts ahead.