🗂️ Workflow & Library
How to plan a multi-day photography trip as a map
A photography trip lives or dies on planning done weeks before you pack. Show up to a beautiful region with no plan and you'll spend the good light driving around, arrive at the best viewpoint at the wrong time of day, and come home with snapshots. The photographers who return from a trip with a real body of work treat it as a logistics problem solved in advance: the right stops, grouped so you can reach them, each timed to the light. Here's how to build that plan — as one map you carry, working offline, in the field.
The difference between a photography trip and a holiday where you happen to bring a camera is planning. Not an itinerary that schedules every minute — landscape photography is too dependent on weather for that — but a structure: the right region for what you want to shoot, a set of located stops you can actually reach, and each one tied to the time of day its light works. Do that ahead of time and the trip runs itself; the plan tells you where to be at dawn, where to scout at midday, where to stand at sunset. Here’s how to build it.
Purpose before place
The first decision isn’t where — it’s what. Pick the region for the photography you want to make, not the other way round. Chasing the Milky Way? You need a dark-sky region in the right season, moonless nights. After dramatic coastal long exposures? A rugged coast with tides that work in daylight. Autumn woodland, alpine sunrise, desert nightscapes — each points to different places and different timing. Starting from the picture you want to make keeps the whole trip pointed at a purpose instead of a list of famous viewpoints you photograph flatly at noon.
Research two to three weeks out
Once you know the region, build the candidate list. Look for viewpoints, not just landmarks — the spot to stand, not only the subject. For each potential stop, note the essentials: roughly where it is, which direction it faces (sunrise or sunset?), what conditions make it, and any access constraints (tide, gate, permit, a hike). This is the raw material of the plan; you’re assembling more stops than you’ll use, so weather can’t sink the whole trip.
Build the trip as one map
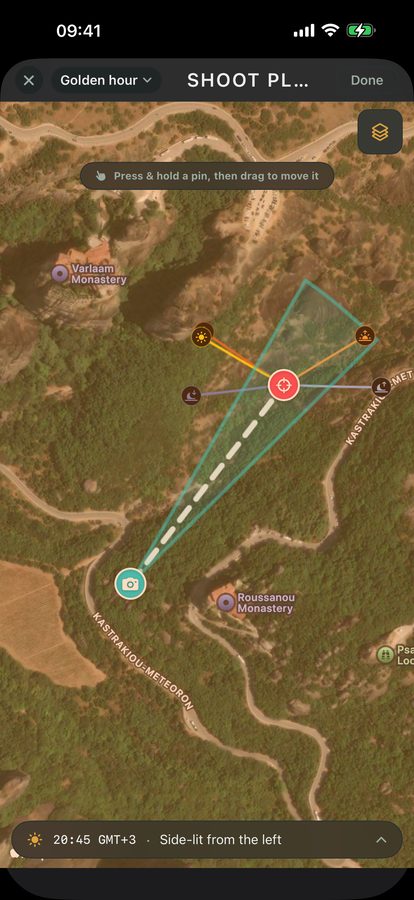
Here’s the organising idea that turns a pile of research into a workable plan: put every stop into a single map. Grouped in one place, your stops stop being scattered notes and become a visual itinerary — you can see what’s near what, plan a day’s driving, and pair a sunrise stop with a midday scout and a sunset stop that are actually close together.
This is exactly what a Map is for in Viewpoint: a named collection of spots. Build a Map for the trip, drop each candidate stop in with its GPS and notes, and every pin carries its own sun and moon times and conditions. Crucially, it works offline — the plan is in your pocket on a remote coast with no signal, which is precisely where you need it. (Group the stops into one Map as your trip container; there’s no separate “trip mode” to learn — a Map is the trip.)
The daily rhythm
A photography trip runs on a repeating shape, and knowing it stops you wasting the good light:
- Dawn: be in position before first light at your best sunrise stop — scouted the day before, so you’re not finding it in the dark.
- Midday: the light is flat, so this is when you scout. Recce tomorrow’s stops, check access, find compositions, note when the light will hit. Rest.
- Golden hour to dusk: your sunset stop, again in position early, shooting through blue hour.
- Night: if it’s a dark-sky trip and the moon cooperates, the astro window.
Plan each day as sunrise stop → scout → sunset stop, and let the timing of the light — not a rigid schedule — drive it.
Stay flexible without losing the plan
Weather will break your plan, and that’s fine — the plan is what makes breaking it productive. When a forecast turns, you don’t lose the day; you swap to a stop that suits the new conditions, because your Map already holds alternatives. A blown-out sunrise becomes a moody woodland morning; a storm rolling in becomes dramatic coastal light instead of a clear-sky miss. Watch the weather daily and let your Map of options absorb the change. A good trip plan isn’t a rigid schedule — it’s a set of choices you’ve already made, so that in the field you only have to pick.
Quick-start checklist
- Purpose before place — choose the region for the photograph you want to make.
- Research two to three weeks out — collect viewpoints with bearing, conditions and access, more than you’ll use.
- Build the trip as one Map — every stop with its own sun/moon times and conditions, working offline.
- Run a daily rhythm — dawn shoot, midday scout, sunset shoot, optional night.
- Be in position early — scout the day before so you’re not finding the spot in the dark.
- Stay flexible — when the weather turns, swap to a stop that fits it; the Map already holds the options.