🌅 Sun · Golden & Blue Hour
How to shoot sunstars (sunbursts)
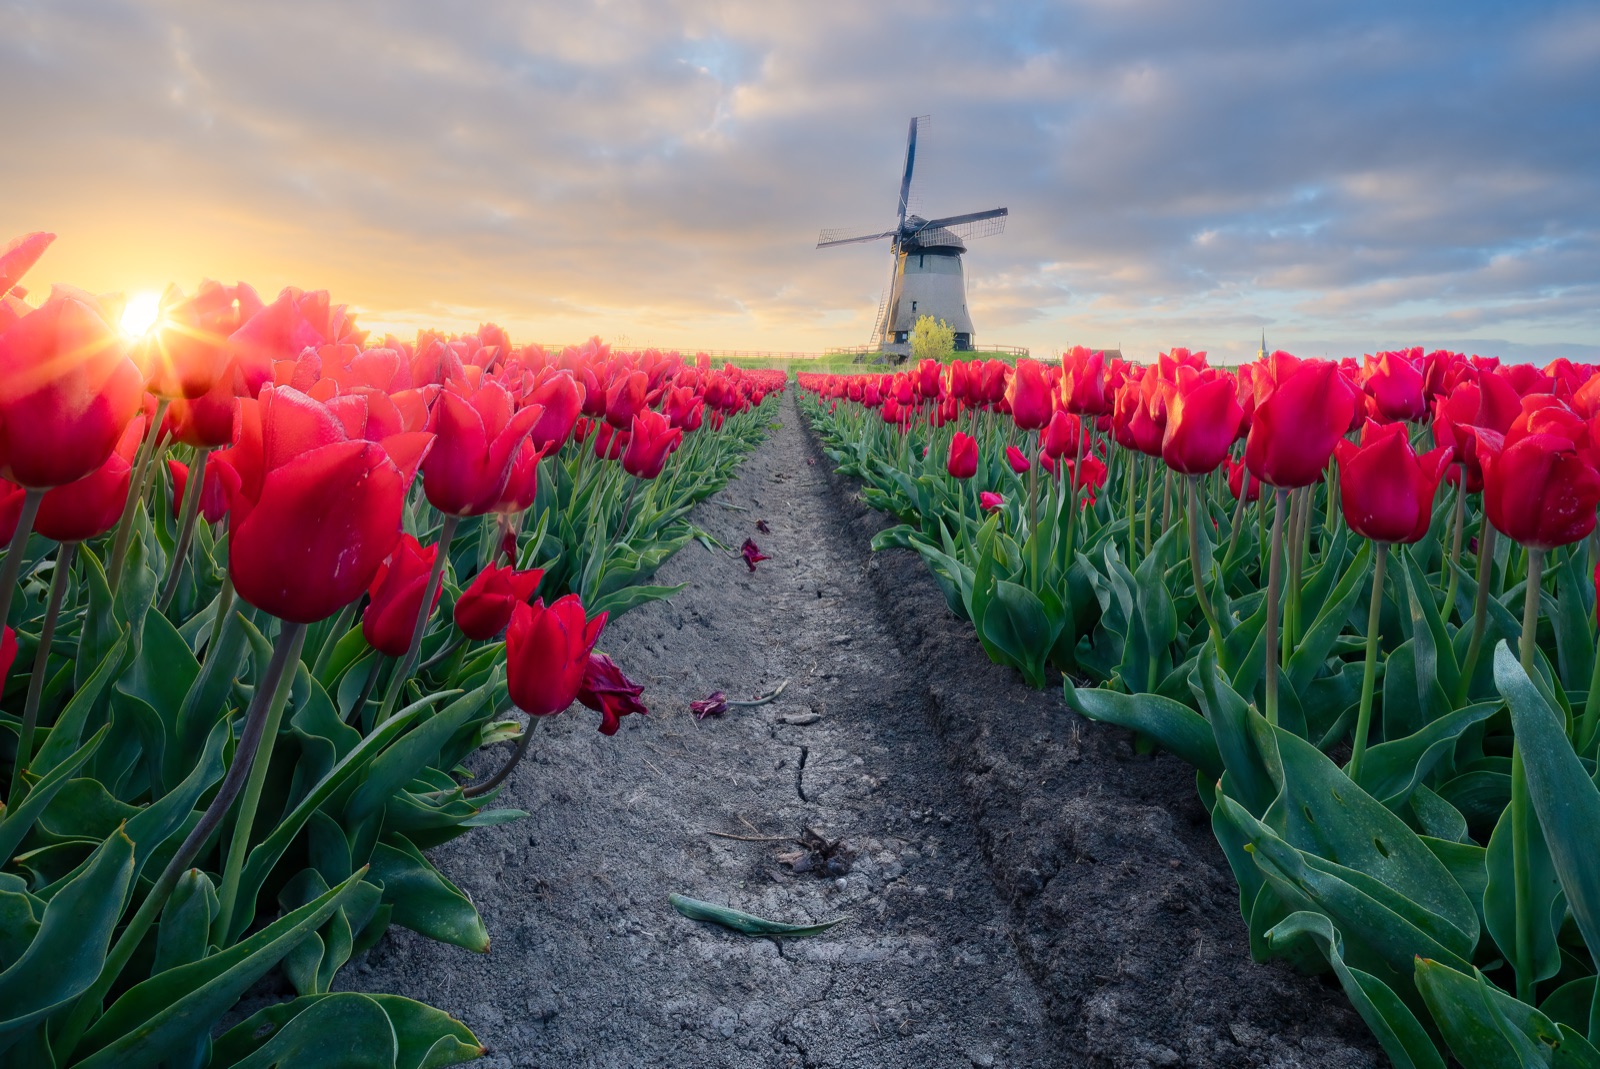
A sunstar isn't a happy accident or a Photoshop overlay — it's diffraction, and you can summon it on demand once you know which knobs to turn. Stop down, tuck the sun behind a hard edge, and the brightest point in your frame snaps into a clean, rayed burst. Here's the physics, the technique, and the exposure tactics that make it land.
Point your lens at the sun, stop the aperture down, and a featureless white blob can transform into a crisp, rayed sunstar (also called a sunburst). It looks like magic, but it’s a predictable optical effect — once you understand what causes it, you can produce one almost every time the conditions allow. This guide goes deep on the why and the how.
Why a sunstar forms: diffraction at the blades
The rays come from diffraction — the way light bends as it squeezes past an edge. Inside your lens, a ring of overlapping metal blades forms the aperture, the hole that light passes through. When that hole is wide open, it’s nearly circular and a bright point of light stays a smooth blob. But as you stop down to a small aperture — narrowing the hole — the blades crowd together and their straight edges define the opening. Light grazing each edge spreads into a fan, and a point-like source (the sun, a distant streetlight) renders as a star with rays shooting outward.
The key word is point. Sunstars need a small, intense, point-like source. A hazy sun behind thick cloud is too diffuse to spike; a hard, defined sun gives you sharp rays.
How small an aperture? Roughly f/16 to f/22 is the working range. Wider than about f/11 and the rays are usually too soft to bother with; by f/16 they’re well-defined, and f/22 pushes them to their most defined. There’s a cost: stopping down this far introduces diffraction softening across the whole frame (the same physics that spikes the sun also blurs fine detail), so you’re trading a little overall sharpness for the effect. For a sunstar that’s a fair trade — just don’t shoot your whole landscape at f/22 out of habit.

Counting the points: blade math
The number of rays is set by your lens’s aperture blade count, and the rule is simple but counterintuitive:
- An even number of blades produces that many points.
- An odd number of blades produces twice as many points.
So a 9-blade lens — a common count — gives an 18-point star. A 7-blade lens gives 14 points. An 8-blade lens gives a clean 8-point star. The reason for the doubling: each blade casts a pair of rays from its two edges. With an even count those pairs line up across the aperture and overlap, so you see one set; with an odd count they fall between each other and you see both, doubling the total.
| Blades | Points | Example |
|---|---|---|
| 6 (even) | 6 | older primes |
| 7 (odd) | 14 | many zooms |
| 8 (even) | 8 | clean, symmetric |
| 9 (odd) | 18 | common modern lens |
This is also why lens choice matters beyond the count. Blade shape decides ray quality: straight-edged blades render crisper, more defined spikes than heavily rounded ones (rounded blades are designed for smooth background blur, which works against a sharp star). Some lenses are simply famous for their sunstars; others never produce a clean one no matter how far you stop down. If sunstars matter to you, it’s worth knowing which of your lenses delivers.
The single best trick: hide the sun behind an edge
If you remember one thing, remember this: partially block the sun so only a sliver peeks out. Tuck it behind the horizon as it sets, the edge of a rock, a branch, or the corner of a building — so just a fraction of the disc is visible. This does two things at once. It sharpens and elongates the rays, because the spike forms most cleanly off a hard occluding edge. And it tames the raw brightness, cutting glare and pulling the dynamic range back toward something your sensor can hold.
The effect is strongest right at the moment of emergence — frame so the sun is just clearing a ridge or peeking past a trunk, then shoot a quick burst as it reveals itself. A fully exposed sun in open sky can still spike, but it’s harder to control and far more prone to washing out the frame.
Managing flare, and exposing into the sun
Shooting toward the sun invites lens flare — scattered light bouncing between glass elements, showing up as ghosty blobs, hazy veils, and reduced contrast. To keep it clean:
- Clean the front element. Smears and dust scatter light; a single fingerprint can veil the whole frame.
- Remove filters. A UV or polariser adds two more air-glass surfaces to bounce light around — take them off when shooting into the sun.
- Use the lens hood where it doesn’t clip the frame, to block stray light from off-axis.
Or do the opposite and embrace flare as a creative element — those streaks and orbs read as warmth and atmosphere when used on purpose. It’s a choice, not an error.
The harder problem is dynamic range. A scene with the sun in it spans an enormous brightness range — from the searing disc to deep shadow — that no single exposure captures cleanly. Three honest approaches:
- Expose for the highlights, lift shadows in RAW. Protect the sun and sky from blowing out, then recover the darker areas from the RAW file’s headroom in editing.
- Bracket and blend (HDR). Shoot several frames at different exposures and merge them, so both the bright sun and the shadowed foreground end up detailed.
- Commit to a silhouette. Let the foreground go black against a bright sky. Often the strongest creative call — a clean sunstar over a stark silhouette needs no shadow detail at all.
When to shoot: low sun, weak light
Sunstars are easiest and most pleasing when the sun is low and weaker — near sunrise, near sunset, and through the golden hour. A low sun is dimmer (its light travels through more atmosphere), so the dynamic range is more manageable and the colour is warmer. It also sits conveniently near horizons and other edges to hide it behind. A high midday sun can spike, but it’s brutally bright and far less forgiving.
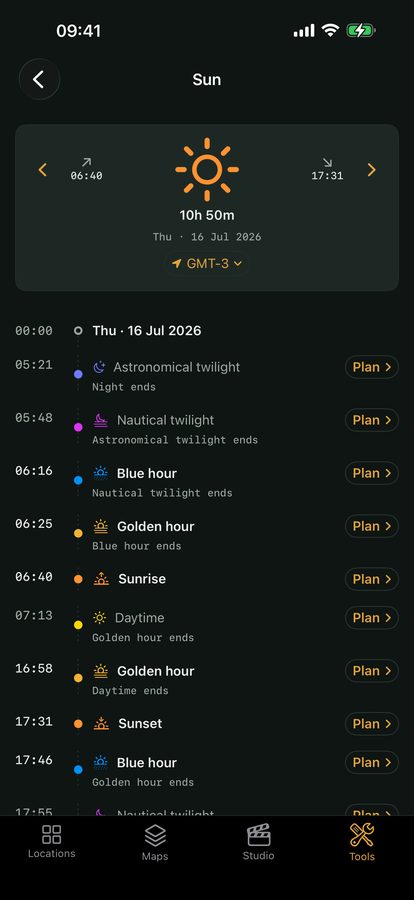
That makes sunstars a natural companion to the rest of your light planning. The same low-sun windows you’d target when shooting golden hour and blue hour are exactly when sunbursts work best, and the Sun, Moon & Milky Way almanac tells you precisely when and where the sun will sit on the horizon — so you can pre-visualise which ridge, rock, or building edge to hide it behind before you arrive. Viewpoint maps that geometry for any spot and date, turning “maybe the light works” into a planned shot.
Quick-start checklist
- Stop down to roughly f/16–f/22 for defined rays (accept some overall softening).
- Know your blade count: even blades = that many points, odd = double (a 9-blade lens gives an 18-point star).
- Hide the sun behind a hard edge — horizon, rock, branch, building corner — so only a sliver shows.
- Cut flare: clean the front element, remove filters, fit the hood — or embrace it deliberately.
- Handle the range: expose for highlights and lift shadows in RAW, bracket and blend, or go silhouette.
- Time it low: shoot at sunrise, sunset, or golden hour when the sun is weakest and easiest to tame.