🌅 Sun · Golden & Blue Hour
How to photograph alpenglow
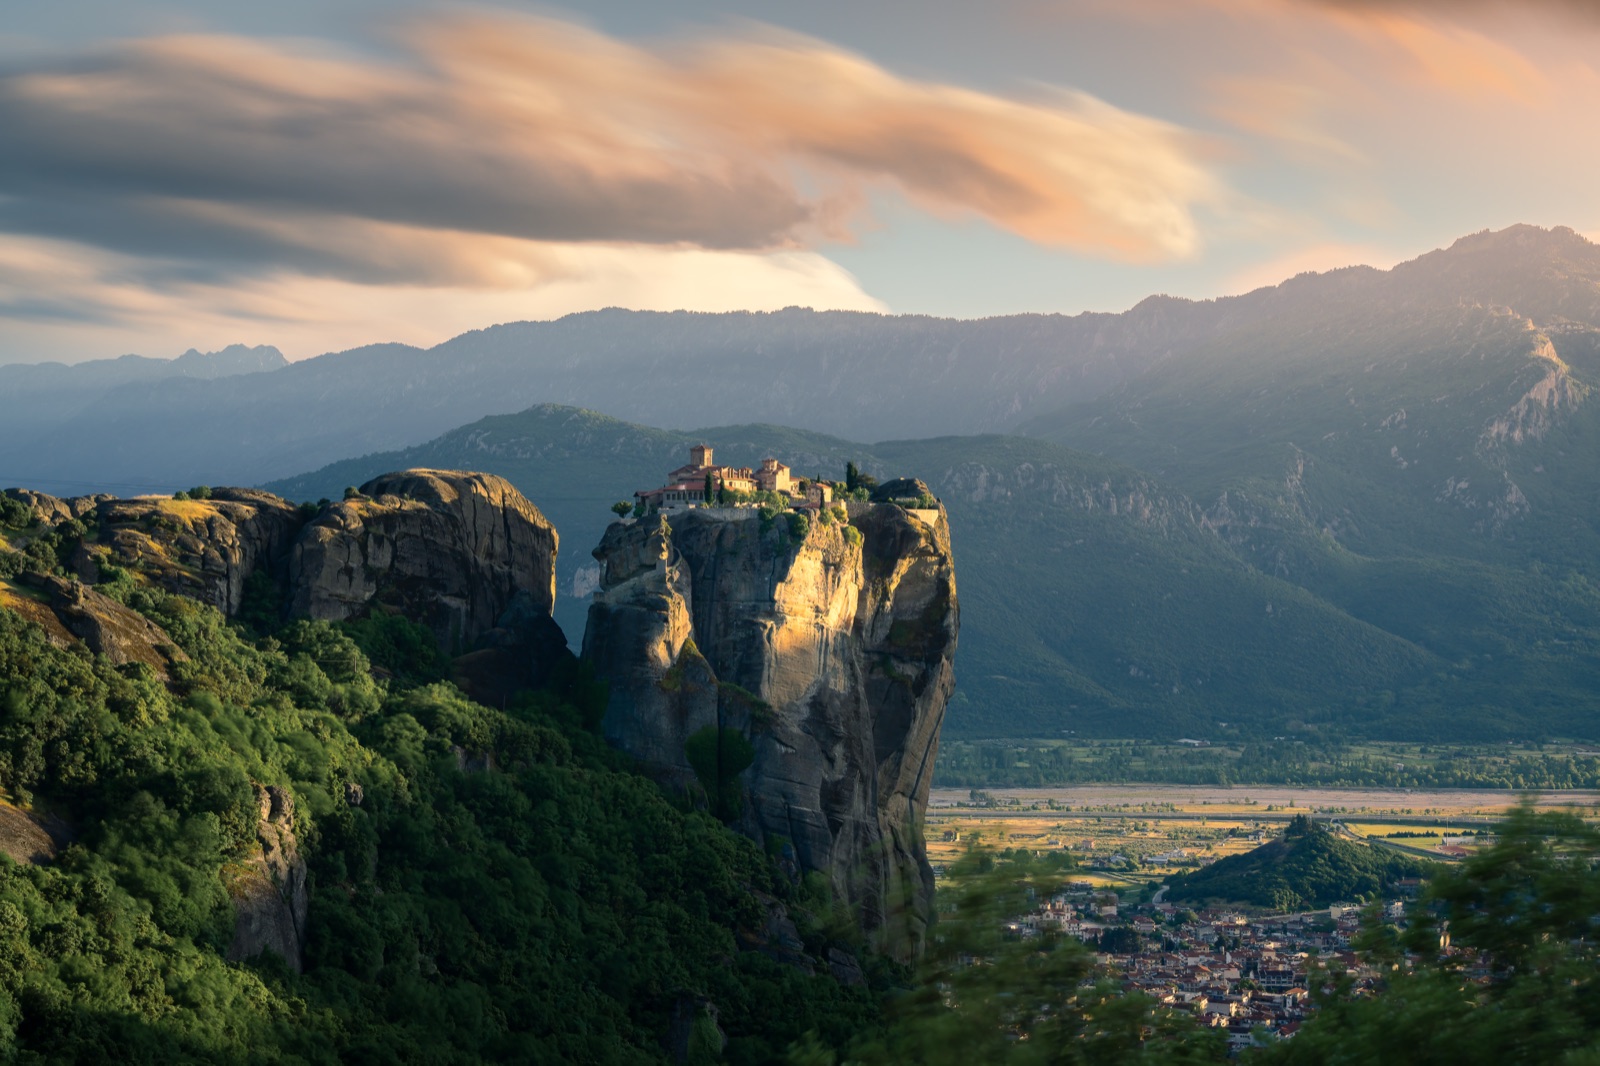
Alpenglow is the soft pink and rose light that settles on high peaks after the sun has already set for everyone in the valley — a second, quieter act of the day that most people have turned their back on. It lasts only a few minutes and it happens at a precise, predictable moment, which makes it one of the most plannable pictures in landscape photography. Here's what causes it, and how to be pointed at the right peak when it glows.
Everyone knows to shoot the sunset. Far fewer stay for what comes after it — the moment when the sun has dropped below the horizon, the crowds have packed up, and the highest peaks suddenly flush pink against a darkening blue sky. That’s alpenglow, and because it’s driven by exact sun geometry it’s one of the few landscape shots you can put in your calendar. Understand the physics and you can predict it to the minute.
Two different pinks — and why it matters
“Alpenglow” gets used loosely for two related but distinct effects, and knowing which one you’re chasing changes where you point the camera.
The last direct light on the peaks. In the minutes right around sunset, the sun’s light travels a very long, shallow path through the atmosphere to reach you. That long path scatters away the blue and green wavelengths (the same Rayleigh scattering that reddens every sunset) and leaves deep orange and red. A high summit still has a clear line of sight to the sun even after the valley floor has fallen into shadow, so it catches this reddened direct light and burns warm while everything below it goes cold and blue. This is really “sunset, but only on the tops.”
True alpenglow — the indirect glow. Once the sun is fully below the horizon, the peaks lose direct light entirely, yet a softer pink-to-rose glow can linger for several more minutes. This is indirect light — sunlight scattered back down out of the atmosphere onto the mountains from the still-lit sky. It’s subtler, cooler and more delicate than the fiery direct phase, and it’s the one that gives alpenglow its dreamy reputation.
Tied to that indirect phase is a sky effect worth turning around for: the Belt of Venus. Look away from where the sun set (toward the east after sunset, or west before sunrise) during civil twilight and you’ll see a soft pink band sitting above a dark blue-grey arc low on the horizon. That grey arc is the shadow of the Earth itself rising into the atmosphere; the pink above it is backscattered sunset light. Mountains lit by alpenglow often sit right in front of it — a pink peak against a pink belt above Earth’s blue shadow is a complete, quiet composition.
Timing it — the part software makes easy
Both phases hang on one variable: how far the sun is below the horizon. The reddened direct light peaks as the sun sits from roughly the horizon down to a couple of degrees below it; the indirect glow and the Belt of Venus belong to civil twilight (sun 0° to −6°) and fade as blue hour deepens. In practice you have a window of only about 10 to 20 minutes, and it’s shorter the closer you are to the equator, where the sun drops more steeply.
Two things decide whether you actually see it from where you’re standing:
- The peak must have an unobstructed line to the sun. A summit tucked behind a higher ridge to the west won’t catch the direct phase, no matter how clear the sky. This is where knowing the horizon profile in the sun’s direction matters — the real horizon is the skyline of the surrounding terrain, not sea level.
- You need clean air to the west. Alpenglow needs the sun’s light to reach the atmosphere above you unobstructed. A bank of low cloud on the western horizon blocks it and the glow never fires — the same clear-horizon rule as a good sunset.
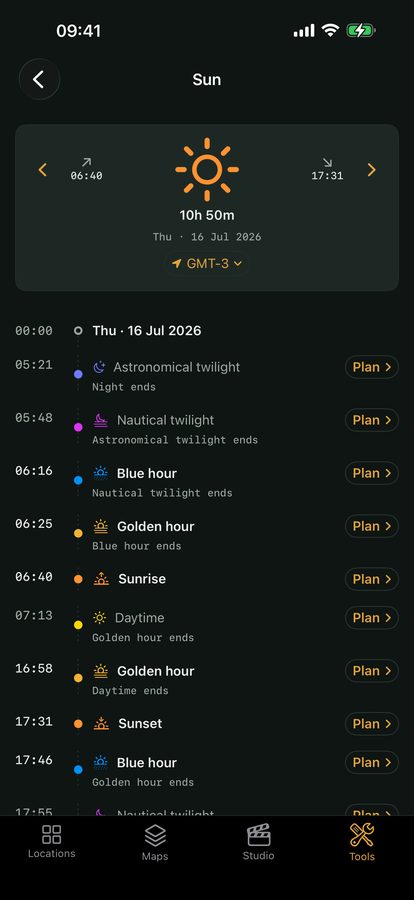
Rather than guess, plan it: get the exact sunset and twilight times for your date and location, know which minute the sun passes −6°, and be composed and pointed at your peak before the direct light fades so you catch the hand-off into the pink.
Tonight
Pick any location — this works out when the sun sets and when it drops to civil twilight, the warm-then-pink window on the peaks, on your device.
Exposure, white balance and composition
The technical challenge of alpenglow is dynamic range: a brilliantly lit peak against a foreground that’s already deep in shadow.
- Meter for the glow, protect the highlights. Expose so the pink light on the peak is bright but not clipped — check the histogram and keep the brightest tones off the right edge. If the shadowed foreground goes too dark, either lift it in a raw file (there’s usually more latitude than you’d think at this hour) or blend two exposures, one for the lit peak and one for the foreground. A graduated ND filter can also hold the bright upper scene against the dark base.
- Don’t let auto white balance kill the colour. The camera’s auto white balance often “corrects” the warm cast right out of the scene, neutralising the very pink you came for. Shoot raw and set a warmer white balance (or fix it later) to keep the rose tones true. Warm the image toward what your eye saw, not toward grey.
- Give the glow context. A pink peak is prettiest with something cool and dark beneath it for contrast — a shadowed valley, a still lake reflecting the summit, a foreground of rock or forest. Reflections are gold here: alpenglow needs calm evening air, which often means glassy water doubling the lit peak.
Because the whole thing turns on the sun’s exact position and whether your peak can see it, this is a shot you plan rather than stumble into. Viewpoint gives you the precise sunset and twilight timeline for any spot and date and accounts for the real terrain horizon, so you know when the glow is due and which summits will catch it. Combine that with the timing craft in shooting golden hour and blue hour and the planning in how to plan the sun’s position, and you’ll be standing in the right place, facing the right way, before the pink ever appears.
Quick-start checklist
- Stay after sunset (or arrive well before sunrise) — the glow comes when the sun is at and just below the horizon.
- Confirm your peak has a clear line to the sun and the western horizon is cloud-free.
- Know the minute the sun passes −6°; the whole window is only 10–20 minutes.
- Turn around for the Belt of Venus — pink band over Earth’s blue shadow, opposite the sun.
- Shoot raw, set a warm white balance, and don’t let auto WB neutralise the pink.
- Expect high dynamic range — protect the highlights, and blend or use a GND for the dark foreground.
- Look for still water to reflect the lit peak; calm evening air is part of the same package.