
🌅 Sun · Golden & Blue Hour
How to photograph autumn foliage
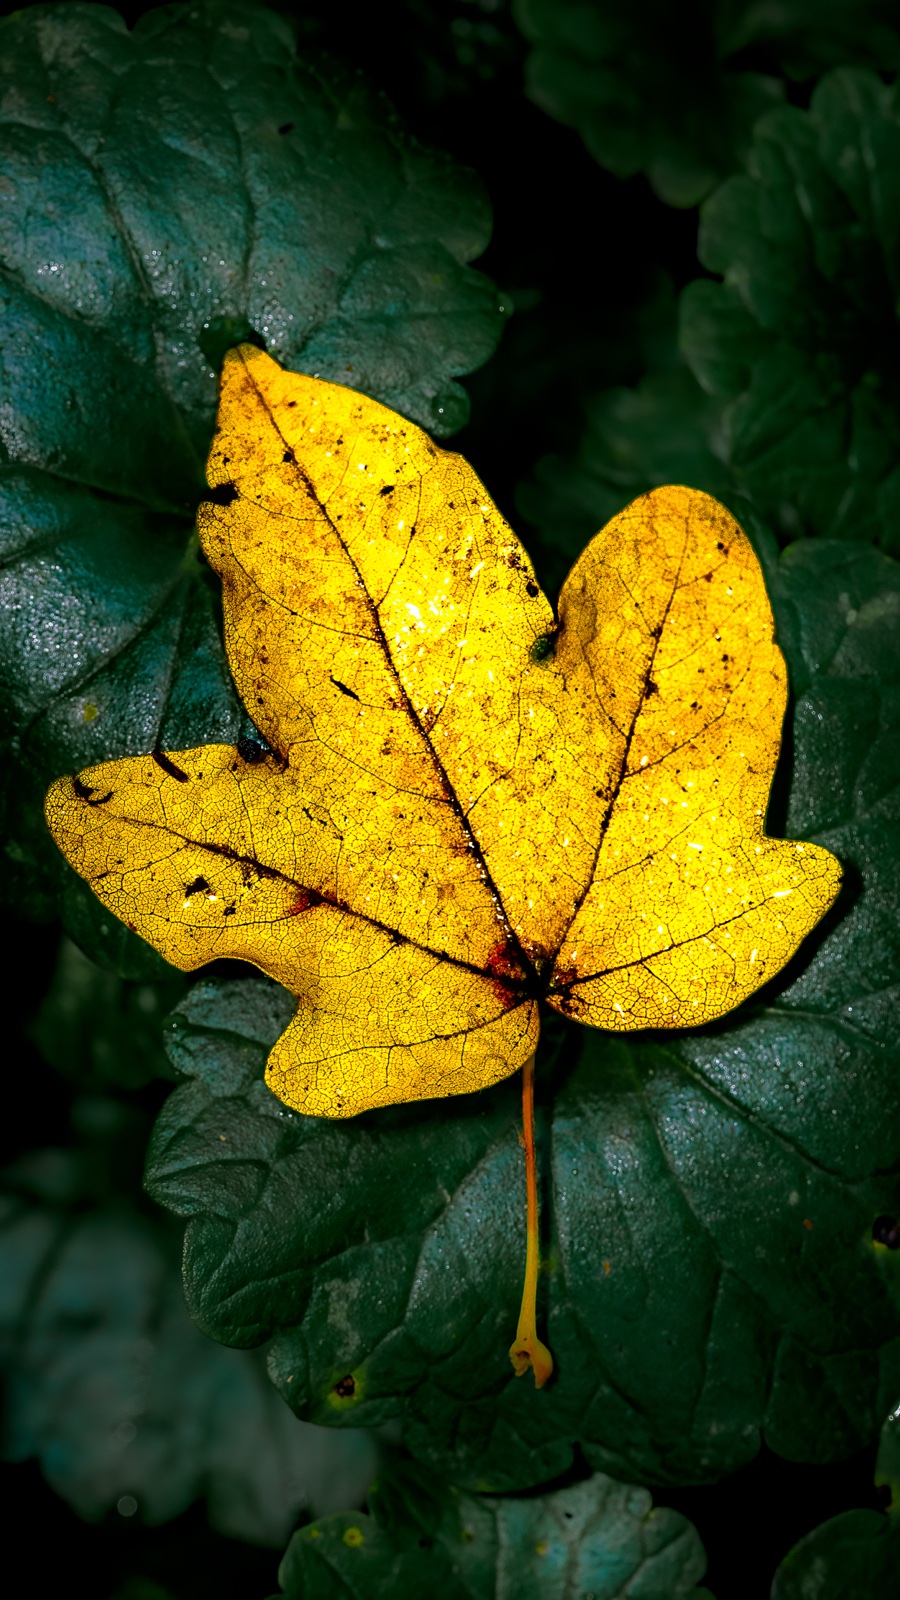
Great autumn photographs are decided less by how far the colour has turned than by the light you shoot it in. Peak-colour timing belongs to the regional foliage forecasts; Viewpoint solves the other half — when good light will reach the leaves you're after, from which direction, and where to stand for it — and it does that on-device, with no signal in the field.
You reach a hillside at peak colour — New England, the Alps, a Japanese maple valley — and the photo still comes out flat. It’s a wall almost everyone hits, and the culprit is usually not the subject but the light. The same maple that reads as a dull red mass under harsh midday sun turns into something else entirely the moment a low western sun comes through it from behind: each leaf lights up as if switched on from the inside. Autumn photography is decided not only by where you shoot but by when and in what light. This guide walks the whole chain — choosing the light, then the settings, the composition, and the planning you do before you ever arrive.
Autumn colour is decided by light
Leaves turn red and gold because the green chlorophyll breaks down, revealing the carotenoids (yellow) and anthocyanins (red) that were in the leaf all along. These pigments transmit light — they let it pass through. That’s the whole secret: shoot a leaf with the sun behind it, in backlight, and the light coming through the leaf shows the colour at its most vivid and its brightest.
Do the opposite — stand with the sun at your back and shoot in flat midday front light — and you get surface glare, blown contrast, and colour that looks muddy and flat. The instinct that “a bright sunny midday is the easiest time to shoot” is, for autumn colour, the single biggest trap.
The four lights that make autumn colour sing
Four kinds of light are worth chasing, roughly in this order:
- Backlit transmitted light. Put the sun on the far side of the leaves. The lower the sun — early morning, late afternoon — the more it rakes through the foliage and the stronger the glow. Hide the sun itself behind a leaf or a trunk (or, when you can’t, use the flare as dappled light) to keep the burn under control and let only the leaves light up.
- Golden hour. The warm, soft window just after sunrise and just before sunset. Warm light and warm leaves belong together — reds and oranges deepen, and the low, raking angle adds dimension and shadow.
- Soft overcast. A thin layer of cloud is a giant diffuser. The gap between highlights and shadows collapses, so colour saturates evenly. For an intimate crop of foliage against a waterfall or a stream, or the floor of a wet wood, a grey day is far easier to shoot than harsh sun.
- Rain and blue hour. Wet leaves reflect more but also read richer and denser, with a soft, saturated texture (control the glare with a polarizer — see below). And the blue hour after sunset sets a cool, sinking sky against foliage — or lit trees — glowing warm, a contrast that pairs beautifully with reflections on water.
What to avoid is strong midday front light and a hard, cloudless “clear-blue” sky where the contrast is too brutal. If that’s genuinely the only time you can shoot, move into the soft light of shade or under the canopy and compose to keep large areas of bright sky out of the frame.
Turning timing into a plan
“Good light” isn’t a vague hope — it’s predictable by the clock. If you know the time and direction of sunrise and sunset at the spot you want, plus when golden hour and blue hour begin and end, you can arrive during the window when backlight actually works.
Which direction the sun rises and sets from decides front light versus backlight outright. In a valley, or on an east- or west-facing slope, the sun’s azimuth can mean the same spot is front-lit at dawn and backlit at dusk. Viewpoint’s sun, moon & Milky Way almanac computes all of this for your location and date on the device itself — so even deep in the mountains with no signal, you can read which slope gets light, and when, before you set out.
The other reality of autumn is that peak colour shifts by weeks with elevation and latitude. In one mountain range the ridgeline can be blazing while the valley floor is still green, and by the time the valley peaks the tops have already dropped their leaves. Keep the elevation band of your subject in mind, and hold a few candidate dates and locations, and you’ll strike out far less often.
Camera settings
Autumn foliage needs no special gear, but a handful of settings change the result dramatically.
- A polarizer. The single most effective filter for autumn. By cutting the glare off leaf surfaces, wet rock and water, it lets the true transmitted colour come forward and lifts saturation. The effect changes with angle, so rotate the filter to find the point where the reflections drop out most. Go easy at wide angles with a lot of blue sky in frame — over-polarizing leaves an uneven, banded sky.
- Aperture. For a whole wood, F8–F11 buys you the depth of field to hold it front to back; to make a single leaf the subject and melt the background, open up and crop in. How much the background dissolves depends heavily on your distance to the subject.
- White balance. Auto white balance often neutralises the warmth and strips the vividness out of the reds. In shade or under overcast, fix the colour temperature a little warm and you’ll land closer to the autumn you remember. Shoot RAW and you can fine-tune it freely afterwards.
- Exposure — protect the reds. To keep detail in the bright leaves, watch the histogram and avoid blowing the highlights. In autumn the red channel saturates first, so don’t trust the overall histogram alone — check the per-channel (RGB) clipping warnings too. Shooting slightly under and lifting in RAW is far safer than trying to rescue a red that’s already clipped.
- RAW and a tripod. RAW for the most latitude to push colour later. For slow shutter speeds over a stream or a mirror-still pond, and for the dim light of blue hour, a tripod at low ISO with a remote release (or the 2-second timer) keeps things sharp.
Composition — don’t shoot wide, choose and crop
The more famous the foliage spot, the more visual clutter in front of you, and the easier it is for the photo to fall apart. Rather than stepping back to fit everything in, choose your elements and crop tight.
- Intimate close-ups. A single branch, a few leaves lit from behind, one leaf fallen onto mossy rock. Even in a crowded, well-known location, a longer lens that tidies the background gives you a quiet, deliberate frame.
- Water and reflections. Foliage mirrored in a pond or a river makes a calm, symmetrical composition. A windless early morning is the moment. A polarizer works both to kill the reflection and to keep it — rotate it and pick the look you want.
- Foreground and depth. Place a coloured branch close in the frame and open a view through to a gorge or a waterfall beyond, and you build depth into the shot.
- Make light and shadow the subject. In a wood, meter for the one patch caught in a shaft of dappled light and let everything around it fall dark — now the light itself is the subject.
Scouting — read where the light will land first
The location of a foliage spot is easy to find on a map or in a guide. What separates the good frame from the ordinary one is reading, in advance, when and from which direction the light will reach that spot — and being standing there at the good moment. That’s the work of scouting.
- Work out ahead of time the window when the sun’s azimuth puts your slope or subject in backlight, so you’re not improvising once you arrive (that’s the almanac above).
- The same spot is lit from opposite sides at dawn and dusk. Decide whether morning or evening is the better light before you go, and you won’t waste a short window.
- When a spot works, save it as a spot on the map right there. Viewpoint auto-stamps the GPS, date, and sun and moon data, so the same week next year you can return to the same light without re-scouting from scratch.
Learning to read light — a repeatable skill — travels better than chasing any destination’s list of “famous photo spots.” It works wherever you go.
Field checklist
- Know the window when your subject is backlit (use the almanac for sunrise/sunset time and direction).
- Expect peak colour to shift with elevation and latitude — hold several candidate dates and locations.
- Use a polarizer to cut glare and lift colour (rotate to find the best angle).
- Shoot RAW and watch the red channel — it clips first; protect the highlights.
- Don’t shoot wide — choose and crop with a longer lens or up close.
- For reflections or blue hour, bring a tripod and low ISO.
- Save the spot when it works, for next year.