
🌅 Sun · Golden & Blue Hour
How to photograph the New Year's first sunrise
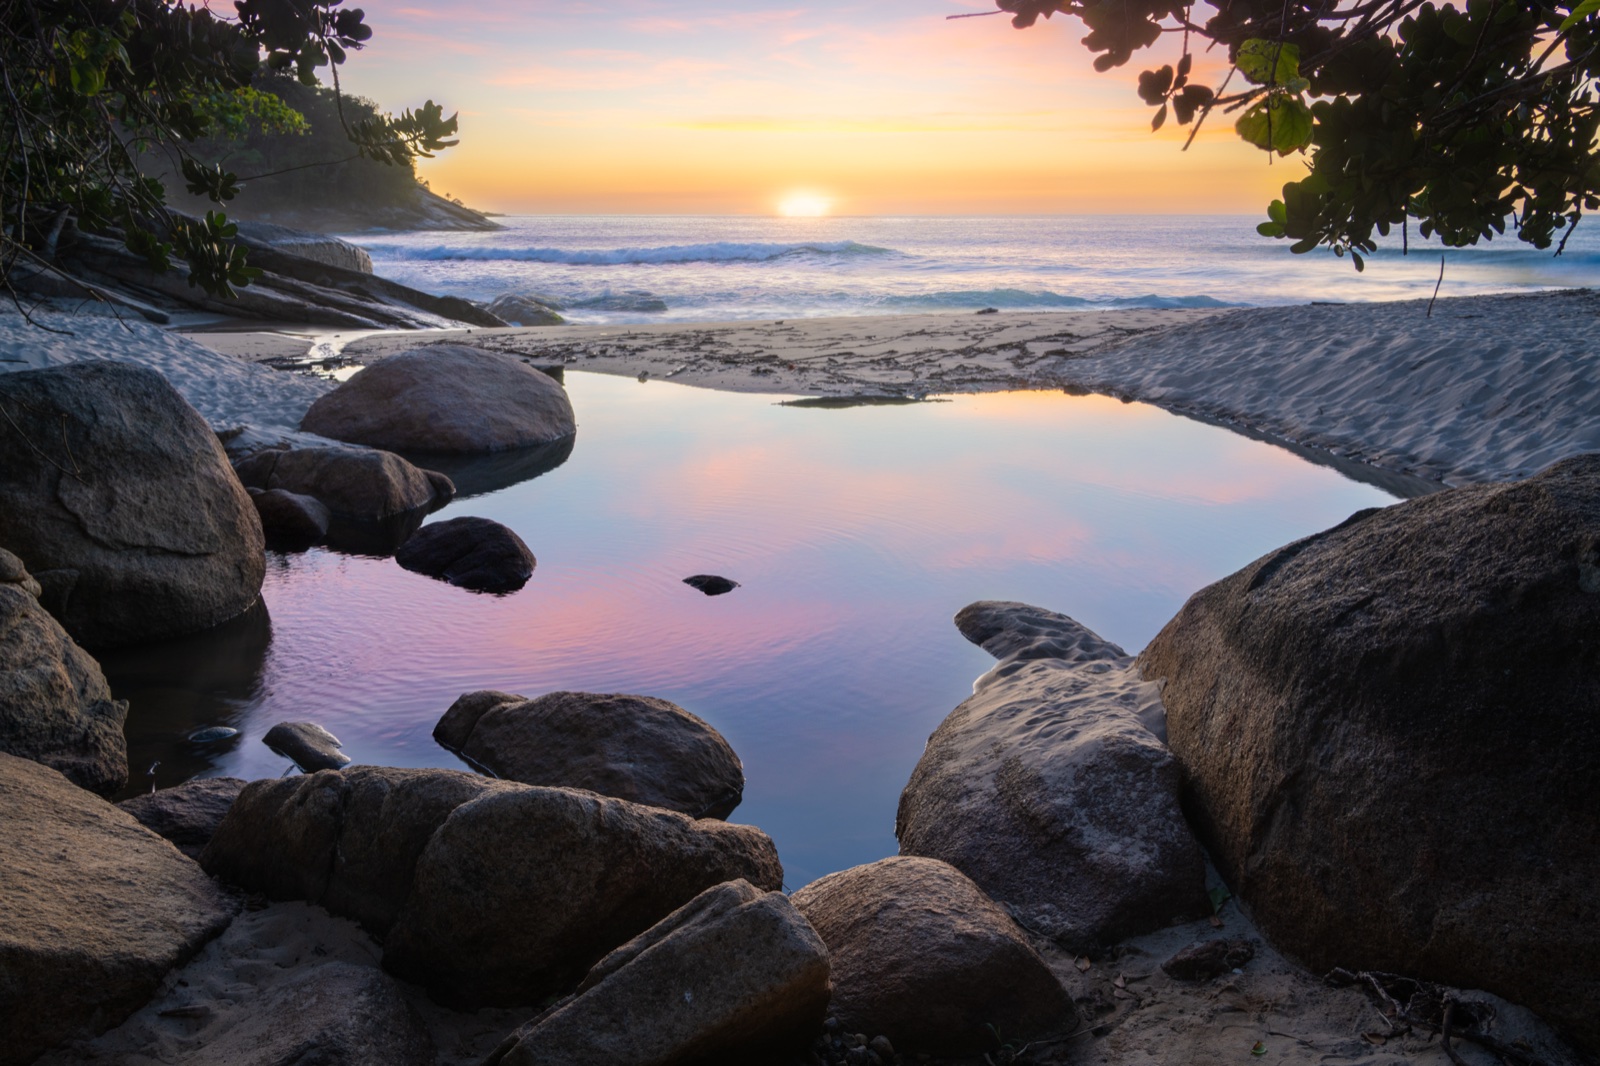
The first sunrise of the year is a shot people travel for — a fresh start you can hold in a frame. But it's over in a few minutes and it only comes once, so turning up and hoping rarely works: the sun rises off to the side of your landmark, or a hill blocks the horizon, and that's the year gone. Know when and which direction it will rise and the first sunrise stops being luck and becomes a shot you plan. The technique is really just sunrise craft — it's the once-a-year deadline that raises the stakes.
The first sunrise of a new year carries a weight an ordinary dawn doesn’t. It’s the shot that marks a clean slate — resolutions, a fresh start, the light coming up on a year no one has touched yet — and photographers all over the world set an alarm for it. The problem is that it lasts only a few minutes and comes just once a year, so there’s no second take. Show up unprepared and the sun climbs off to the side of the landmark you framed, or the eastern sky turns out to be walled off by a ridge or a building — a mistake you can’t fix until next January. Know when and which direction it will rise, though, and the first sunrise becomes something you plan rather than gamble on.
When it rises — the time changes with where you stand
Sunrise time shifts with latitude, longitude and elevation. On the very same date, places further east and higher up see the sun first, while low-lying spots to the west wait longer. A few minutes can be the difference between catching your composition and missing it, so don’t settle for “around seven-ish” — get the exact time for your actual location.
Viewpoint’s sun, moon and Milky Way almanac gives the sunrise time for your precise position and date. It works offline, so on a headland or a summit with no signal you can still work backwards from the exact minute and be moving in the dark.
Which direction it rises — this decides your composition
Most first-sunrise misses come down to direction, not time. The azimuth the sun rises at changes through the year: in early January, just past the winter solstice, it comes up noticeably south of due east in the northern hemisphere (and correspondingly on the other side south of the equator). Get the bearing wrong and there’s no way to place the sun behind the landmark you came for — a peak, a lighthouse, an arch, the open sea horizon.
- First, check whether the direction the sun rises actually lines up with the landmark you want to shoot.
- To sit the sun right behind a subject, drop the subject and your camera position into the alignment planner and it tells you the date and time that alignment happens. Even where the first sunrise doesn’t fall exactly on it, you’ll know in advance how far off it is.
- Confirm the eastern sky isn’t blocked by a hill, a building or trees. The bearing can be perfect and the sun still stay hidden if the low horizon isn’t clear — an open, east-facing coast, a ridgeline or high ground wins here.
Scout the viewpoint and get there early
The first sunrise is a popular subject, and the well-known spots fill up before dawn on New Year’s Day. The good positions are taken well ahead of sunrise, so scouting and an early start pay off directly.
- Scout your candidate spots beforehand and check the eastern view, your footing, and whether there’s room to set a tripod.
- Save the ones that work. Viewpoint stamps each spot with GPS, the date and the sun information automatically, so next year you can return with the same plan already in hand.
- On the day, arrive at least an hour before sunrise and lock your composition and focus during blue hour, while there’s still time to move.
Camera settings
- Lens. For a big sun rendered large and graphic, reach for a telephoto; to place the sunrise inside the wider scene — the coastline, the crowd, the landscape — go wide. When you’re stacking the sun behind a landmark, the compression of a long lens does the work.
- Exposure. A rising sun is extremely bright and will blow out to white if you let it. Meter for the sky and the area around the sun and pull the exposure down a little, letting the ground read as a silhouette for a stronger frame. Where the contrast is huge, bracket a few exposures so you can choose or blend later. Shoot RAW.
- White balance. To keep the reds and oranges of the dawn, don’t leave it on auto — lock the colour temperature a touch warm.
- Tripod and cold-weather care. Use a tripod for the dim light and to keep things sharp. Midwinter dawns can drop below freezing, and batteries drain fast in the cold, so keep a spare warm in an inside pocket. Gloves and a hand warmer are part of the kit, not an afterthought.
Composition ideas
- Behind a landmark. The sun rising out from behind a peak, an arch, a lighthouse or an offshore island is the signature first-sunrise frame. As above, getting the bearing right is the whole trick.
- A reflection on water. The sun lifting off the horizon with a path of light stretched across the sea is a classic for a reason — the stiller and more windless the morning, the calmer the surface.
- Silhouettes and people. Include the silhouettes of others watching the first light and you capture the feeling of the moment, not just the sun.
- Start in blue hour. Shoot the blue sky before the sun as well, so the morning is a small story rather than a single frame.
The last piece — will you actually see it?
To be straight with you: what Viewpoint computes is the sunrise time, the direction and the light windows, the location of the spots you’ve saved, and where the sun lines up with your landmark. Whether the morning turns out clear or cloudy, though, comes down to the weather on the day — so check a weather forecast for that. The tool handles when, from where, and in which direction; the forecast handles whether you’ll see it.
On-location checklist
- Confirm the exact sunrise time for your location (the almanac).
- Check the sun’s direction and decide whether it lines up with your landmark (the alignment planner).
- Scout a viewpoint with a clear eastern horizon and save it as a spot.
- Arrive at least an hour before sunrise; lock composition and focus in blue hour.
- Pack a telephoto and a wide, a tripod, a spare battery, and cold-weather layers.
- Avoid blowing out the sun (expose down, shoot RAW, use silhouettes); bracket where the contrast is high.
- Check the forecast for clear skies on the day.